One of the downsides to using a ballistic calculator is the before vs. after effect. We read every day on Sniper’s Hide about shooters who have issues aligning their software to their real-world data. This is understandable because most are working the problem backward. Worse in this situation are shooters who feel they need the computer to get started. They have no reference points to use so they believe the computer is the only answer.
The easiest way to set up a ballistic calculator is after the rifle has been doped out to distance. Most new shooters are intimidated by this method. They want the computer to tell them where to start and what to use to hit the target, so doing the work prior makes little sense. In many cases, the software is purchased and installed on their smartphone before the rifle has been purchased.
Rifle set up is an essential part of the process. Many shooters look at a rifle set up in the context of the scope. They use extraordinary methods to plumb the rifle’s scope when they need to align the reticle to the fall of gravity. All the bullet cares about is gravity when it comes to our scopes.
Rifle Set Up,
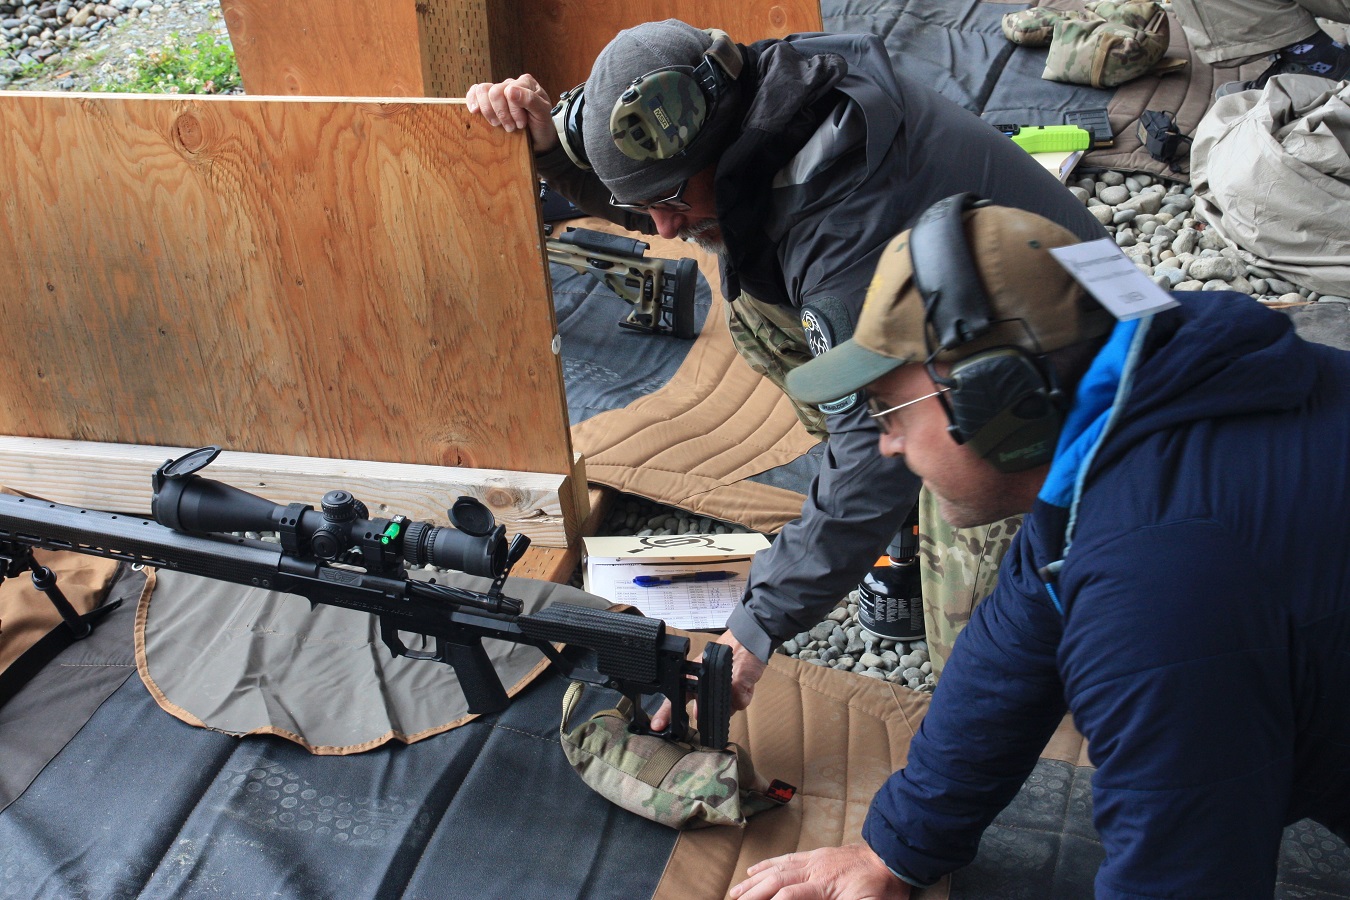
Start with the rifle in position, no scope mounted. Check the stock; make sure you can correctly address the rifle by setting up the length of pull using a slightly different methodology.
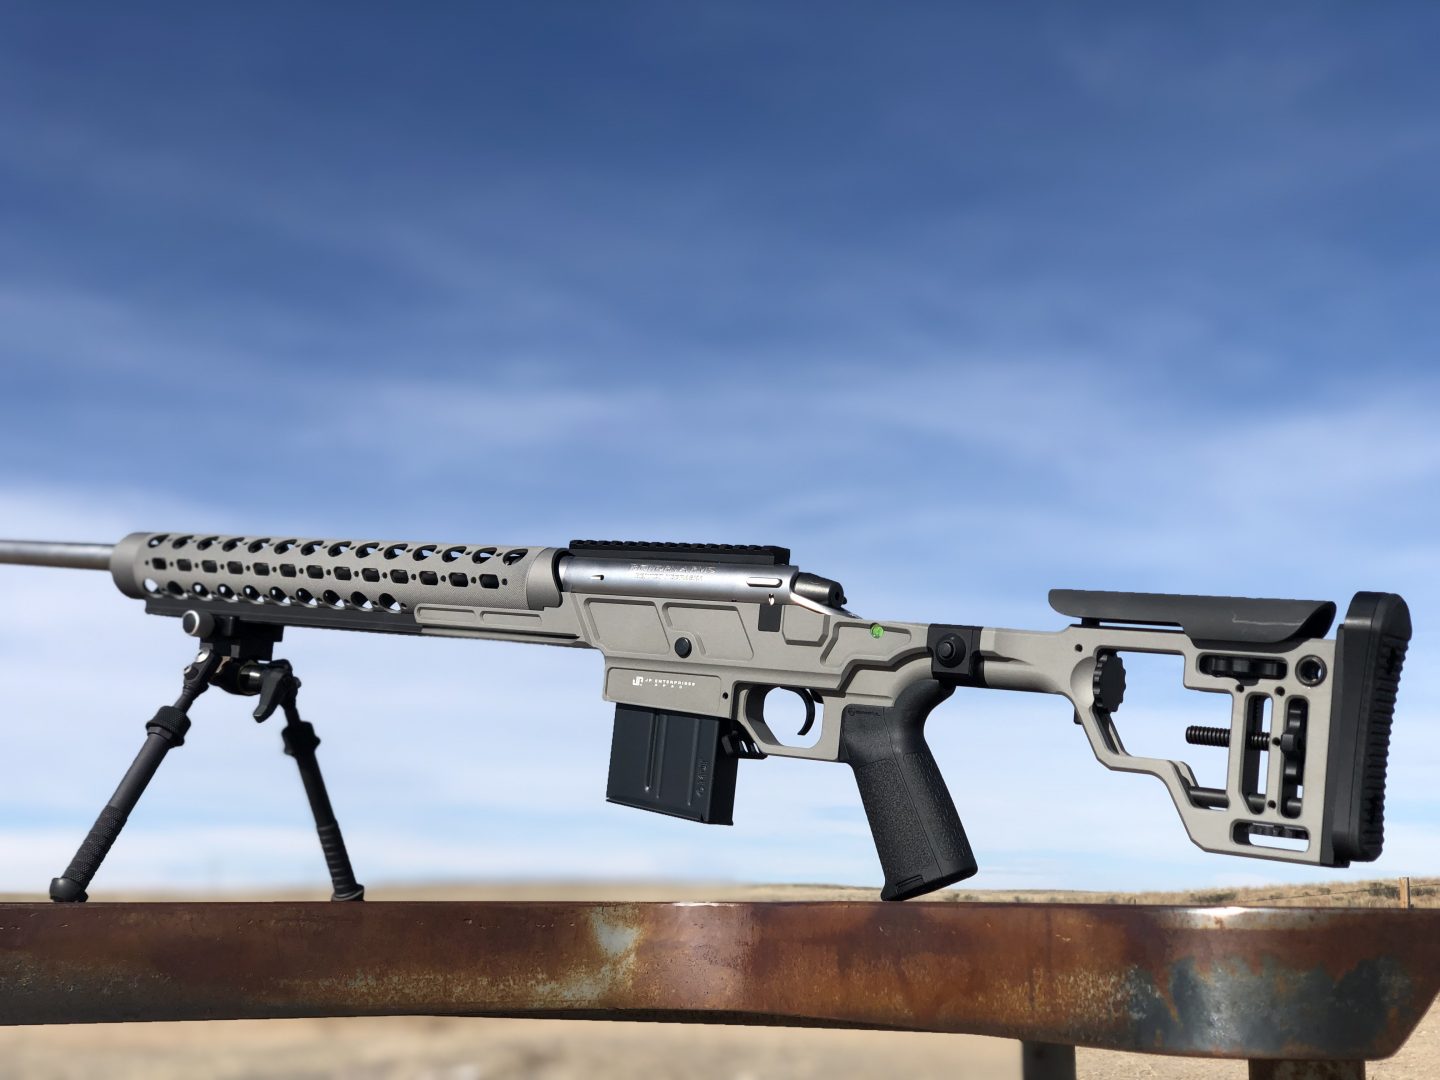
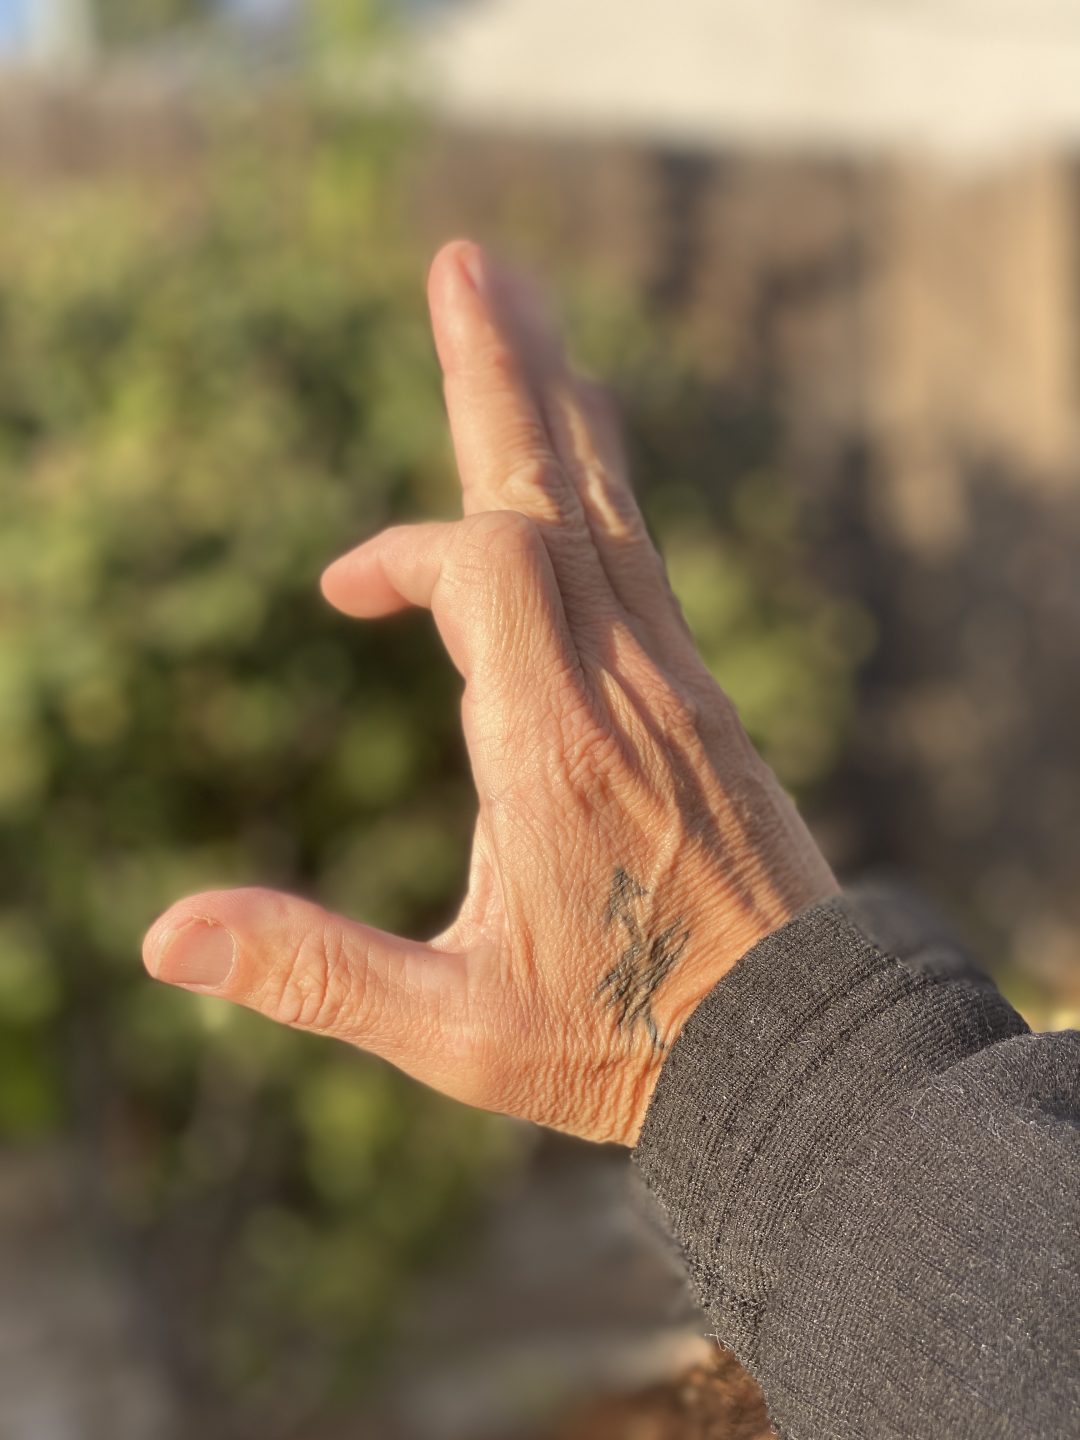
For prone or F Class style shooters, the length of pull is determined by placing the butt of the stock in the crook of the arm. People use a knife-hand motion to measure from the tip of the middle finger to the crook of the elbow. While this method is perfectly acceptable for a dedicated prone setup, I have an issue with what I consider across the course shooters using it. Shorter is preferable for a setup that will be used dynamically.
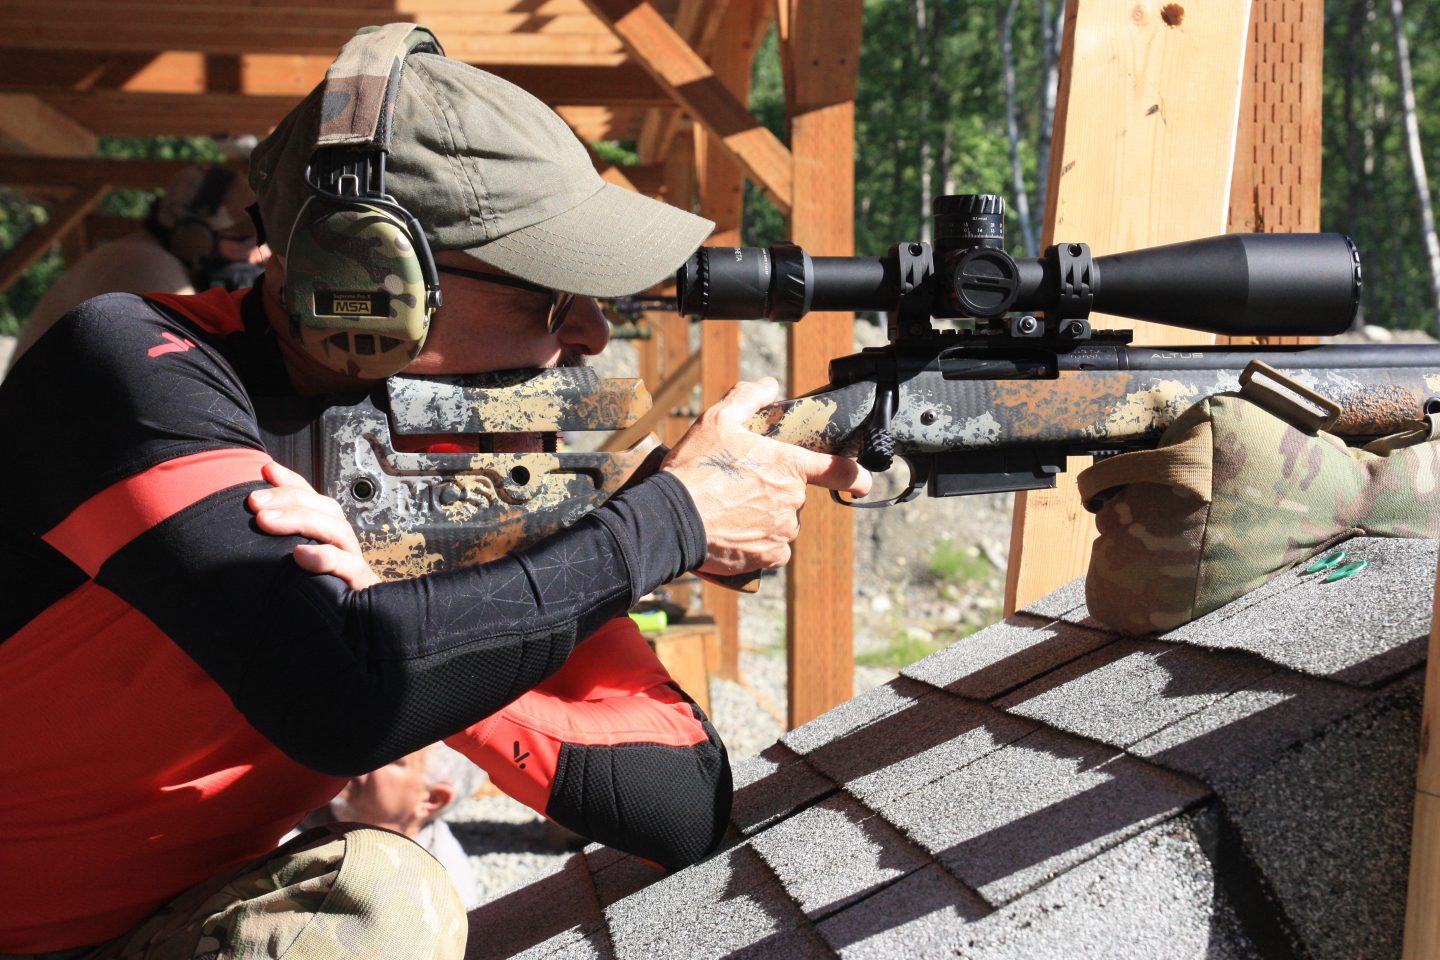
Different positions have a slightly different length of pull. The easiest way to describe it, moving from a prone position to a sitting, kneeling, or standing; each one moves your head on the stock. Dedicated rifles for positional competition shooting have adjustments designed to be moved for each new position. Field shooters don’t always have this luxury, so we try to balance in the middle. The best way to accomplish this is to adjust how we measure our length of pull.
Instead of using a knife hand to the middle finger, take that same method, and create a 90-degree trigger finger. Now measure your length of pull to the trigger shoe using a 90-degree finger and not to the extended middle finger. For me, it creates a 2″ difference between the methods. I can now balance the various changes in head placement. Reduce the magnification on the scope, and I am good to go. This shorter stock set up gives me greater flexibility.
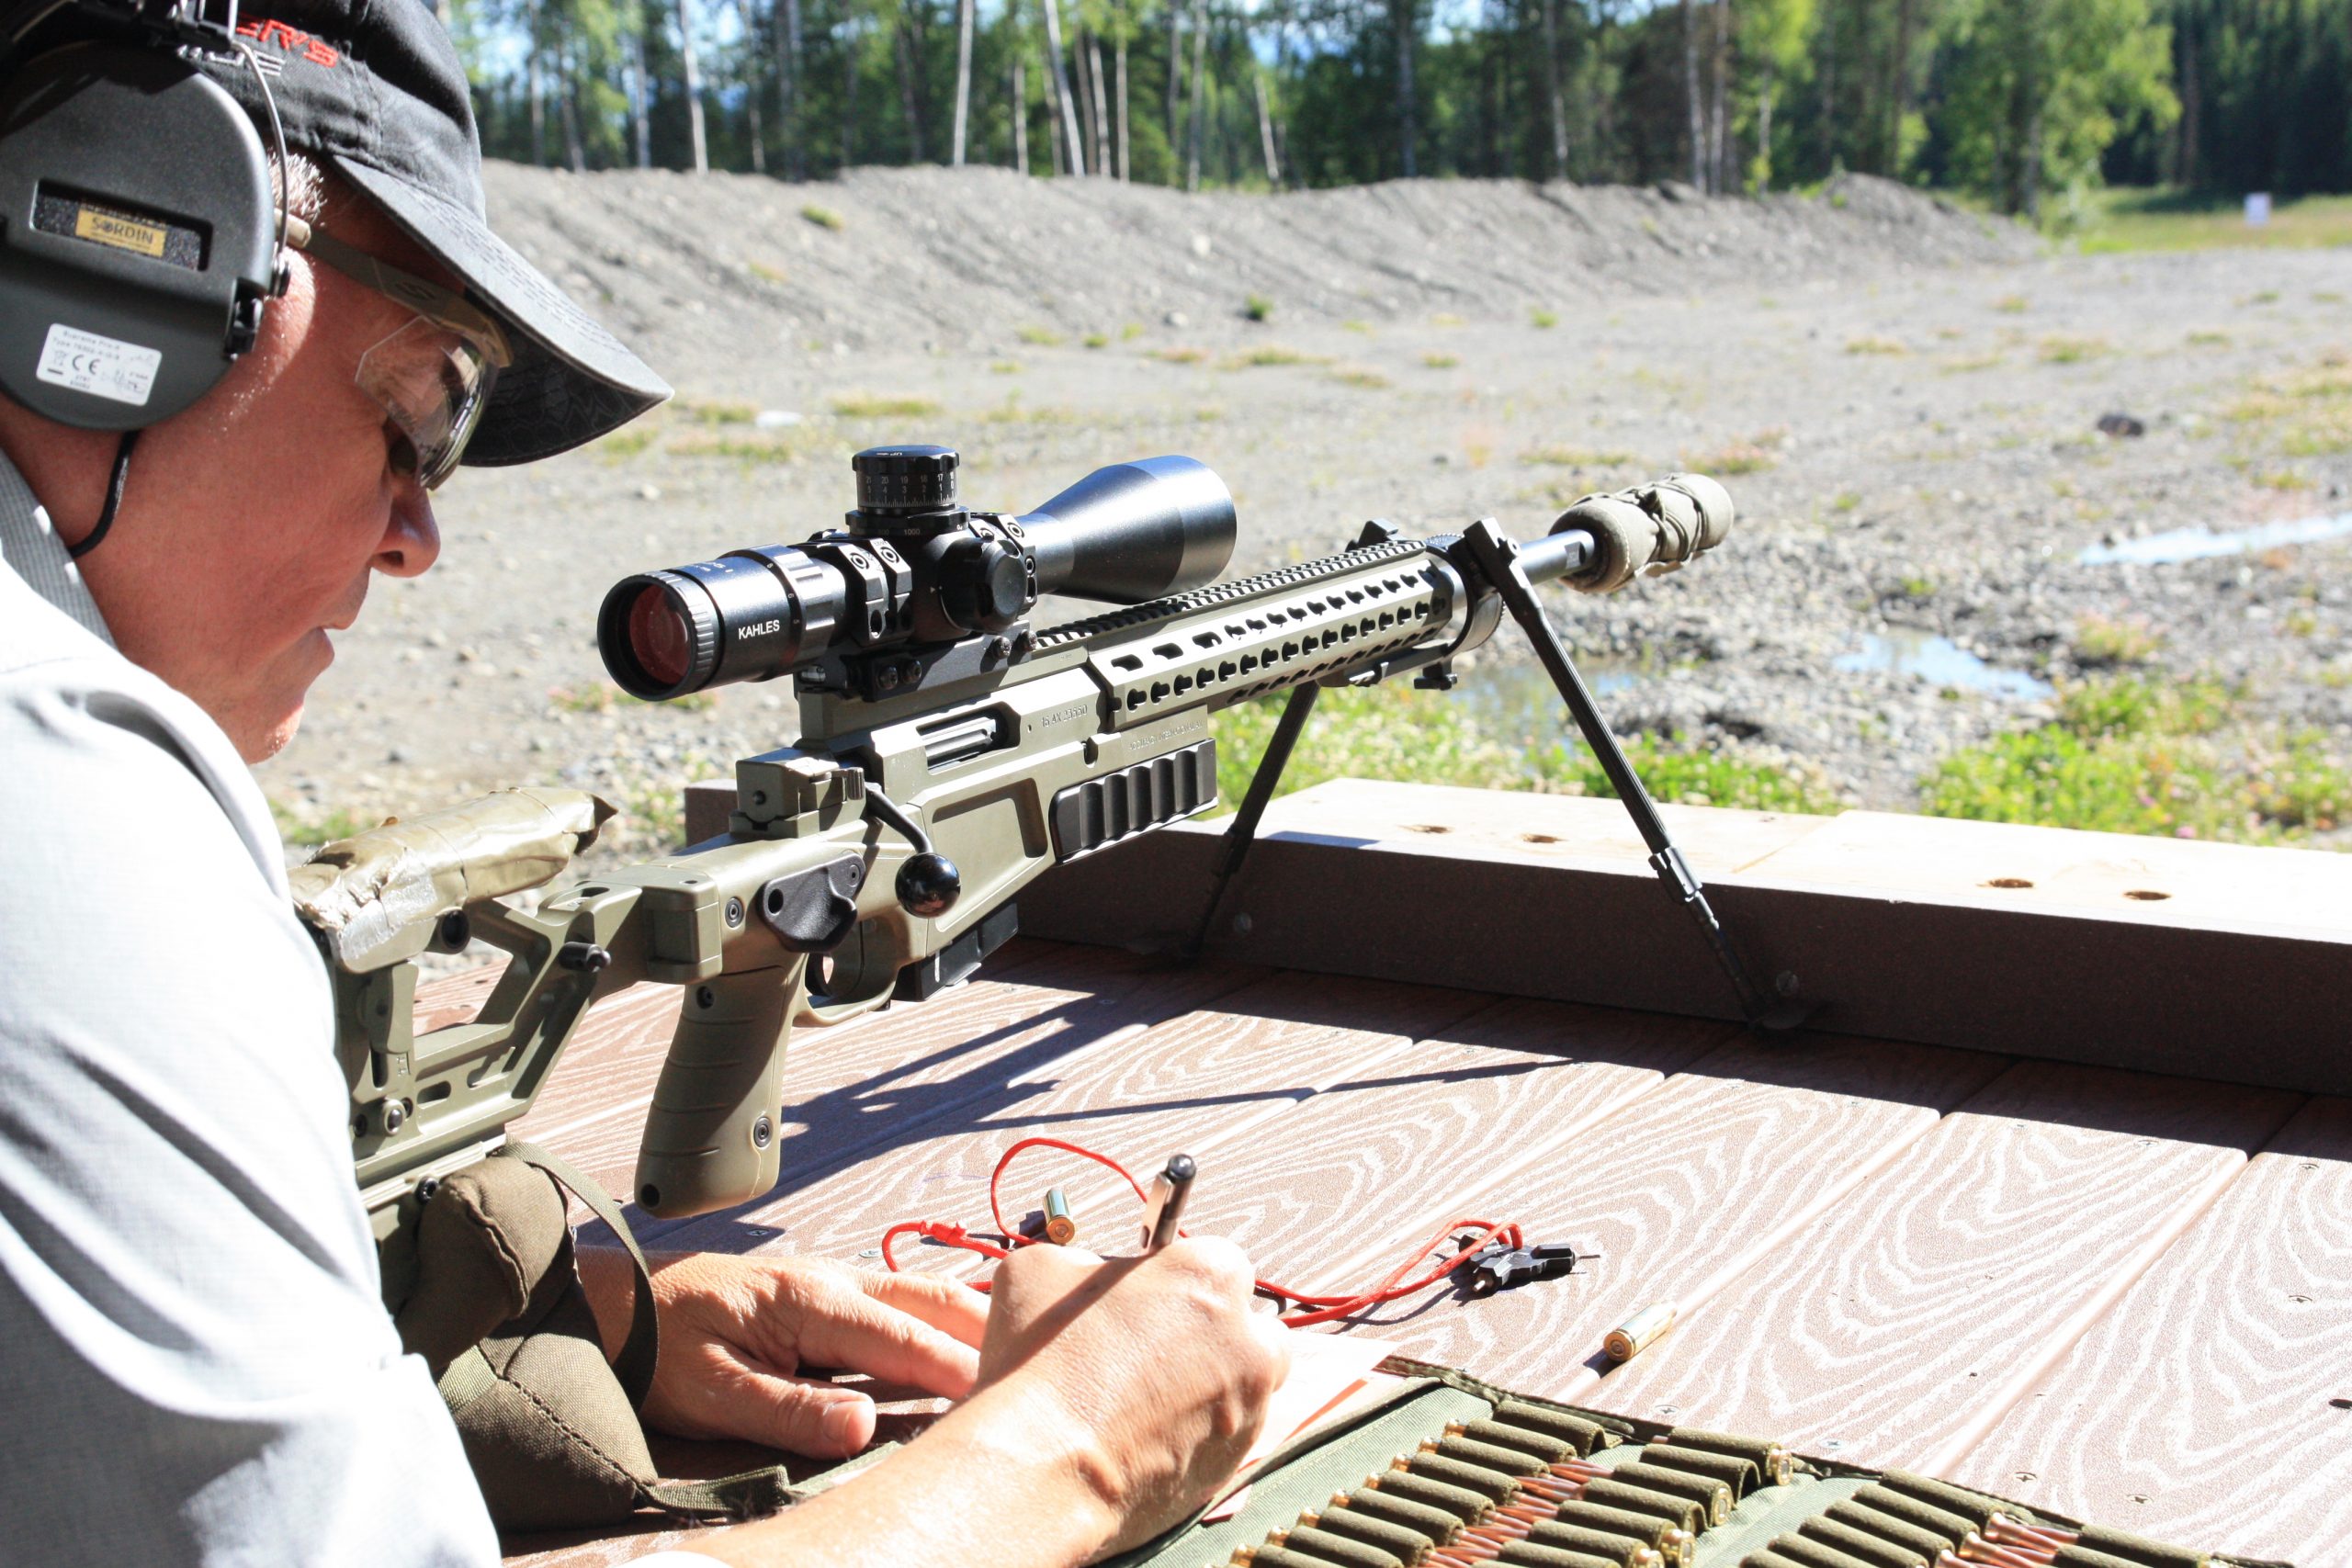
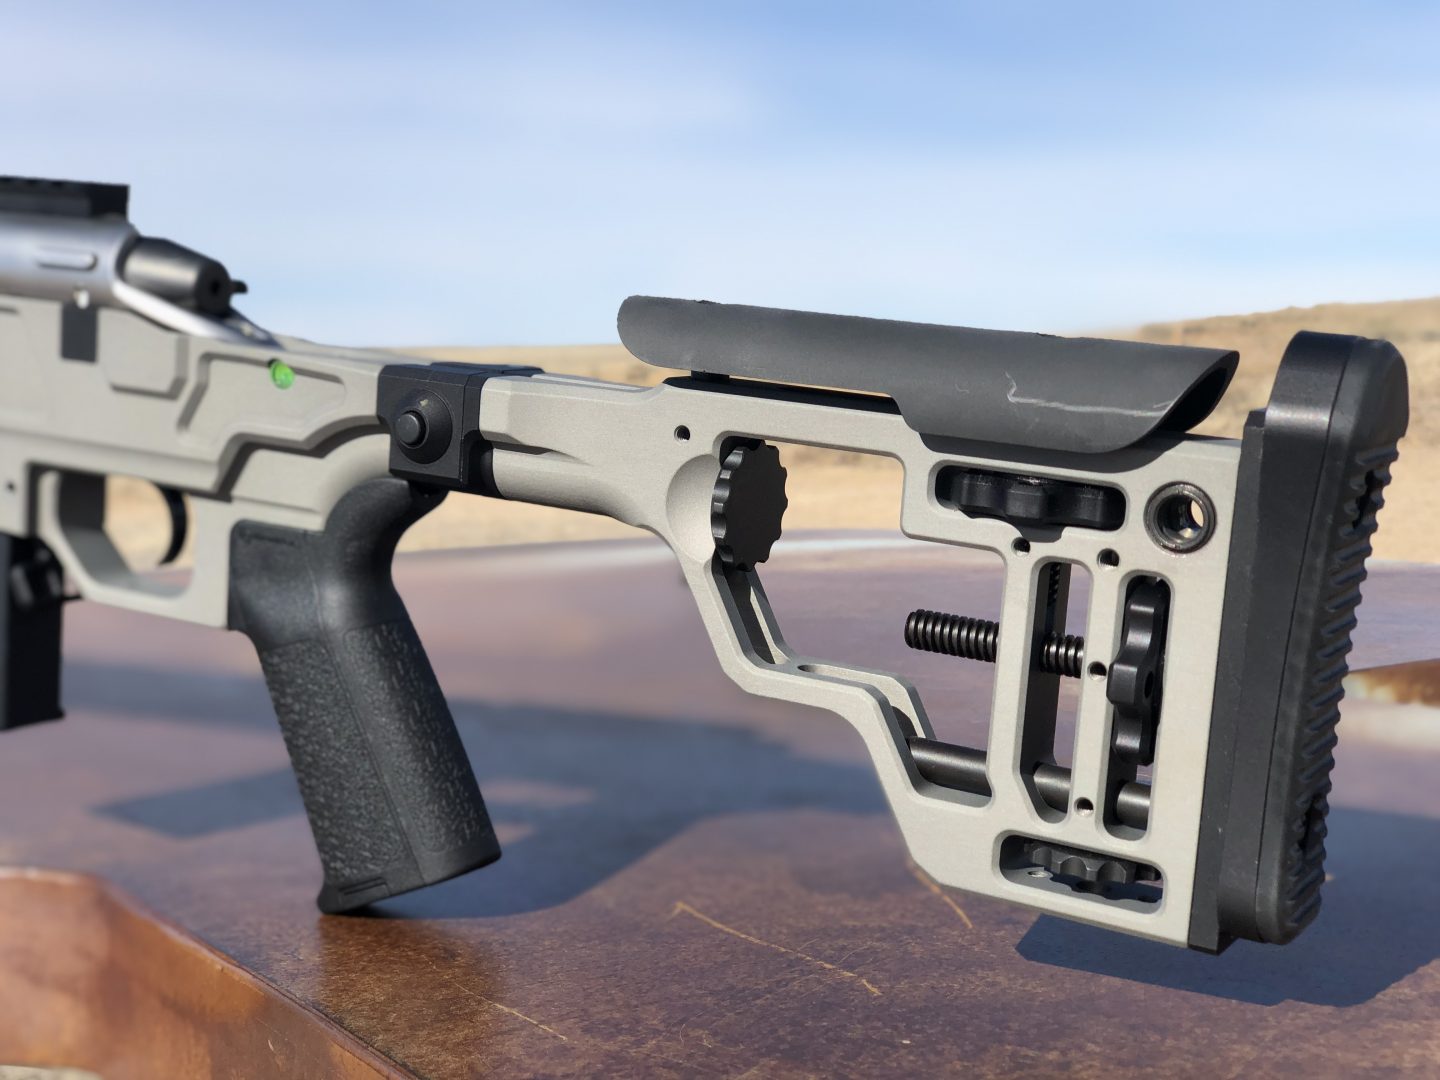
With the length of pull set up, you want to get into position behind the rifle and feel the stock. How does it feel in position? Find that sweet spot and set it up minus the scope. Tweak it; you won’t break anything. Because I shoot Accuracy International Rifles, I also raise the butt plate about 1″ from the neutral position. Raising the plate prevents the buttstock from trying to duck under my shoulder pocket during recoil.
Now that this position is locked in add the scope to the equation. You want to bring the scope to you, so there is no movement with your head to “hunt” for the perfect sight picture. We are looking at two planes here, the up and down to align the eye directly behind the ocular and the left and right of the stock placement. Many of us tend to ride the rifle a bit more inboard, and it’s definitely on the collar bone. We ride it high inside, and you will feel it at first. Addressing the scope should be immediate; if you have to chase edge to edge clarity, look at the scope’s placement.
With the rifle adjusted to me, the scope torqued in place, so you don’t have to hunt for the sight picture you are ready to hit the range.
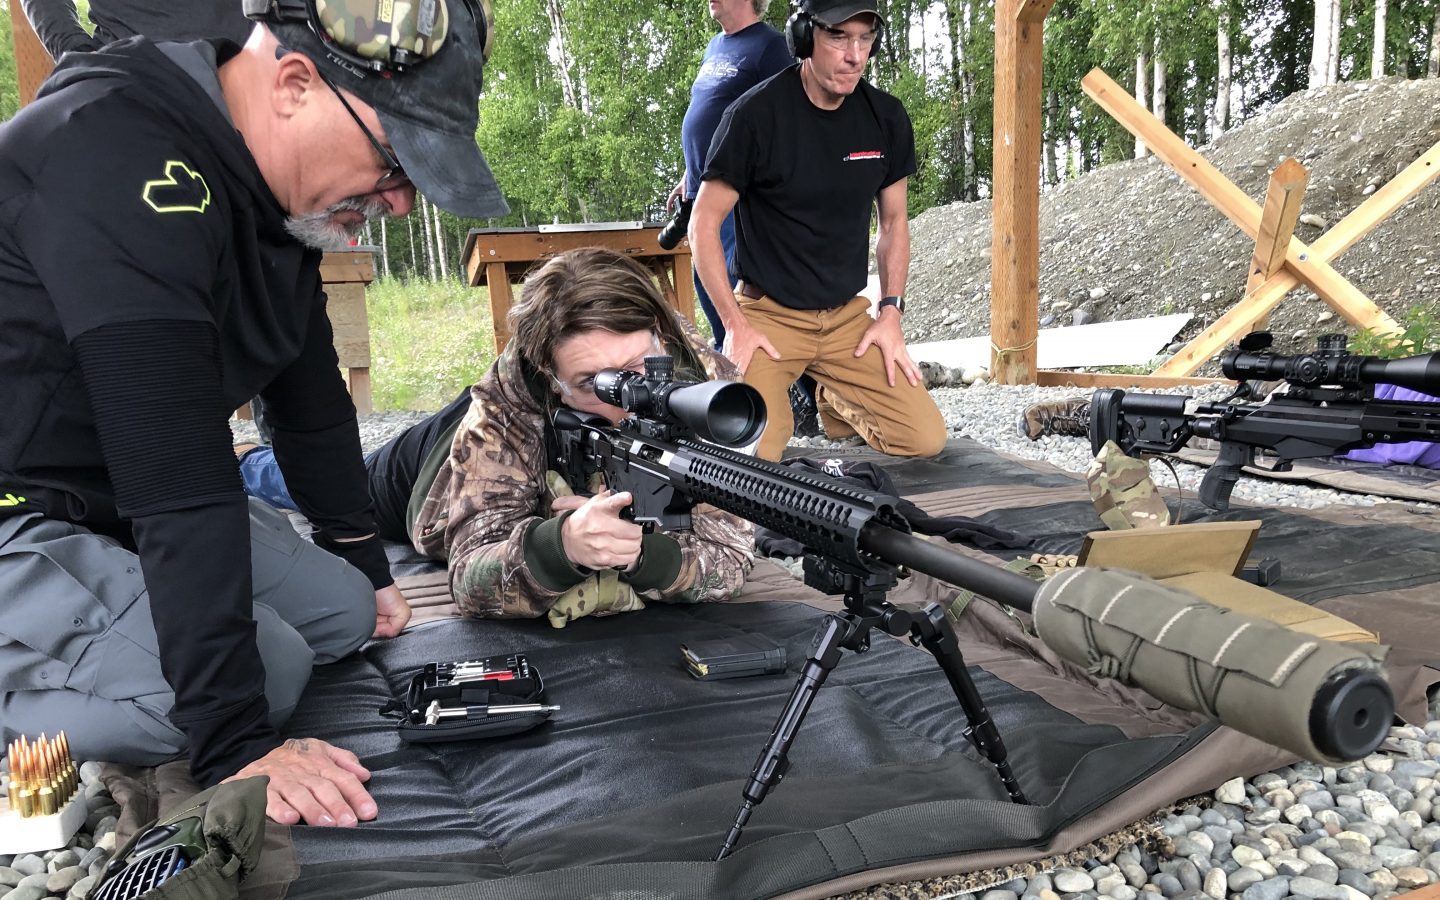
To put a fine point on the rifle set up question, think about your car. Seats and mirrors, the scope is your mirror, the stock is your seat, and the bolt is the steering wheel. Our cars are set up in a way we minimize the movement to drive. We can have our hand on the wheel, talking on the phone, and changing the radio station all together without missing a beat. If someone moved a seat or mirror on your car, you would instantly feel it; we want that type of intimacy with our rifles. I can feel it when it’s not right.
Doping the rifle to distance without a calculator
Enter Weaponized Math
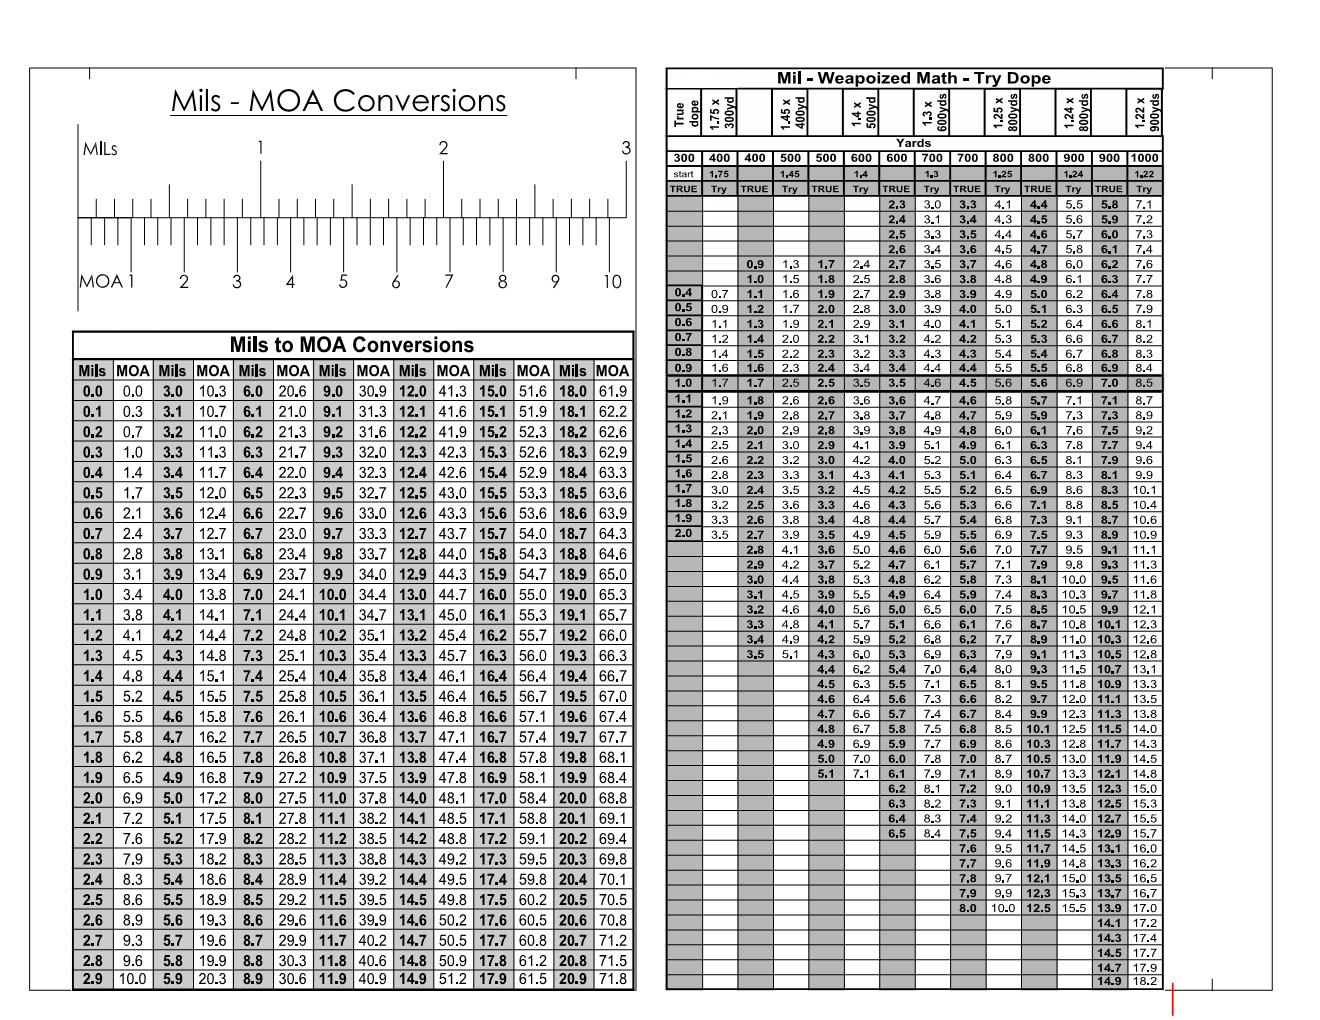
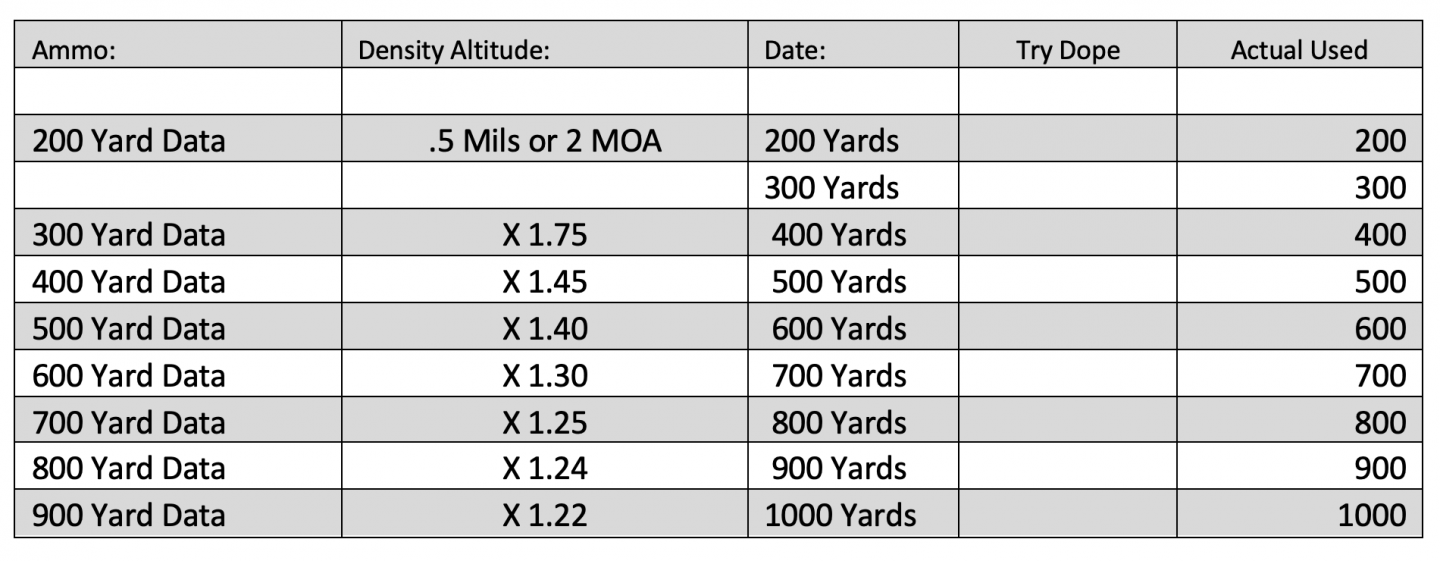
I will refer you to Marc Taylor’s Weaponized Math. This is the absolute best method to dope any rifle, from .22 to .50 cal with minimal effort. The chart listed is an entire ballistic calculator on a single page; think that about that a minute—an entire calculator in one image.
There is no sight height, no bullet weight, and no muzzle velocity because Marc doped gravity, not a set of specific conditions. There is nothing to look at except for the last yard line. Gravity pulls a .22 the same as it does a 338, so having put a value to gravity gives us a more flexible and easier to manage tool. We deal with one factor, not several conflicting ones. We call the value assigned to the drop the X-Factor.
The simplicity of weaponized math is, there is nothing to get wrong. We start at 100 yards zeroing the scope; we want point of aim, point of impact. Get your groups aligned to the rifle, so you have a concrete 100 yard zero. Once that is established, we can shoot from 200 to 1000 yards using our charts.
What is TRY DOPE
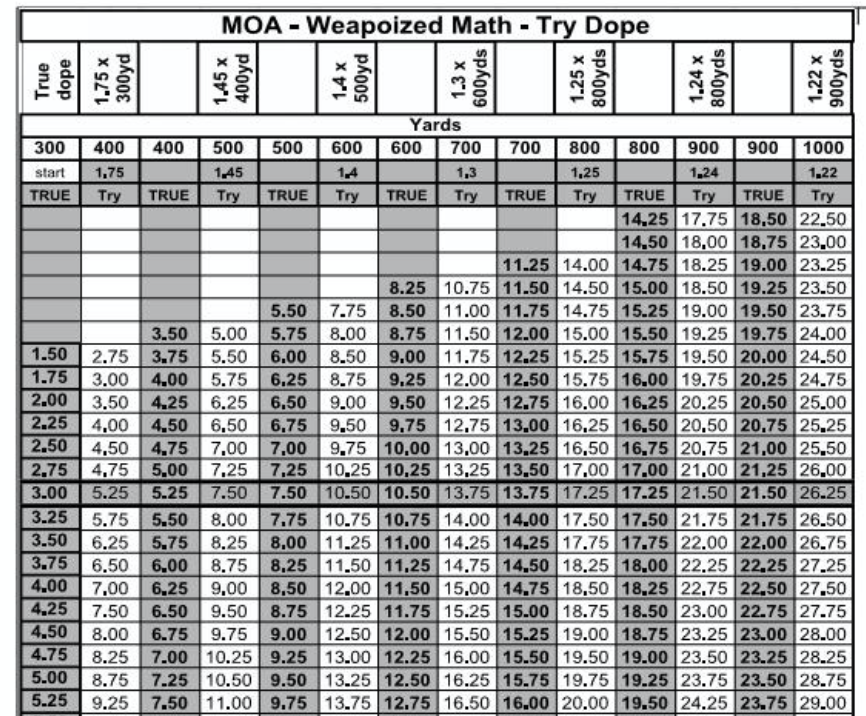
Try dope is what we used before our data has been verified. Until a ballistic computer is verified with shots on target and trued, it’s all try dope. A starting point, expect this number to change slightly.
We cannot adjust the rifle to the computer; we have to adjust the computer to the rifle. To accomplish this feat of magic, we need to shoot and verify our data first. Gathering dope by actually shooting a target and recording the results can be a novel idea in 2020, but it still works the best. When you dope a value on a target, know, “everything is in there” you don’t have to add in flourishes; no additional values are needed; it’s all baked into the number. An impact using 4.2 Mils doesn’t need to include Spindrift, Coriolis, or Aerodynamic Jump, because 4.2 is the final answer; it’s not 4.2 plus, it’s just 4.2; that is what we true too. We are not predicting in a vacuum but truing to real-world results.
Mils vs. MOA does not matter, but a pretty simple rule of thumb in terms of mindset can help us make sense of it all. Meters vs. Yards is a non-issue also;, weaponized math doesn’t care.
Mils are base 10, so we have ten clicks between each full Mil. While our modern calibers have moved away from it, each .1 Mil translates to roughly one click every 10 yards. A 308 going about 2550fps is about 1 mil every 100 yards from 400 to 700 yards, give or take a tenth or two. With MOA, it’s 25 yards per 1 MOA, so you need shy of 4 MOA per 100 yards. To translate this to a modern rifle, an average 6.5CM is about .8 Mils every 100 yards to 800 after 300.
Stick to the weaponized math to start; follow the chart.
200 yards
Starting with .5 Mils or 2 MOA, you want to establish your drop at this distance, so you have point of aim, point of impact. For 200 yards, I like to use a 3″ Shoot N C target, and as long as I am centered upon that target, my data should work out great marching out to distance.
We can multiply our 200-yard data by 1.95 or simply double it for your 300 yard; try dope. I generally find you’ll be between .3 and .5 Mils at 200 yards.
300 Yards
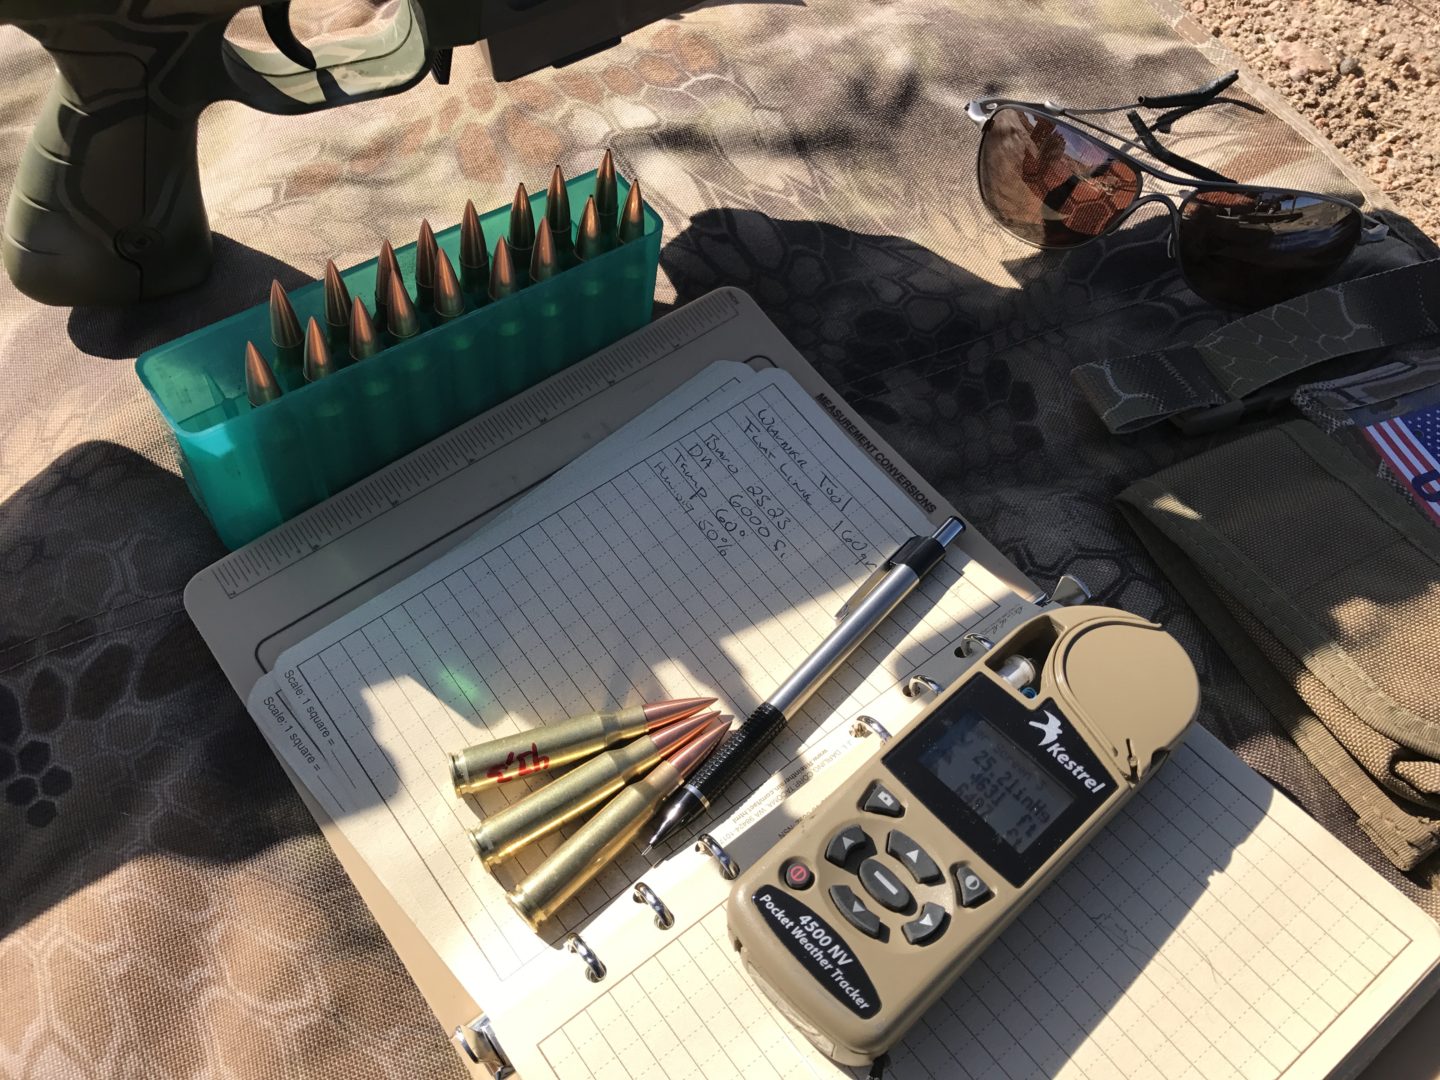
After we solve 200 and get our data for 300, we can turn our weaponized math charts to march out with as few shots as possible. You can seriously do it with ten rounds if one was so inclined, but I recommend you find your group center to measure.
Using our try dope at 300, we shoot, adjust, and center the group on paper or steel. Point of Aim, Point of Impact, write it down. I have a worksheet created for students that helps.
Multiply our 300 yards verified data to determine our starting point at 400; it’s just basic multiplication.
.9 Mils x 1.75 (X factor) = 1.575, I round to 1.6 as my try dope for 400. Rounding is no problem; our targets can handle its size-wise.
Let’s look at our worksheet for our data. This creates a verified drop that can be used to set up and immediately true our software.
Marching to 1000 yards
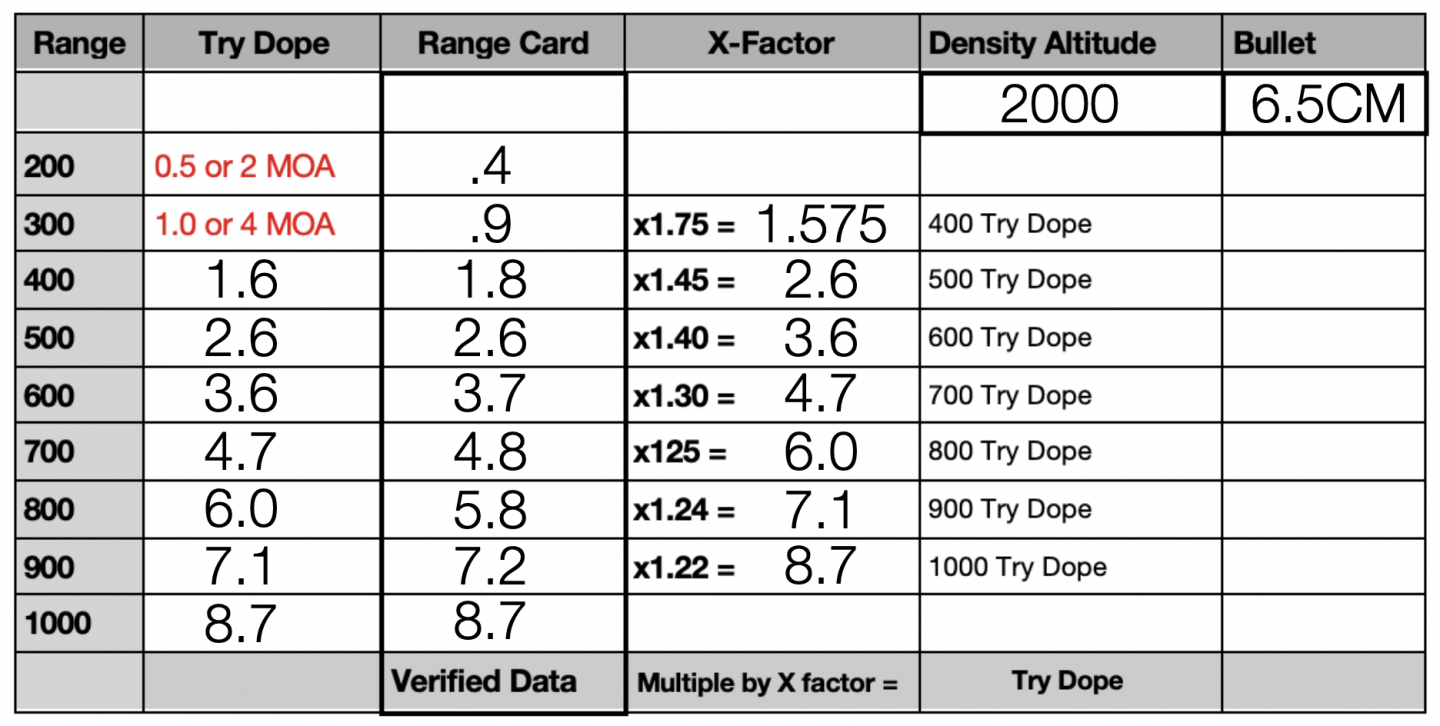
Make sure when you are shooting these targets, you have a reference point for aligning the impacts to the adjustments. We use watermarks on our steel targets to give us a defined point of aim, point of impact reference. Steel tends to be vertically larger. This means you have a lot of opportunity for corrupted data if the plate is too big. If your groups are 2 MOA or bigger at a distance, you cannot expect 1 MOA accuracy when engaging targets later. We have to focus on our fundamentals to ensure we have the best groups possible. Group size can and will matter, as does placement when truing.
Once we have established our data from 100 to 1000 yards, we can now set up our software.
Build your profile, measure the sight height or scope overbore. Track down your BC, your bullet length, and get ready for a nugget.
Translating the weaponize math data to your ballistic calculator
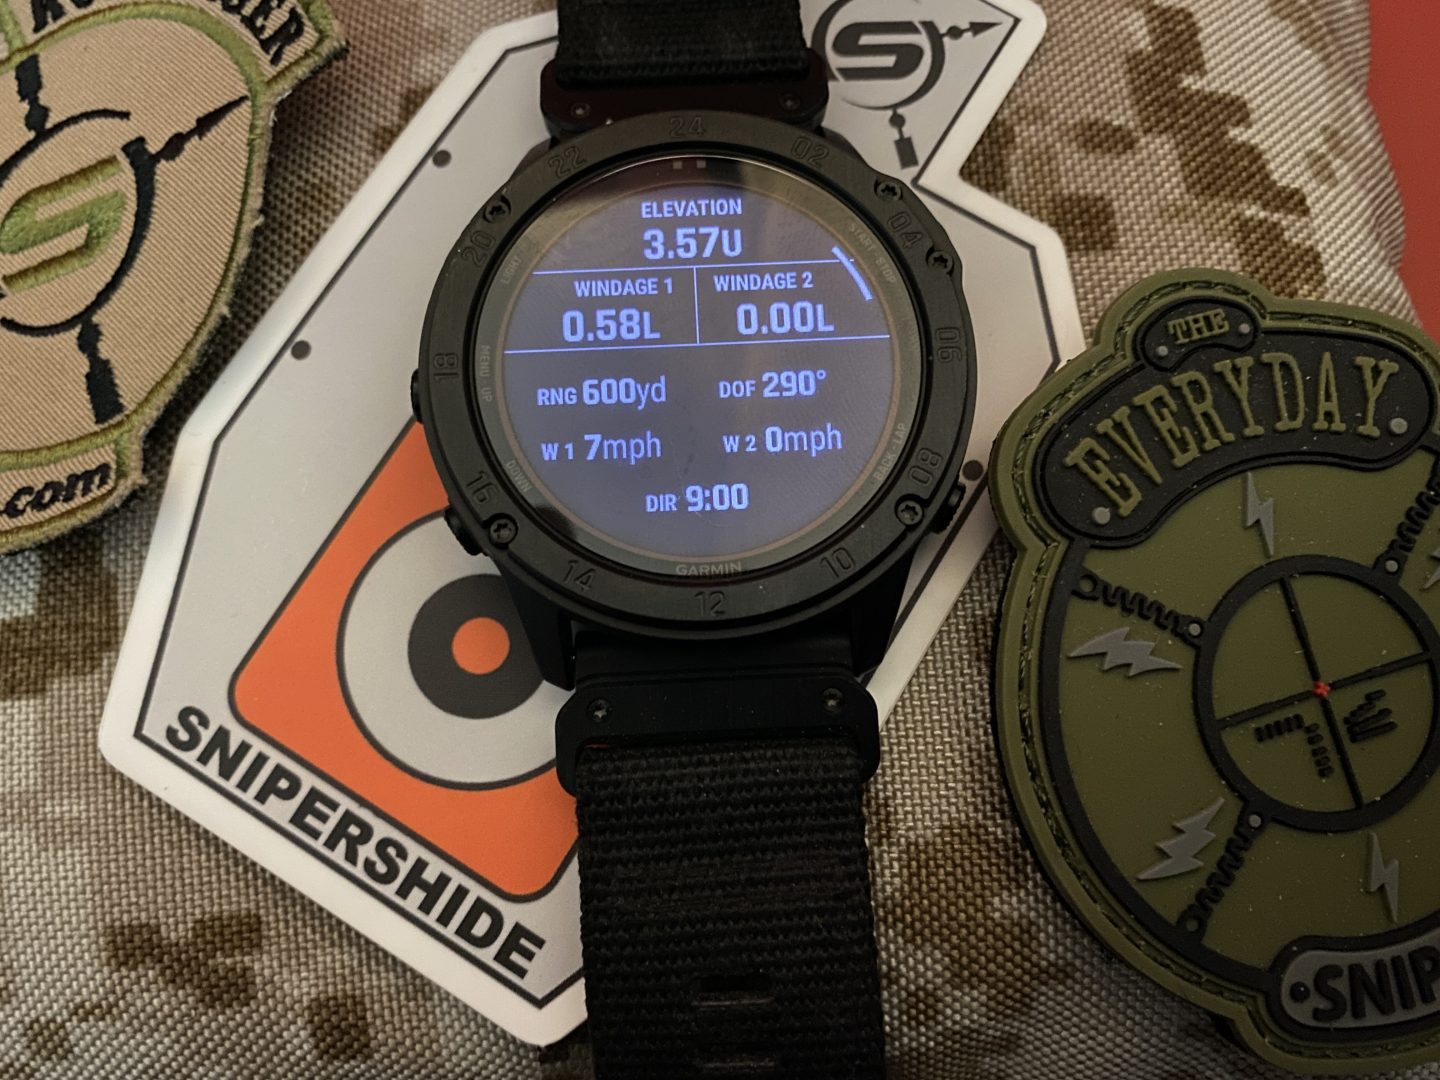
You don’t need a chronograph for your muzzle velocity, just back into it. The computer has to true by adjusting your muzzle velocity. We know this; we read it every day how a shooter will chronograph their rifle only to have the software change it in a significant manner. This is normal; it’s how these things work under the hood.
Just put in a place holder muzzle velocity. I use 2750 for a 6.5CM; I use 2600fps for a 308 shooting a 175. In this case, you can even put the number from the box of ammo into the computer. We can do this because it will change anyway. If I were doping my 300NM, I would just put 2900fps in there.
We’ll true our muzzle velocity at 600 yards in the software when we return home from the range. I am not going to adjust my software on the range; I am gonna do it when I get home. Or if I want to test it at the range, I will sit in my car and do it casually.
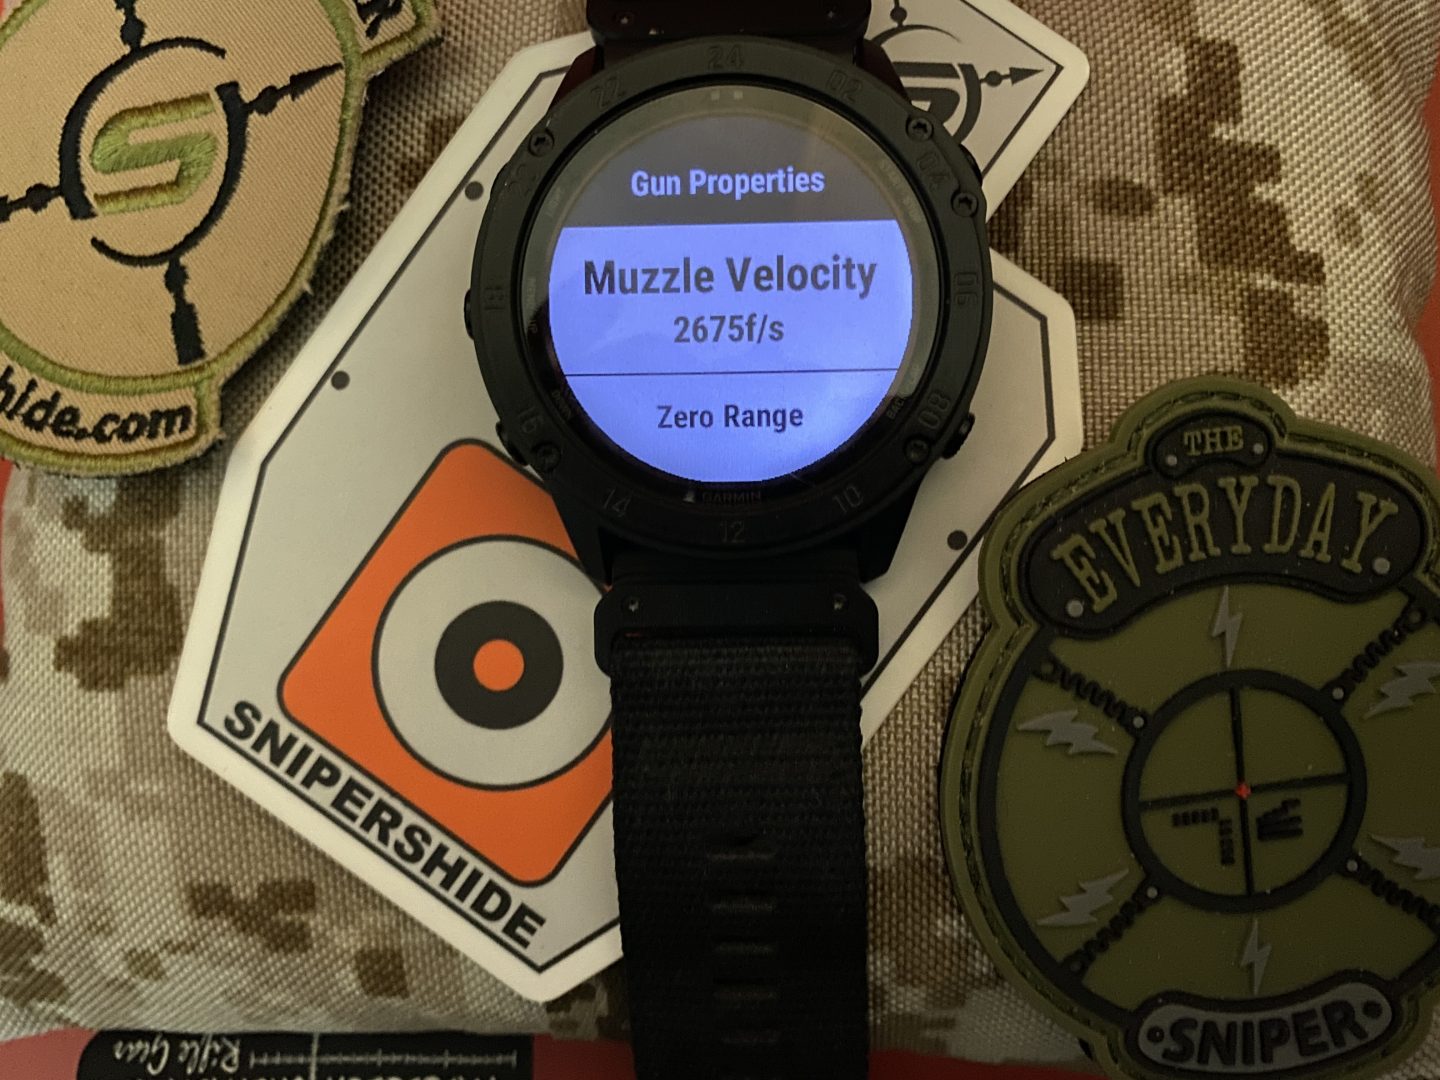
I do not distract myself trying to fiddle with my phone when I am supposed to be shooting. I dope the rifle, then retrieve the phone and update the ballistic calculator. I am not going from phone to shot, shot to phone; that is a distraction.
With our profile built, we have to adjust and true the software to our weaponized math real-world results. We achieve this at 600 yards.
Muzzle Velocity is adjusted at 600 yards.
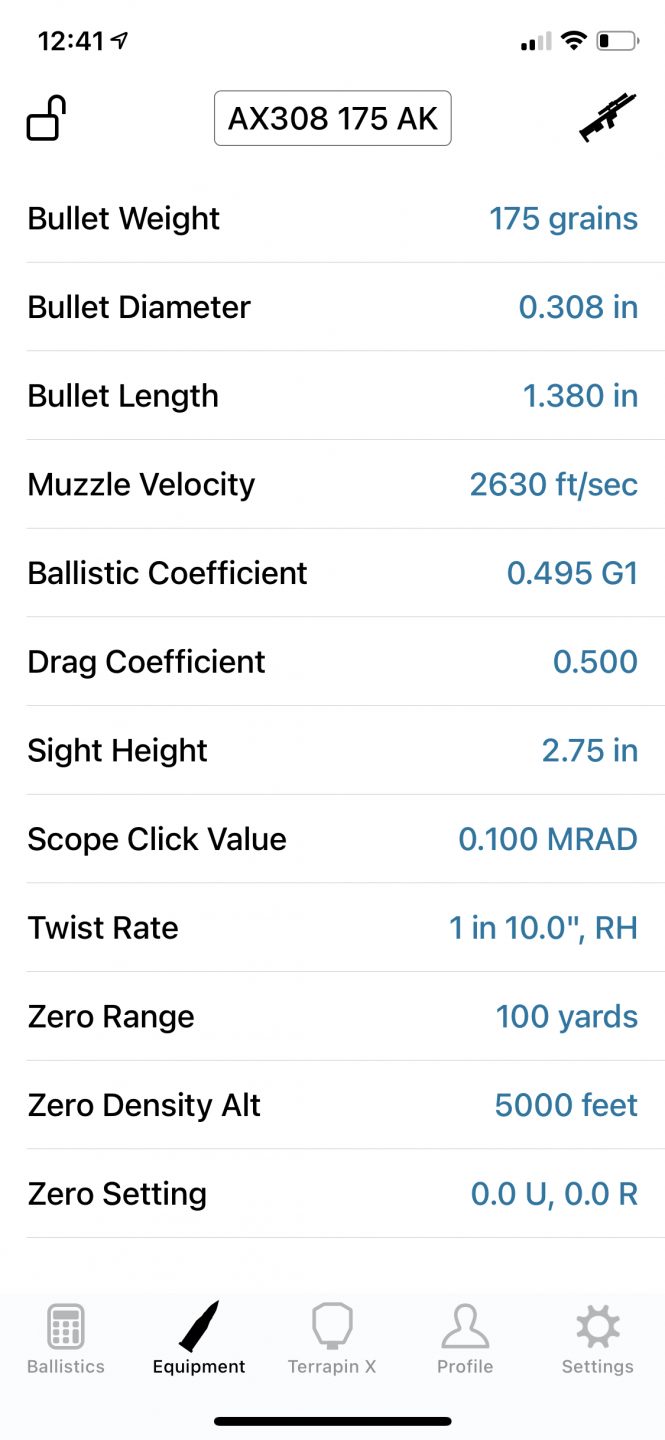
Adjust the target range to read 600 yards. Take our 600-yard data we gathered earlier; let’s call it 3.6 Mils. Odds are with your placeholder muzzle velocity; it will not match, no worries. It’s.1 Mil every 25fps, we adjust up or down. If you need to move it .4 mils, you will change the muzzle velocity 100fps +/-. Pretty simple, just keep adjusting until the dope matches the real world. Whatever number you happen to land on, that is what it wants, so don’t fight it.
If all the other data you added to the gun profile is correct, this should line everything 600 yards and closer. Take a quick look at the range card and verify it.
If you have data that reads .1 Mil here and there which does not line up, ignore it. Don’t get wrapped around the axle over a 1/3rd of an inch here or there. It could be a range issue, a watermark offset, or any number of reasons. Computers cannot account for shooters, and shooters make mistakes. Go with it, no second thoughts; the odds are that a single anomaly is closer to right than wrong.
800 yards to 1000 yards adjust your BC
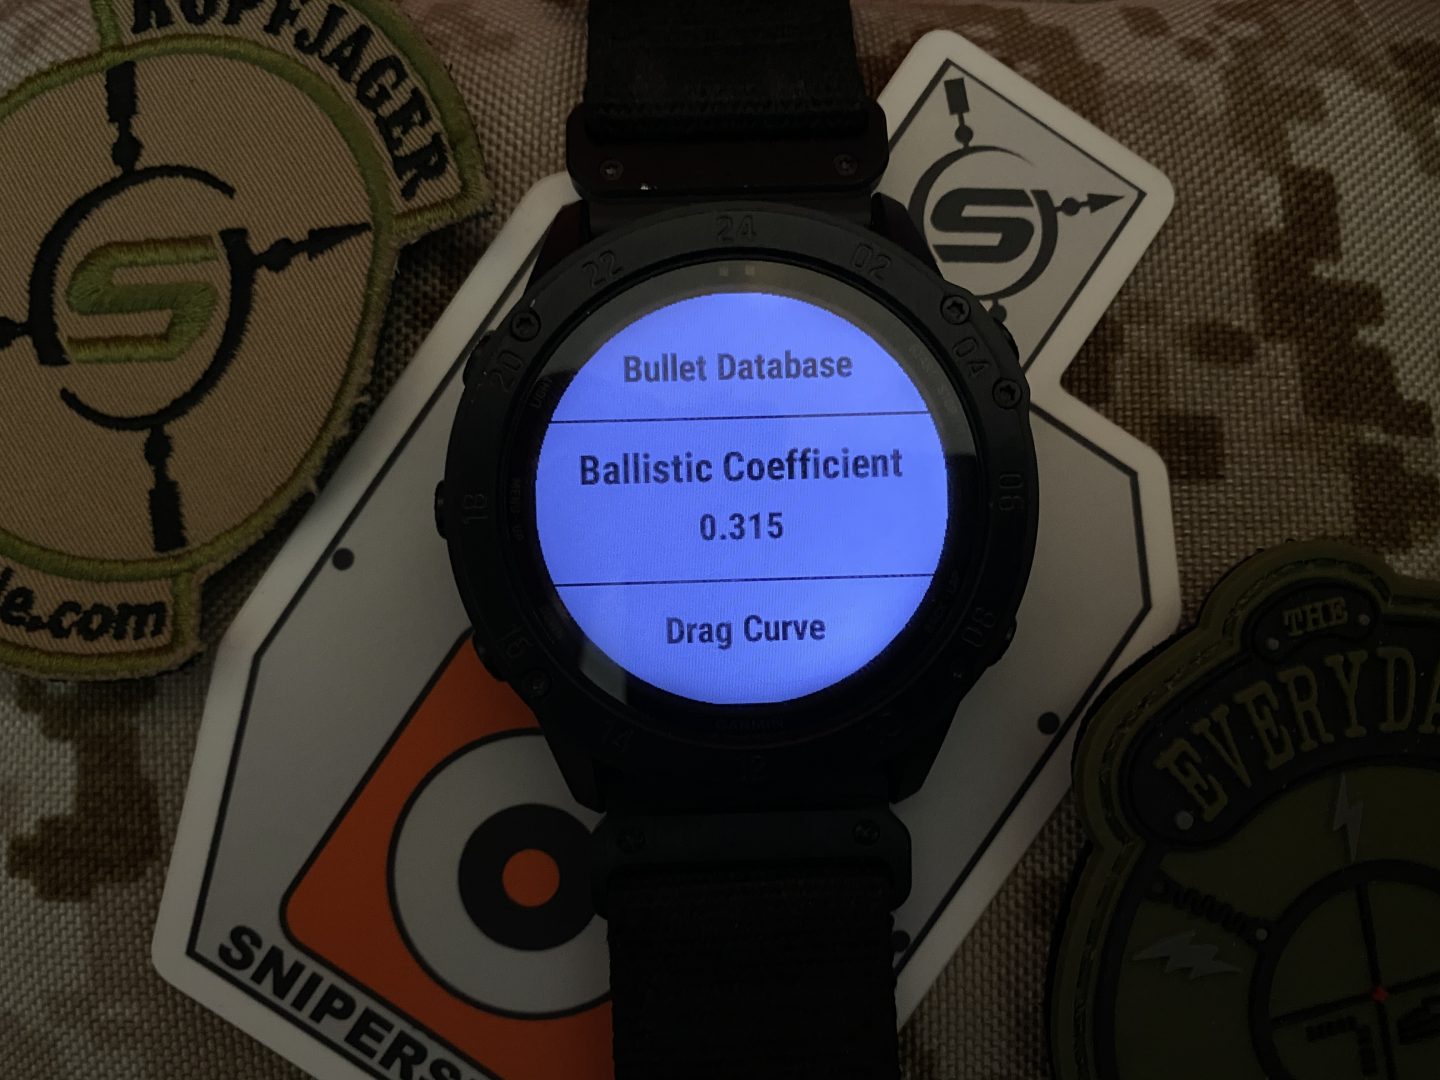
Once we know 600 and in has been appropriately lined up, we can look at 800 yards and out.
You can pick either 800 or 1000 yards, compare the data. If they are not aligned correctly on the computer, we can adjust the BC here. (It is possible to need no BC adjustment) 1000 yards and in should line up very easily with this method. If not, something else is amiss.
We adjust the BC at 800 because it will not corrupt the data at 300, like changing the muzzle velocity will. BC input needs time to work on the bullet; the shorter ranges are too close to affecting when adjusting BC.
I like to change the middle number of the BC, and it’s usually a pretty small change. This part is a bit of trial and error, as I don’t have a rule of thumb. Mainly because not all software lets me change it the same, so I have to scroll, tune, and adjust, but it’s usually a minor, albeit meaningful adjustment. Moving the middle number usually is enough to see it change.
That should be it; your software should work to distance at that point. Understand drops follow a pattern; if your pattern is erratic, you might have shooter influence or corrupt data. It’s not uncommon for newer and less consistent shooters to create more than one track to reach extended distances.
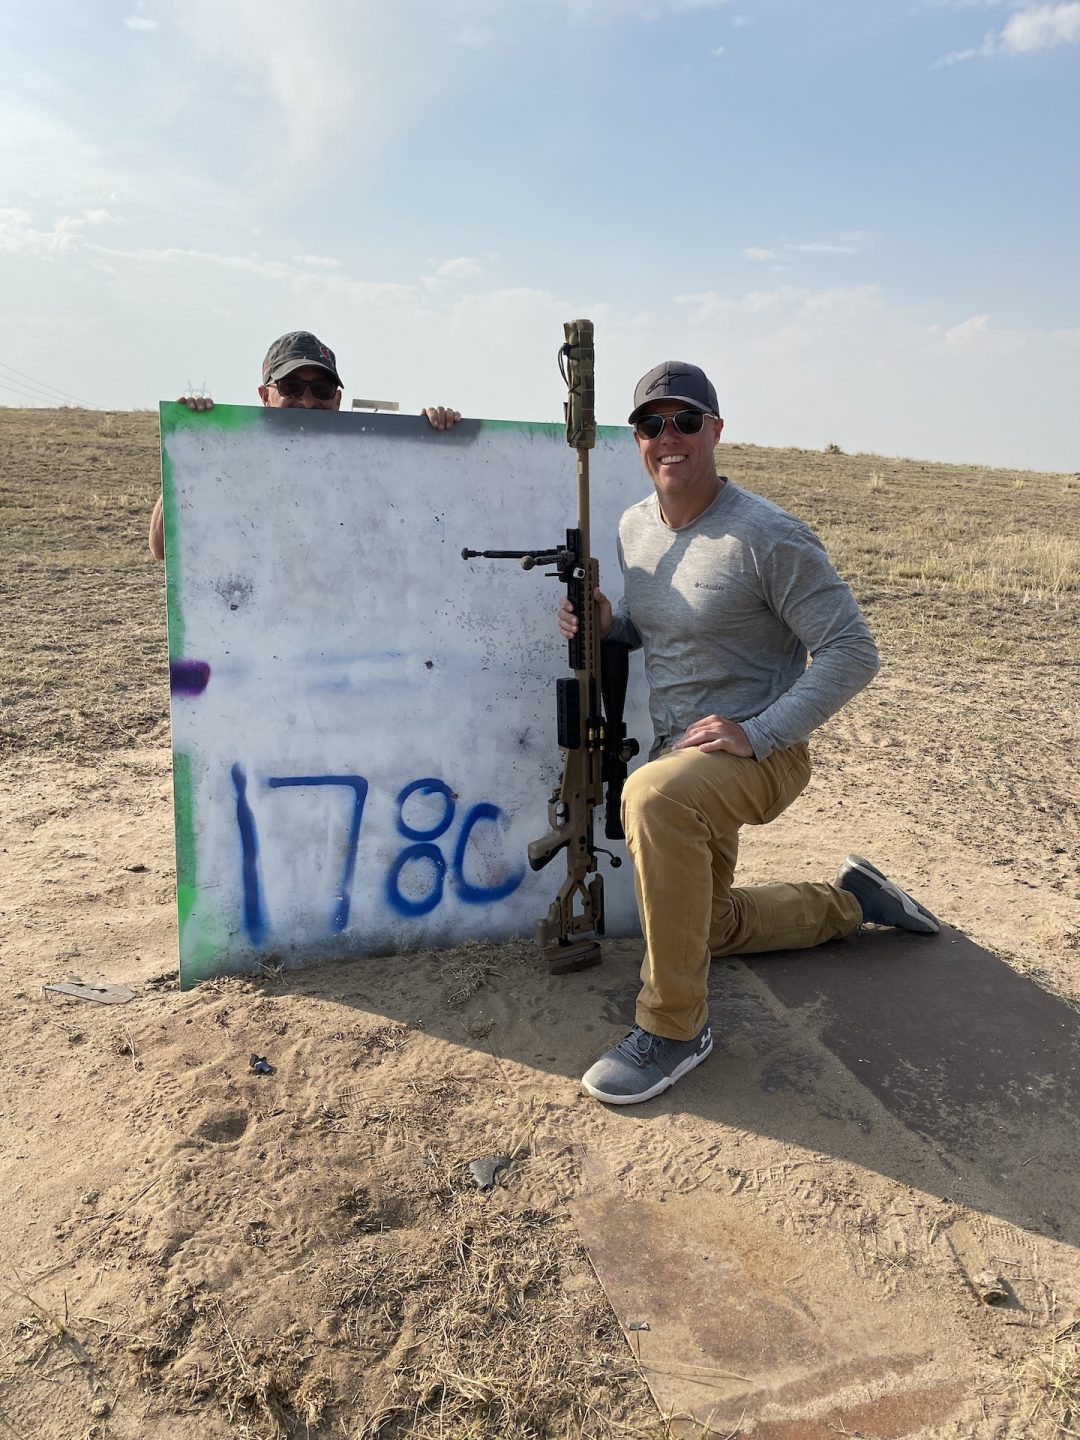
If you can shoot beyond 1000 yards, beyond 1250 yards, you may find the tracks don’t follow correctly. When this happens, I will often make a long and short set of profiles, so I am not breaking one to use the other. I split the ranges up if I find the computer is not tracking 100% beyond 1000. It happens.
Software is a tool; as a tool, it has limitations. Don’t put all your faith in a digital god; instead, look at the results and note the patterns as they appear before you.
Back up the computer, store this data, so if the phone breaks or the data is lost, you can easily recreate it. I like to put a hard copy in my datebook.
Putting it all together
Weaponized math can be downloaded in Mils, MOA, or specifically for .22 caliber rifles because their ranges are shorter. Sniper’s Hide stores all this information under the resources or use the search bar.
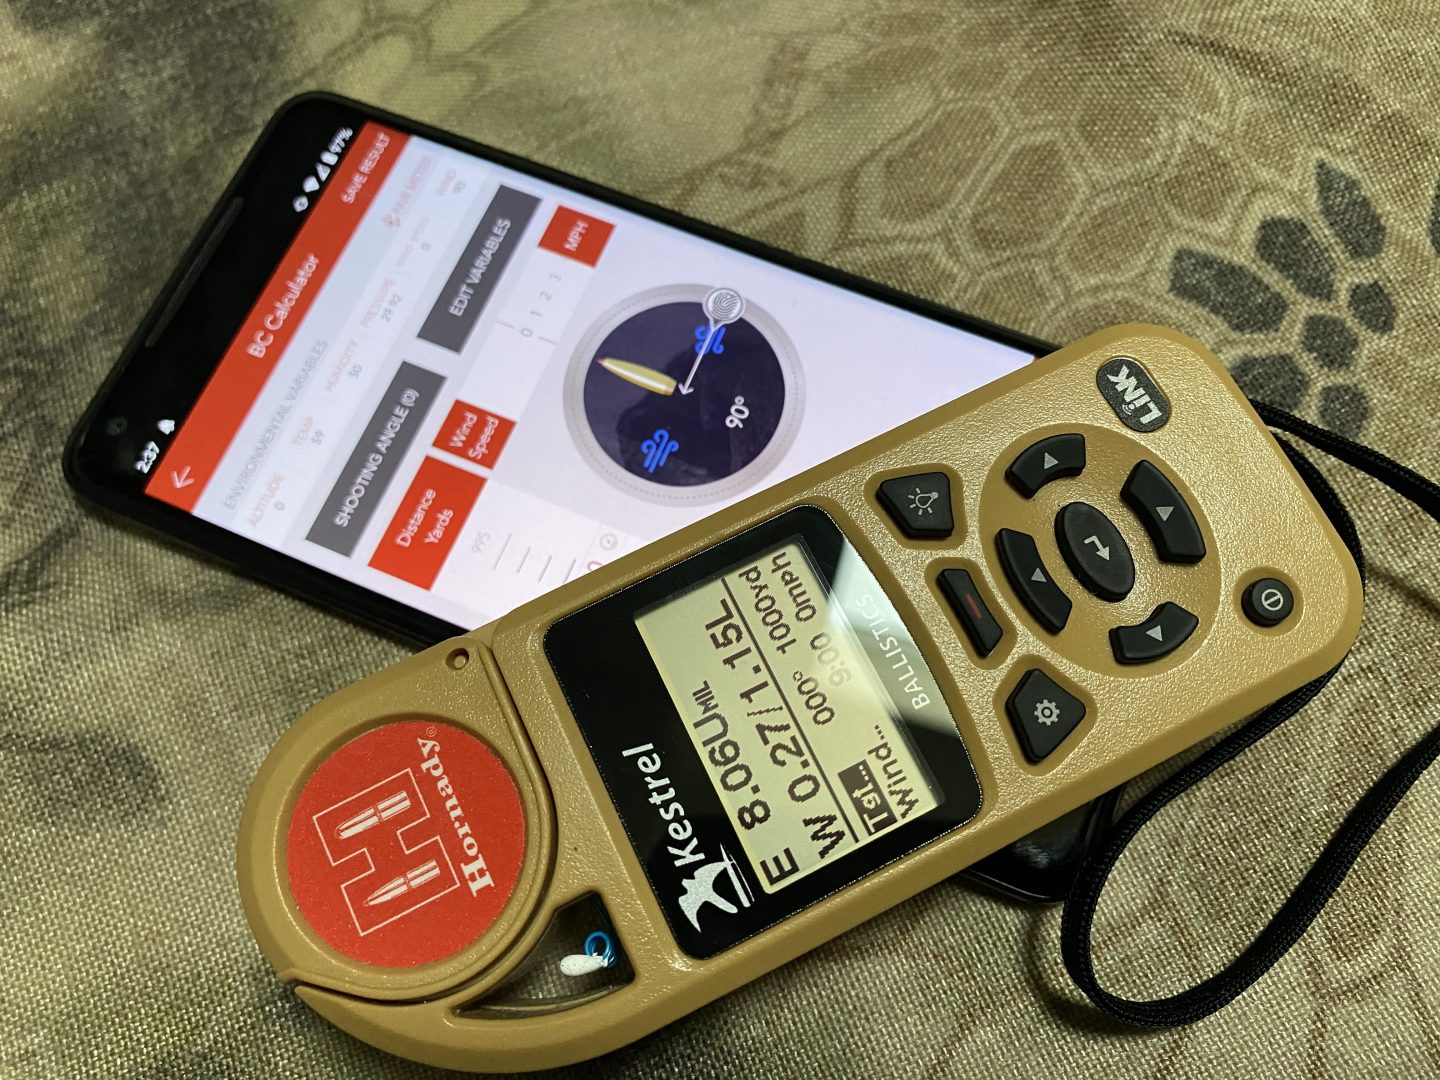
I understand the want to jump right into a ballistic computer. I own all of the software someone can and find myself defaulting to our weaponized math over the computer for accuracy and ease. The computers work well under actual conditions to modify the data for environmental changes that move our impacts. On my home range, I can recite most of my dope or at least get me on the plate. When I travel, I use the ballistic computer to make sure I don’t miss a change in conditions. With the locations I travel to, it’s not uncommon to have a full Mil of variation between my 1000 yard data. Colorado runs around 7.5, and a location like Alaska will be 8.6 Mils for the same rifle. This is the beauty of software; I can access these changes from my wristwatch and know I will be spot on. But I have to put in the effort first.
I hope this helps; head over to the Sniper’s Hide Forum for more. To follow up on this article be sure to order a copy of my book. A deeper dive into precision rifle shooting. Available at Amazon or in the Gun Digest Bookstore
