
This guide is designed to help shooters determine the maximum effective distance at which they can reliably hit a target of a specific size. The Hunter 1 Box Diagnostic focuses on measuring the shooter’s fundamental consistency, wind reading and variability, stress, and accounts for some ballistic uncertainty as the cone of fire extends to further distances. The calculations presented here are not simple extrapolations from a group shot at 100 yards or based solely on the wind conditions on the day of the test. Instead, they provide a comprehensive approach to evaluating likely hit or miss scenarios under various conditions.
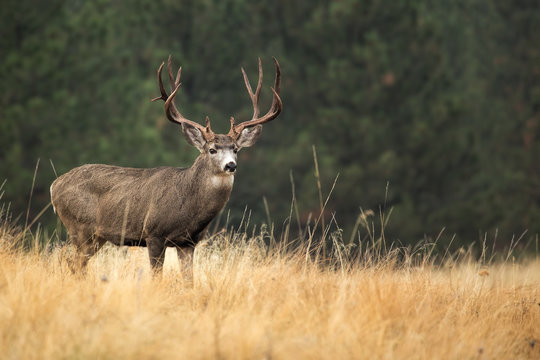
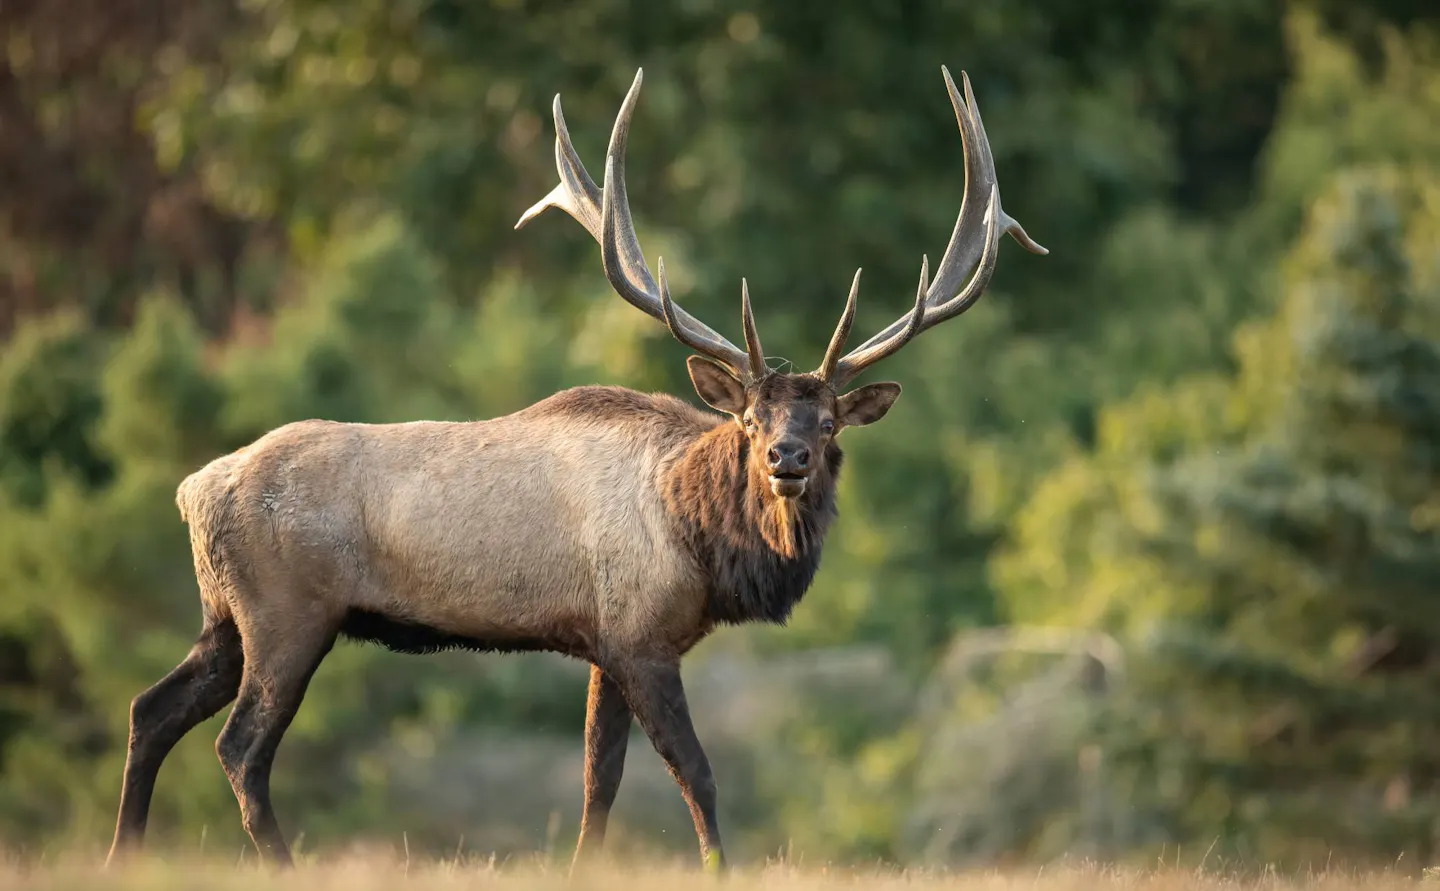
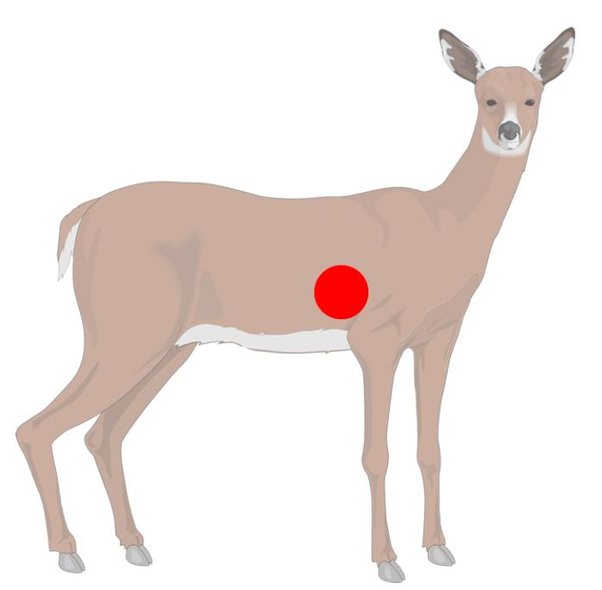
This Hunter diagnostic tool can be particularly useful in hunting situations, where ethical considerations are paramount. By assessing kill zone sizes for game animals and determining an absolute maximum no-shoot distance, hunters can make more informed decisions, reducing the risk of injuring or missing their target.
Step 1: Paper at 100 Yards
Shooting Positions and Sequence
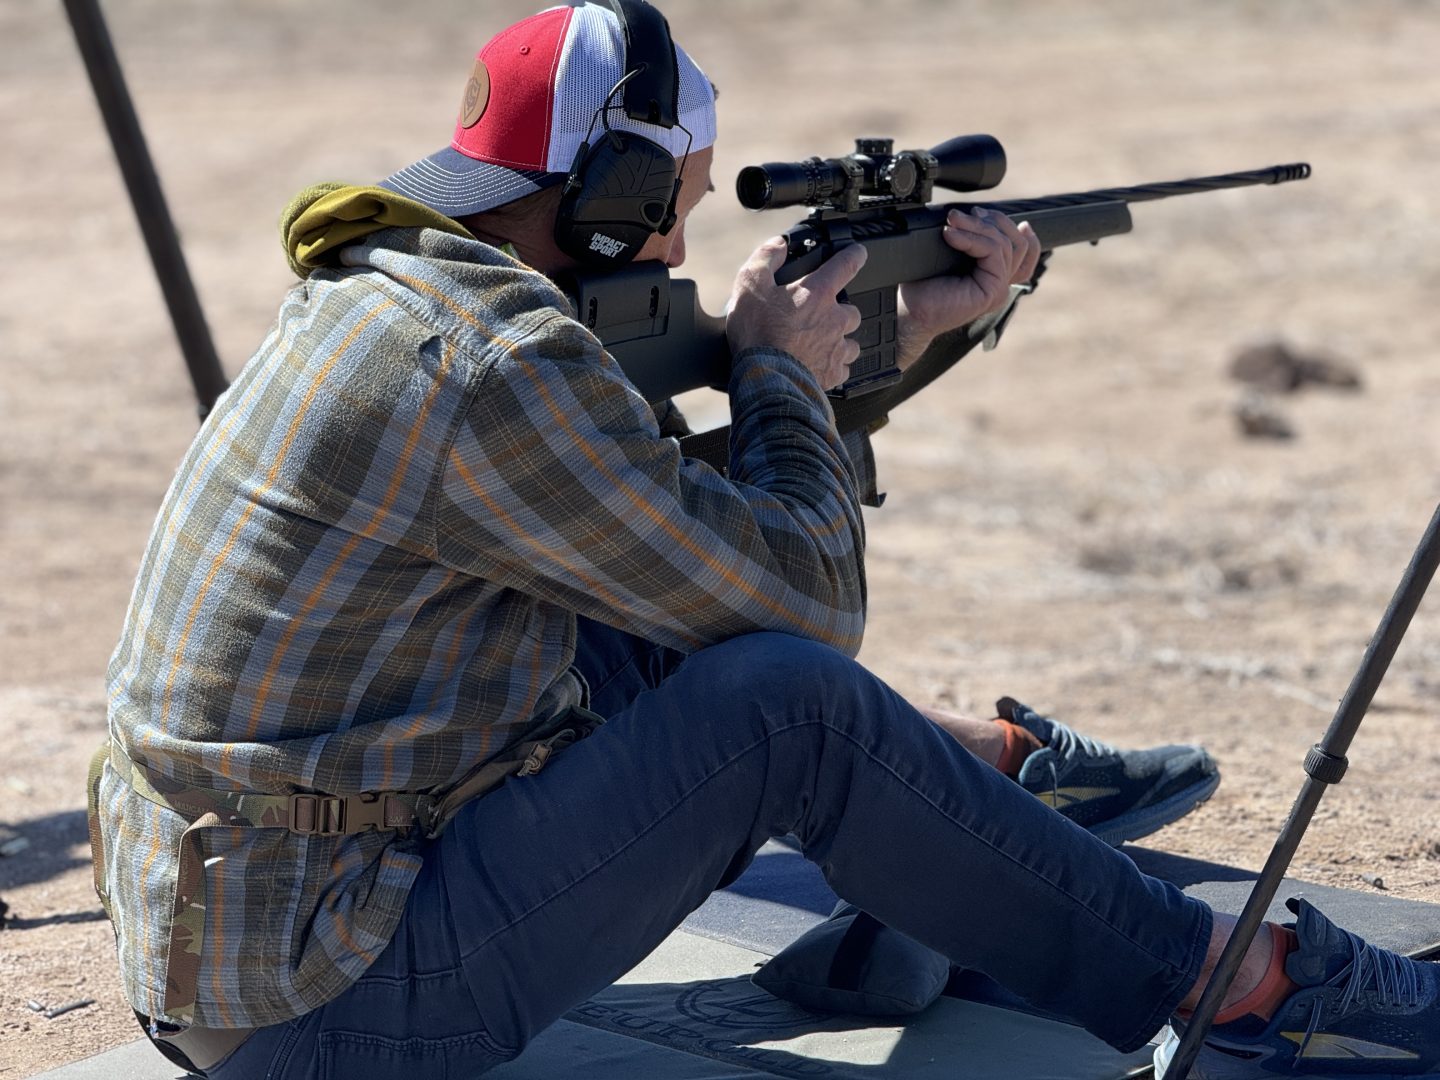
Perform the diagnostic from the three most likely positions you anticipate using during the hunt with the same equipment and ammunition. Follow a build-and-break sequence for each shot to simulate hunting conditions.
Sequence:
Build and Break Shots: Shoot from the three most likely positions you anticipate using during the hunt—three shots each, totaling 12 shots.
Measuring Group Size at 100 Yards
1. Shoot a Group of 12 Shots: Perform the sequence of 12 build-and-break shots described above at 100 yards, ensuring shots are equally distributed across the three most likely positions you anticipate using during the hunt.
2. Measure the Widest Shot: Measure the distance in mils from the center to the farthest shot in each position’s group. This measurement is your group size.
3. Record the Group Size: Note this value as your group size in the shot bracket calculation worksheet.
Group Size/Bracket Worksheet
| Shot Number | Impact Location from Center (mils) | Check if in the Outermost Ring |
| 1 | ||
| 2 | ||
| 3 | ||
| 4 | ||
| 5 | ||
| 6 | ||
| 7 | ||
| 8 | ||
| 9 | ||
| 10 | ||
| 11 | ||
| 12 |
Step 2: Wind
Measuring Wind Deviation Bracket
1. Shoot a Group of 8 Wind Shots: Choose a longer distance (determined by your gun’s effective range) and perform the sequence for wind shots, distributing shots from the three most likely positions you anticipate using during the hunt.
2. Measure the Widest Wind Deviation: Measure the distance in mils from the centerline to the farthest shot affected by wind. This is your wind deviation.
3. Record the Wind Deviation: Note this value in the Distance/Wind Worksheet.
Wind Deviation Worksheet
| Shot Number | Position | Distance (yards) | Wind Speed | Deviation (mils) |
| 1 | ||||
| 2 | ||||
| 3 | ||||
| 4 | ||||
| 5 | ||||
| 6 | ||||
| 7 | ||||
| 8 |
Step 3: Determine Shooter Bracket Value
Shooter Bracket = Combined Group Size and Wind Deviation Chart
1. Locate the Combined Deviation: Use the chart below to find the combined deviation based on your recorded group size and wind deviation.
2. Cross-Reference Values: Find the intersection of your group size and wind deviation to get the combined deviation.
3. Record the Combined Deviation: Enter this value into the Distance/Wind Worksheet.
Hunter Bracket Chart
| Group Size \ Wind Deviation | 0.1 mils | 0.2 mils | 0.3 mils | 0.4 mils | 0.5 mils |
| 0.2 mils | 0.2 | 0.2 | 0.3 | 0.4 | 0.5 |
| 0.3 mils | 0.3 | 0.3 | 0.3 | 0.4 | 0.4 |
| 0.4 mils | 0.4 | 0.4 | 0.4 | 0.4 | 0.5 |
| 0.5 mils | 0.4 | 0.4 | 0.4 | 0.5 | 0.5 |
| 0.6 mils | 0.5 | 0.5 | 0.5 | 0.5 | 0.5 |
| 0.7 mils | 0.5 | 0.6 | 0.6 | 0.6 | 0.6 |
| 0.8 mils | 0.6 | 0.7 | 0.7 | 0.7 | 0.7 |
| 0.9 mils | 0.6 | 0.6 | 0.7 | 0.7 | 0.7 |
Step 4: Scaling to Distance

Shooter Bracket at Distance Chart
This chart shows maximum ethical distance which combines deviations common to shooters as well as including an environmental factor/stress adjustment factored in as the distance increases.
Formulating a Maximum Ethical Distance
Calculated Maximum Ethical Distances using the Hunter Diagnostic
| Shooter Bracket | Coyote | Pig/Pronghorn/Smaller Deer | (Larger) Deer | Elk |
| 0.3 | 556 | 741 | 926 | 1111 |
| 0.4 | 417 | 556 | 694 | 833 |
| 0.5 | 333 | 444 | 556 | 667 |
| 0.6 | 278 | 370 | 463 | 556 |
| 0.7 | 238 | 317 | 397 | 476 |
| 0.8 | 208 | 278 | 347 | 417 |
| 0.9 | 185 | 247 | 309 | 370 |
This value is a hard stop and some of them are simply to show how it scales because there are many reasons to avoid longer shots even if you can hit.

This is a tool to help you understand the probability of you effectively hitting a target of a certain size at a certain distance. This does not take other factors into account that apply in hunting scenarios such as how much the animal might move while the bullet is in flight, the effectiveness of your cartridge (or even the type of bullet and how it was made), or the orientation of the animal. Among other things.Therefore, it is important to educate, test, and figure out for each combination of shooter, equipment, animal , about a good system for predetermining a maximum threshold prior to going out so that good decisions can be made in the field.
Once ready, you can create a range card that includes bracket and max range data, and ideally, test on kill-zone-sized targets. If you miss any shots during testing, it indicates that the distance is too far and your bracket was calculated incorrectly. Adjust as necessary.
To the field

Range Card
| Distance | Elevation | Wind | Bracket Size | Note Maximum Ethical Distance |
| 300 | ||||
| 400 | ||||
| 500 | ||||
| 600 | ||||
| 700 | ||||
| 800 | ||||
| 900 | ||||
| 1000 | ||||
NRL Hunter Insights, Looking at Hunter Competition. Use this Hunter Diagnostic to determine your ethical maximum range. Rather than winging it, set the standard and know.
Putting the Hunter Diagnostic Into Practice
With Hunting Season fast approaching, this one box diagnostic can arm the Hunter with the tools needed for the best possible results this hunting season. Know your limits, know your brackets, know your wind.
