I honestly don’t remember what year I came up with the Sniper’s Hide Dot Drill. I know I was working at Rifles Only, and it had to be around 2006, give or take a year, but since that time, I have seen the dot drill grow and expand beyond the original intention.

As a precision rifle shooter, shooting groups is a necessary evil. Some disciplines revolve around group shooting, like benchrest or F Class. As a tactical shooter, I look at it as more of a cross-the-course style of shooting. It’s not about the group size as much as the position used to get that first-round hit. We are looking to solve a dynamic problem versus repeating the same thing over and over. The reality is that we want to solve the shooting problem in the least number of rounds possible instead of stacking a group into a single target.
Practical Precision Rifle Shooting
Tactical Precision Rifle is more akin to hunting or a military-style engagement, making group shooting less relevant. Yes, we need to zero our scopes to our rifles, and group shooting gives us a metric to use, but after that, it’s a lesson in frustration.
Year after year, I travel the country teaching precision rifle marksmanship. We see close to 200 students a season, giving us a broad view of equipment and shooters. Since I am teaching marksmanship, the basics are essential; we spend a fair amount of time at 100 yards. You can see it in the student’s eyes, the breaking down and building back up their skills. Many have learned to master their bad habits, so they do very well shooting groups at 100 yards. Nearly everyone has access to 100 yards, and many will spend an endless amount of time there looking to squeeze every ounce of precision out of their system. But it’s not real; as soon as you move them beyond the 100-yard line, things immediately fall apart.
The Dot Drill is designed to get people out of the habit of using 100 yards to shoot groups. The reality is, if you want to practice shooting groups that will help you, 100 yards is not the place. After you zero your scope, you need to move away from 100 as quickly as possible. 200 and 300 yards are where you practice groups, not in close. Trust me when I say the group size is not going to grow linearly. Shooting 1/2 MOA at 100 yards does not mean you are shooting 1 MOA at 200. The reality is, the groups will grow by a magnitude that you cannot immediately quantify. Most likely, it will appear 1.5x bigger until you learn to master the fundamentals.
As stated above, one hundred yards is a necessary range; it keeps us in a controlled space that minimizes the wind and atmospheric effects while we practice the fundamentals. So how do we keep from getting frustrated by our groups,
One-Shot, One Kill, the Sniper’s Hide Dot Drill.
Before I get into the Dot Drill, know your only limitation is your imagination. You can use the drill to shoot a group; you can use a single target and change the engagement methods. The idea is to think outside the box.
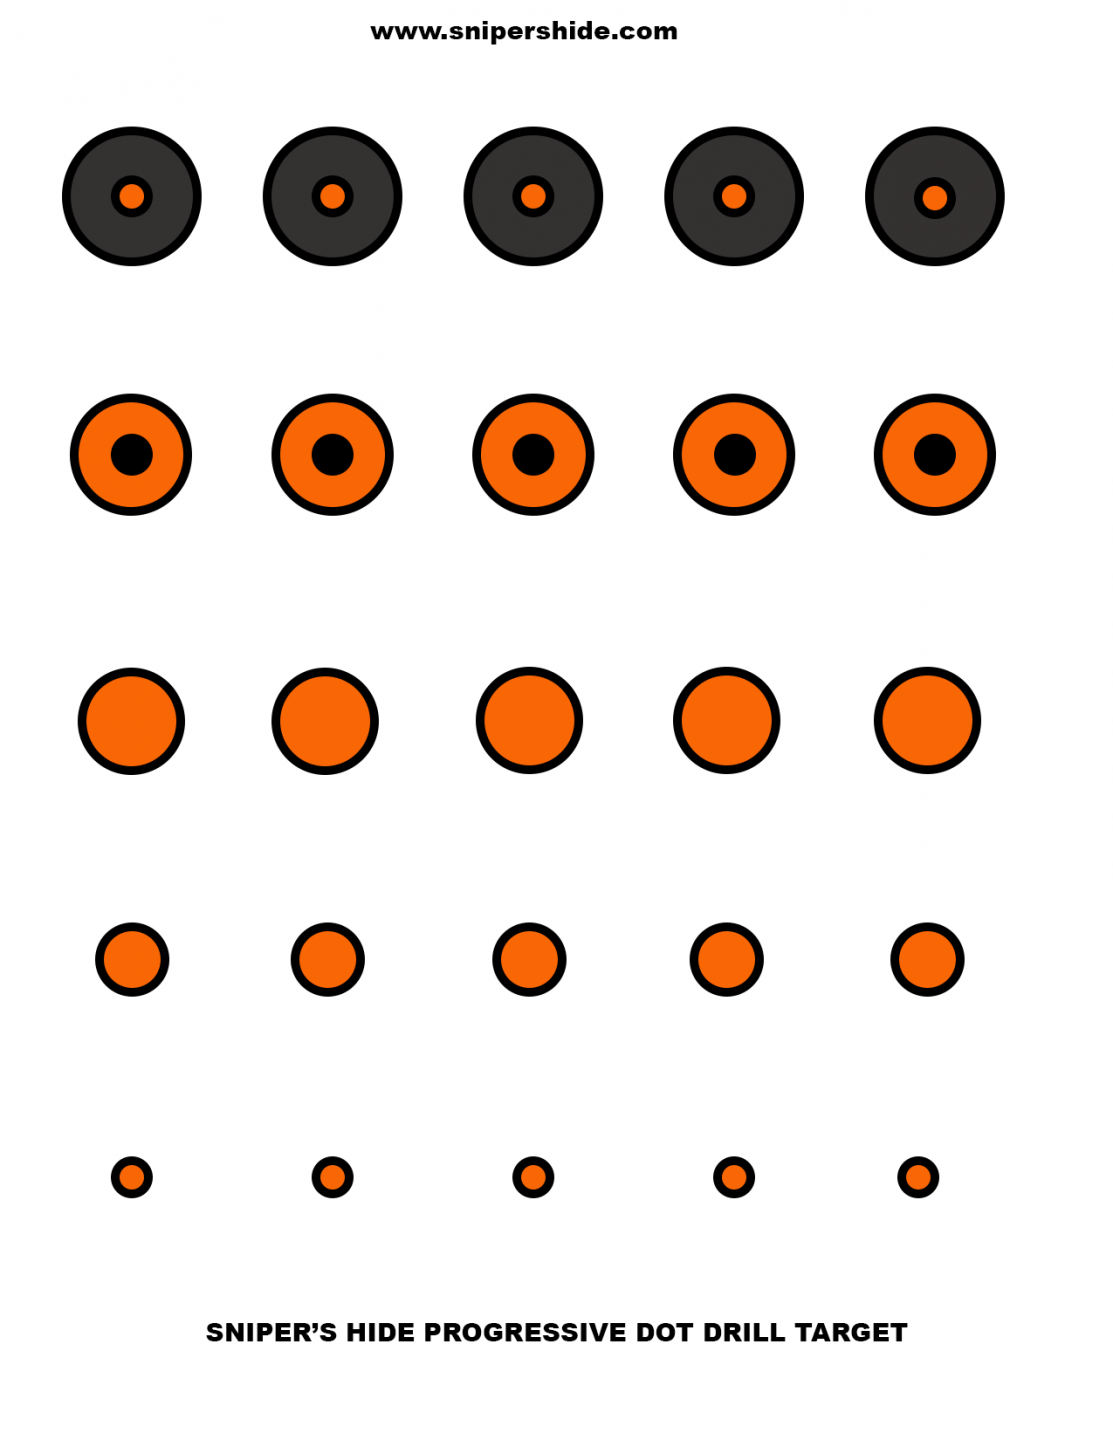
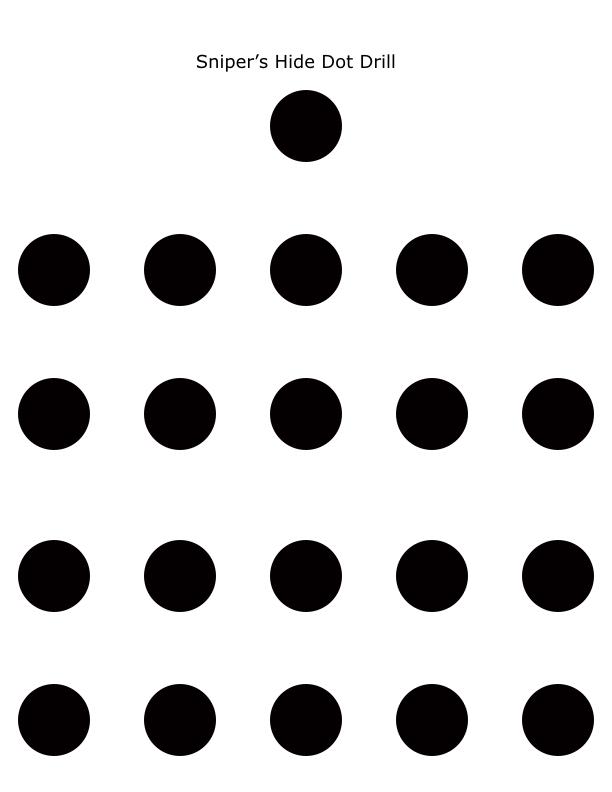
Initially, the dot drill was envisioned using a standard of 1″ dots at 100 yards. Since then, you can use progressive dots that get smaller as you go or shrink the targets, so you have smaller dots, 3/4″ or smaller. I set it up, so you had a single box of ammo worth on one page. It is easy to print and easy to put downrange; the only issue is whether your range will let you go prone or work between their bench.
Each row with the Sniper’s Hide Dot Drill is a different drill. We are one shot, one kill type of shooters, so don’t run a 20 shot relay in a single sitting. You can do the 21 shot drill, which includes a single cold bore dot at the top of the page. That allows you to monitor and track any variation you or your rifle might have, but the reality is, the 20 dot page is plenty. If you need to shoot a cold bore test, use at least three rounds to understand where the other shots go regarding the first.

According to the original intent, the first line is slow to fire, five rounds in 1 minute. You engage these targets from the prone position. In this case, you want everything perfect to set the standard. It would be best if you had a solid zero; this way, any variation is shooter induced and not a product of the rifle and scope being off. If you have not already done so, I highly recommend resetting your scope turrets to Zero / Zero so you have a reference point.
The following line down, row two, is shot from the support side.
One round per dot from your alternate side. That includes your alternate trigger finger, not just moving the buttstock to your opposite shoulder but practicing with the opposite hand. A quick trick, if you find it hard to get a sight picture to try dropping the cheek rest down. Give yourself 1 minute for this row as well.
Our 3rd row is where we start to get a bit more dynamic. People always ask me, what is your advanced class. Well, that is super easy; it’s executing the fundamentals faster and from alternate positions. It’s simple; you want the same level of excellence under time off your belly. Across the Course Guys, right. So the 3rd row is the speed drill, five shots, one per dot in under 30 seconds. Most will average less than 20, but often people need to work into it. It’s on this row you might see things change. Are the shots being pushed low? Students were lament something happened because every shot was in a perfect row at 5 O Clock on or off the target. It’s usually so consistent; they will argue something has to be wrong.
Be Dynamic
Part of tactical precision rifle shooting is the speed element. We may not always be able to manage every condition in the field. In those cases, we want to react and shoot as quickly as possible to send a follow-up shot to solve the problem. That follow-up shot should be coming within 3 to 5 seconds of the first shot. You cannot execute this skill without practice. The Sniper’s Hide Dot Drill is meant to give you this practice even when you may not have access to distance. Ideally, I want to practice my follow-up shots at 400 yards, but that is not always possible. Some shooters don’t have access to distance, considering the average range out there is 200 yards.
The last row is where you develop your speed and target acquisition. We call this part the Up-Down Drill. It’s designed to get you off the ground and back on the rifle as quickly as possible with a descending time.
With the final row on your page, each dot is a separate target. Use a shot timer or someone offering up a “gun” command to begin. We start with the rifle pointing downrange, bolt back, a magazine with five rounds inserted. You want the rifle naturally aligned to the target board. The shooter standing up behind the rifle will have 15 seconds to drop down and fire one shot at the first target. Once the round is fired, reset the rifle on the next target. This is the up and down part; you get up, then get down, fire, and get back up.
The times for each target get harder and harder. You start with 15 seconds, then move to 12 seconds, 10, 8, and finally, you shoot the final target in 6 seconds. We have even executed this drill on the move, walking towards a target giving the “gun” command. You can go rifle in hand and change the times; instead of 15 seconds, start with 30 seconds and move down from there. Imagination, use it.

The Sniper’s Hide Dot Drill has lasted a long time. You can find the targets for download all over the internet. They all don’t credit Sniper’s Hide for the creation, but the results are the same.
Mix up the targets and change the ranges; the target you engage with is not as important as the methods. Use time as a stress factor as well as the target size.
Paper doesn’t lie and will give you the truth when it comes to your shooting.
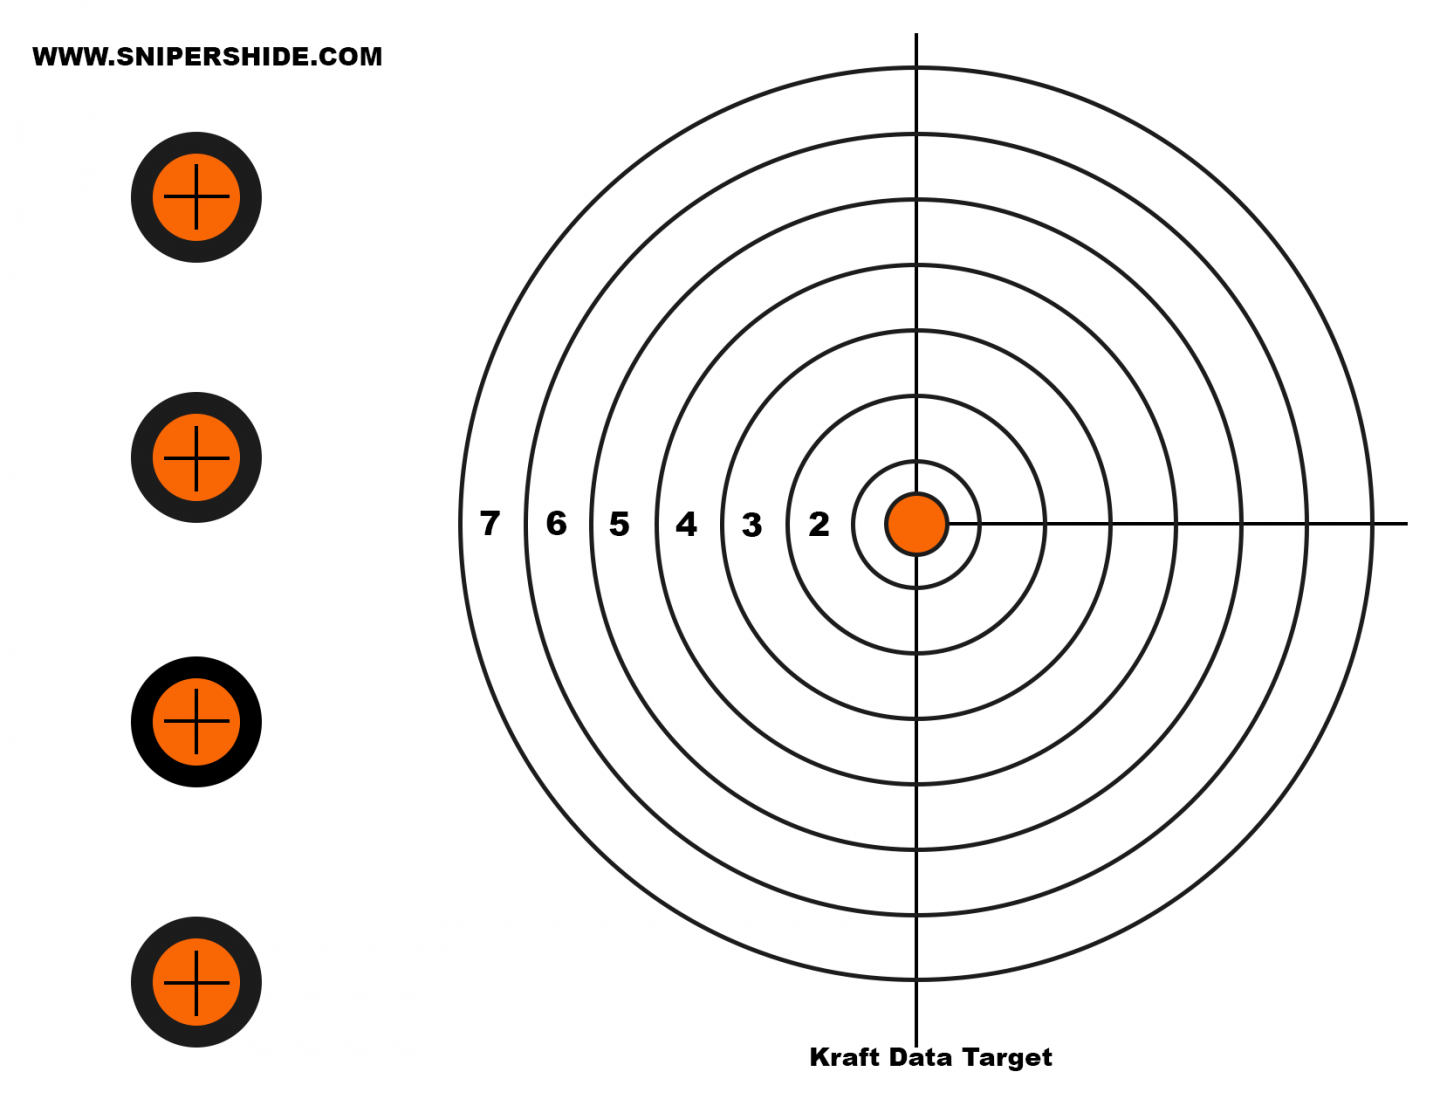
The Kraft Drill from Chris Way is a variation on this idea, just done on a single target. You use multiple positions, build and break drills to execute the variation. It’s definitely worth the try and you can find more in the Kraft Thread in the forum.

