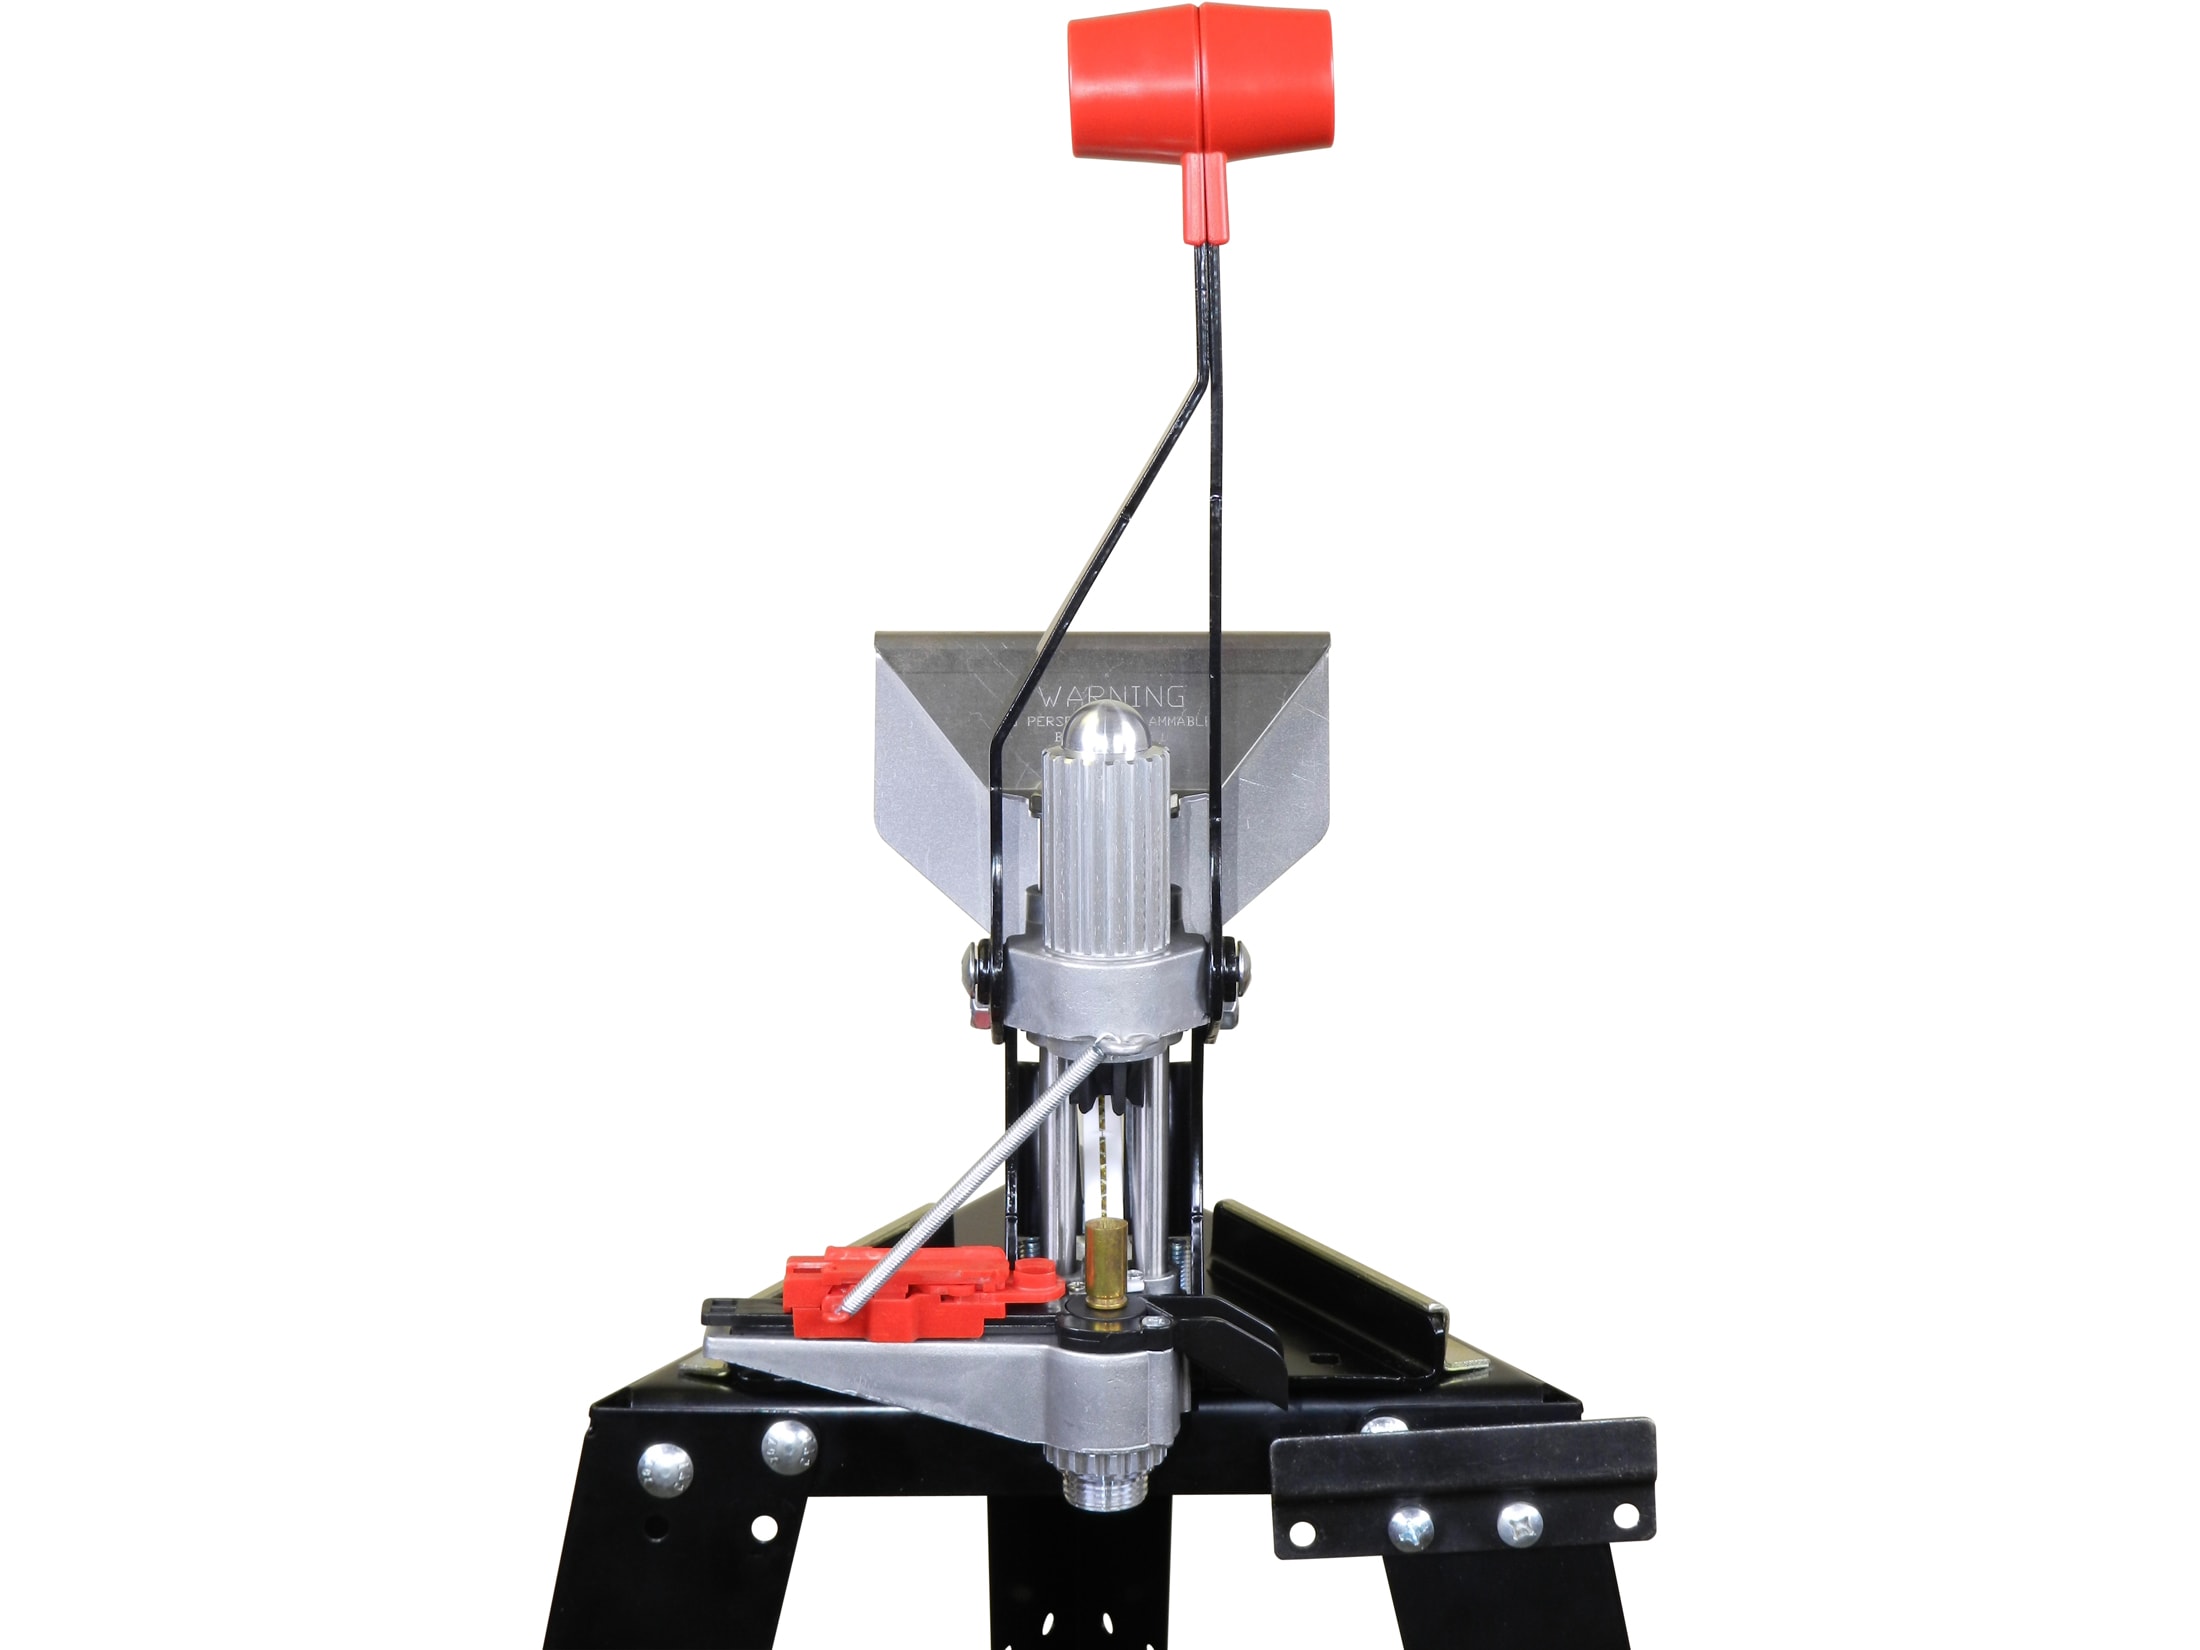
Accuracy One premier primer guage odd Measurements

bbowles

Sergeant
Full Member
Minuteman
Supporter
Oct 13, 2013
406
32
Missouri
Recently bought this and not sure why I am getting some weird measurements in primer pocket depths. I have new and once fired brass from Lapua, Alpha and Nosler in 6.5 Creedmoor with large rifle primer. When I measure pocket depths in all 3 with Mitutoya calipers compared to this tool I get consistently about 0.005 less depth than calipers. I would assume this Accuracy One tool is more accurate. However, this 0.005 less is unreasonable since most sources have said depths should be about what my calipers say. Example for caliper readings: Nosler 0.127, Lapua 0.127, Alpha 0.131.
When I use the tool to measure loaded rounds it is spot on.
 
Are the primer pockets a) cleaned b) uniformed? Which end of the probe tip on the Accuracy One device did you use?

The tail of your calipers are probably touching in the middle of the pocket, near the flash hole. The Accuracy One probe tends to contact out by the corners of the pocket. Depending on the contour of the pocket - ie if they haven't been cleaned or uniformed, there may be a corner radius that could give you a false reading.
 
I thought the same. However, I even checked Virgin brass and was same .005 difference. I do not uniform or clean. I do tumble in rice for two hours and get a decent cleaning job. I checked with calipers and made sure to check pockets towards outside like this tool.
I would assume your thoughts were correct. However, nobody seems to be getting pocket depths in the 0.122 to 0.123 range like this tool is getting.
Also I am putting concave down in body like instructions said. I even flipped the stem to flat down but about same reading. Odd to get around 0.005 less with this tool.
 
Recently bought this and not sure why I am getting some weird measurements in primer pocket depths. I have new and once fired brass from Lapua, Alpha and Nosler in 6.5 Creedmoor with large rifle primer. When I measure pocket depths in all 3 with Mitutoya calipers compared to this tool I get consistently about 0.005 less depth than calipers. I would assume this Accuracy One tool is more accurate. However, this 0.005 less is unreasonable since most sources have said depths should be about what my calipers say. Example for caliper readings: Nosler 0.127, Lapua 0.127, Alpha 0.131.
When I use the tool to measure loaded rounds it is spot on.
Using my Accuracy One tool I get .127 for my virgin Lapua large primer pockets. I've also compared what my Mitutoyo caliper measurements with different brands and it's always been the same as the Accuracy One.

When I measure the length of the Accuracy One's Large Primer Stem, it measures 1.437 and the diameter is .2075". What doe yours measure? Though the difference in length shouldn't make a difference when zeroing the tool. When I zero my tool it'll read -.1985 and resting it on a flat surface I get -.0995. These are just some numbers to see if yours has anything different. 🤷‍♂️
 
  • Like
Reactions: RegionRat
I have the same tool... but with two 'upgrades'. One, a much better indicator (Mitutoyo, reads to 0.0001 not 0.001"). And two, a different tip on said indicator, that screws directly onto the stem of the Mitutoyo and eliminates the need for the doo-dad probe that Accuracy One ships the tool with. So I get *very* accurate - and consistent - reads.
 
  • Like
Reactions: RegionRat
Using my Accuracy One tool I get .127 for my virgin Lapua large primer pockets. I've also compared what my Mitutoyo caliper measurements with different brands and it's always been the same as the Accuracy One.

When I measure the length of the Accuracy One's Large Primer Stem, it measures 1.437 and the diameter is .2075". What doe yours measure? Though the difference in length shouldn't make a difference when zeroing the tool. When I zero my tool it'll read -.1985 and resting it on a flat surface I get -.0995. These are just some numbers to see if yours has anything different. 🤷‍♂️
My Virgin Lapua are .127 with calipers and .122 with Accuracy One.
I am not too where I can measure the stem. However, I know my tool always reads negative .201 when zeroed.
Will have to measure stem later but would think when zeroed it wouldn't matter?
 
I have the same tool... but with two 'upgrades'. One, a much better indicator (Mitutoyo, reads to 0.0001 not 0.001"). And two, a different tip on said indicator, that screws directly onto the stem of the Mitutoyo and eliminates the need for the doo-dad probe that Accuracy One ships the tool with. So I get *very* accurate - and consistent - reads.
Which Mitutoya model and where do I get that tip?
 
  • Like
Reactions: TheOE800
This appears to be a very simple tool but I feel like I am missing something stupid to be off so much. .003 to usually 0.005 less is huge difference in getting my seating depths correct.
 
The original link I bought it through no longer works, but this is the description:

Mitutoyo 543-793B Absolute Digimatic Indicator, ID-S-Type, Flat Back, #4-48 UNF Thread, 3/8" Stem Dia., 0-0.5" Range, 0.0001" Resolution, +/-0.00012" Accuracy, Meets IP42 Specifications

Note that #4-48 UNF thread. That's the thread for the tip. You can get sets of extensions for it, like this.

Might actually be worth just getting the extensions first, and bypassing the double-headed probe and see if that remedies your problem. This guy is where I learned about these parts. He really loves getting into the metrology aspect of this stuff. But the $300+ indicator may not be really needed for what you want.
 
  • Like
Reactions: RegionRat
Thanks! Will probably just get both. This tool will be very nice once I figure out it.
I bought their bullet seating depth tool that measures shoulder to ogive and it's very repeatable and very fast.
 
The original link I bought it through no longer works, but this is the description:

Mitutoyo 543-793B Absolute Digimatic Indicator, ID-S-Type, Flat Back, #4-48 UNF Thread, 3/8" Stem Dia., 0-0.5" Range, 0.0001" Resolution, +/-0.00012" Accuracy, Meets IP42 Specifications

Note that #4-48 UNF thread. That's the thread for the tip. You can get sets of extensions for it, like this.

Might actually be worth just getting the extensions first, and bypassing the double-headed probe and see if that remedies your problem. This guy is where I learned about these parts. He really loves getting into the metrology aspect of this stuff. But the $300+ indicator may not be really needed for what you want.
This one?
 
As long as you’re only using one tool, as long as it’s consistent, it doesn’t matter. At that point it’s just a comparator.

Also, trying to compare an indicator to calipers is generally a waste of time. Your calipers are only going to be good to about .002 and then there’s the variation in human use that can easily skew it more.

Not to mention, you’re not going to be able to shoot the difference in primer seating depths. As long as the primer is seated fully into the pocket and not protruding, it’s not going to be a source of inconsistency enough you will see it on your chrono or target.
I completely understand and agree with all you said. Just bugs me that it is off .005 as average AND can't be a true number. Never heard anyone have Lapua, Alpha and Nosler ALL have pockets this shallow for 6.5 Creedmoor. Readings from Accuracy One are twice fired and Virgin Lapua .122, Virgin Alpha..126, twice fired Nosler .118 over 20 samples each. Caliper reading are .126, .131 and .127, respectively.
The Lapua and Alpha were consistently .004 to .005 lower than caliper readings. Nosler pockets have never been touched and ranged from .114 to .124 with the AO tool.
 
Last edited:
Using my Accuracy One tool I get .127 for my virgin Lapua large primer pockets. I've also compared what my Mitutoyo caliper measurements with different brands and it's always been the same as the Accuracy One.

When I measure the length of the Accuracy One's Large Primer Stem, it measures 1.437 and the diameter is .2075". What doe yours measure? Though the difference in length shouldn't make a difference when zeroing the tool. When I zero my tool it'll read -.1985 and resting it on a flat surface I get -.0995. These are just some numbers to see if yours has anything different. 🤷‍♂️
My stem was 1.438 long. Concave end diameter .2038 and flat end was .2066. Weird to have two different diameters for the stem ends.
 
If it really is a curvature issue or a corner radius/defect issue with the brass, then the narrow end of the caliper tailstock can be used to check the difference near the outer diameter of the pocket versus the center.
If the OP has a pocket uniforming cutter, then a light touch without intentional cutting can show those issues.

The Accuracy One probe anvil is contacting near the outer diameter and the whole point of the concave end versus the flat end is to give the user their preference for the potential differences in resting on those places.

Lets say there might be a defect in the tooling for talking purposes.

If we were in the labs, to debug this I would first take a good stereo microscope and examine several pieces of the brass pockets to look for anything that might explain this quickly. Failing that, I would proceed to test the instrument.

A 1-2-3 block and a set of gage blocks can be set up to create a height difference to very fine accuracy and the instrument should read those steps to within less than the 0.005" the OP is reporting.

Hard to say if the OP would have access to a very flat reference and some gage blocks, but you can fake this with anything that is ground parallel and roughly the correct height difference and a hole or step that will support the instrument base. A micrometer caliper can be used to measure anything close enough to substitute for gage blocks and answer the fundamental questions.

Like we see in those linked videos, there can be errors due to the null and resolution of the gage combined with the play of the anvil probe. Add in the less than perfect surfaces of brass cartridge bases and primer pockets, and my guess is you would only expect to be within +/- 0.001" if the brass is in good shape. I agree that there shouldn't be an unexplained 0.005" bias between the two methods, so something sounds wrong.

When I am running large batches of brass, I sometimes get an unexpected reading. I stop and double check if it is me, the tool, or the brass is really to blame. If you spin brass or recheck, you will usually get to the bottom of a bad reading without a research project. However, getting a 0.005" bias across the board is not normal. Something will jump out if the OP takes a closer look.
 
  • Like
Reactions: straightshooter1
If it really is a curvature issue or a corner radius/defect issue with the brass, then the narrow end of the caliper tailstock can be used to check the difference near the outer diameter of the pocket versus the center.
If the OP has a pocket uniforming cutter, then a light touch without intentional cutting can show those issues.

The Accuracy One probe anvil is contacting near the outer diameter and the whole point of the concave end versus the flat end is to give the user their preference for the potential differences in resting on those places.

Lets say there might be a defect in the tooling for talking purposes.

If we were in the labs, to debug this I would first take a good stereo microscope and examine several pieces of the brass pockets to look for anything that might explain this quickly. Failing that, I would proceed to test the instrument.

A 1-2-3 block and a set of gage blocks can be set up to create a height difference to very fine accuracy and the instrument should read those steps to within less than the 0.005" the OP is reporting.

Hard to say if the OP would have access to a very flat reference and some gage blocks, but you can fake this with anything that is ground parallel and roughly the correct height difference and a hole or step that will support the instrument base. A micrometer caliper can be used to measure anything close enough to substitute for gage blocks and answer the fundamental questions.

Like we see in those linked videos, there can be errors due to the null and resolution of the gage combined with the play of the anvil probe. Add in the less than perfect surfaces of brass cartridge bases and primer pockets, and my guess is you would only expect to be within +/- 0.001" if the brass is in good shape. I agree that there shouldn't be an unexplained 0.005" bias between the two methods, so something sounds wrong.

When I am running large batches of brass, I sometimes get an unexpected reading. I stop and double check if it is me, the tool, or the brass is really to blame. If you spin brass or recheck, you will usually get to the bottom of a bad reading without a research project. However, getting a 0.005" bias across the board is not normal. Something will jump out if the OP takes a closer look.
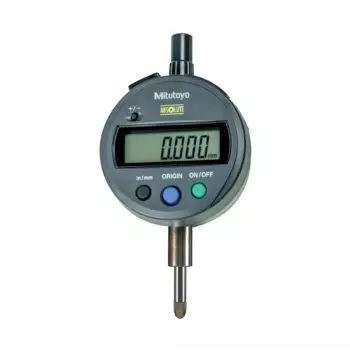
Agree with you. Your last sentence is exactly what keeps me scratching my head though. I use the stem of my Mitutoya calipers and poke against the outer edges in 3 or 4 places on at least 20 pieces of brass on all 3 brands of brass with same lot numbers. I consistently get these variances compared to the ACCURACY ONE guage. Each tool gets consistent measurements. However, comparing the ACCURACY ONE to Mitutoya calipers is always about .005 different. I am very careful to get the brass square into the tool and have zeroed the gauge a hundred times. Will look at it again tonight with fresh eyes and hopefully a fresh brain and maybe I will find my mistake.
 
Also, I only get about a .001 difference in measuring pocket with the concave vs flat end using the Accuracy One. So it doesn't seem to be an issue of WHERE I am measuring on the bottom of the pocket.
I would simply use this tool as a comparator as Rio suggested, however, it bugs me that I am missing something simple on such a s simple tool.
 
Going to contact Accuracy One tomorrow. Have tested so many cases now and can't come up with a why. When I change brass brands or even lot to lot it will be hard to know how deep the pocket really is or if I try different primers. By the way I use a CPS priming system which seats very consistently.
 
Going to contact Accuracy One tomorrow. Have tested so many cases now and can't come up with a why. When I change brass brands or even lot to lot it will be hard to know how deep the pocket really is or if I try different primers. By the way I use a CPS priming system which seats very consistently.

What kind of consistency are you seeing out of cps? Cc450?
 
Yes. Usually.001 to .002. Rarely more. However, this is only from measurements from Mitutoya calipers. My Accuracy One I don't trust enough yet to know better than that. Sending it back to AO tomorrow to get it looked at. Getting .005 shallower pocket heights than think could possibly be with the AO guage.
Odd thing is the AO bullet seating depth guage is awesome. Rarely ever off even a .001. I used the same indicator on both guages yet the primer pocket gauge is not consistent and just doesn't seem right. Will know soon.

Thank you. The primer and give tool are both on my want list but haven’t justified yet when I have the sac comparators - good luck with yours
 
What I like is how fast you can check seating and priming depths. I am confident Accuracy One will get me lined out. I expect I am missing something dumb. Lol. Have Merry Christmas.
 
1-3 thou variance? I get a lot of that comes from rim thickness but just curious as another cps user who doesn’t have an accuracy one
Yes, for those primer seaters that index of the rim thickness, like my 21st Century hand primer where I can get ~ .002 variance. But with my Lee ACP priming tool I get very consistent seating depths an occasional +/- .0005" variance since it indexes of the base of the case (a pin pushed down inside the case and locks it down while the primer is pushed into the case). Even to get that kind of low variance, there's some development of feel or it can really crush the primer since there's no hard stop.

Lee has discontinued the ACP, but they do have the APP which is very similar and with a little modifications, can work like the ACP.

It appears someone has made some good modifications to an ACP, but I don't know how legit it is:
 
I’ve had a hell of a time since using my AO primer seating comparator on lapua 6.5 PRC brass. I’m all over the place. It’s as though I can’t get a consistent flush feel with the brass pressing into the instrument. Frustrating as all get out.
 
Guess I am not alone. I can insert it and get reading and do 10 more one after another and get different readings. Not just a .001 or .002 either. It's like it is galling slightly. And all the readings are about .005 less than should be. I sent mine back to check it out. I think they will get it right.
The bullet seating guage, which also uses a similar body and using SAME indicator as used on primer body, works perfectly! I can insert loaded rounds and it reads almost every time exactly the same. Love it!
I am gonna see what happens with yours. Your exactly right it can be 0.005 of and galls the rim a bit. I never had this problem with my 7 SAUM brass or others. My 7/6.5PRCW is an absolute PITA in regards to that tool.
I also agree my bullet seating comparator is right on the money.
 
I just gotta ask…if you uniform pockets, theoretically there’s no need for this gauge?

In my experience... unless you have something like this gauge, or are very good using your calipers for a depth gauge, to check... you may not be getting as consistent results as you'd expect just uniforming the pockets. Whether that matters is a whole 'mother topic...

I do find it particularly useful - and easier to use - when checking primer seating depth. I don't go particularly overboard (I think) with it, but different primers, different brands of brass / pocket depths... I like to make sure the anvil is touching, plus a little extra. Call it 'crush', compression, consolidation whatever you like.
 
I just gotta ask…if you uniform pockets, theoretically there’s no need for this gauge?
I am always loath to cut on new high quality brass primer pockets, but over my lifetime I have in fact had batches where the depth was so shallow that I did this in order to keep my seated depth at least 0.004" and manage the crush.

Without gages, you can learn to handle the tailstock of a caliper or a regular depth mic.

I know from many years of having been responsible for technical staff development that this type of work/skill is not for everybody. If the Accuracy One gage is within your budget, then I recommend it or something like it. YMMV

Merry Christmas and Happy New Year!
 
  • Like
Reactions: TheOE800
I got my AO Primer depth guage back. All I have to say about Accuracy One is Wow they were fast to get my guage back so quick! He had included in the box measurements they took on my brass. I rechecked brass that I sent them to compare again. and came out about like they measured. I sent them 10 pieces of twice fired Nosler and 10 pieces of virgin Alpha. All Large primer pockets.
Now that I have measurements I thought it would be good to attach spreadsheet of measurements I took from 10 pieces of twice fired Nosler, 10 of twice fired Lapua and 10 virgin Alpha. I took measurements of primer pocket depths in 4 ways: Mitutoya calipers, Accuracy One with concave stem end down, Accuracy One with flat stem end down, and Accuracy One with stem removed entirely and replace with a indicator extension that is exactly same diameter of indicator stem (.180). Concave stem end is .204 and flat end .206. I took the Mitutoya tail end and measured in various places of pockets against the outer walls to be closer to edges like a primer is seated. Large primer pockets are approx .208. I included some notes and quesitons I have for myself if anyone is interested. This test raised some concerns for me but probably not all that important on the target. However, ignition is certainly important.
Sorry for the format of the data! Couldn't get it to attach my excel file. NONE of this is to say anything bad at all about Accuracy One guage. In fact, I believe it will be a valuable tool just like the bullet seating guage that I have of theirs. Just trying to decide how to get my measurements to know what true pocket depth is. Thanks for any help!
Primer Pocket Depth Tool Comparison 12.29.24
Twice Fired NoslerTwice Fired LapuaVirgin Alpha
MitutoyaAOAOAO No StemAO Flat StemMitutoyaAOAOAO No StemAO Flat StemMitutoyaAOAOAO No StemAO Flat Stem
CalipersFlat StemConcave StemExt Onlyvs No StemCalipersFlat StemConcave StemExt Onlyvs No StemCalipersFlat StemConcave StemExt Onlyvs No Stem
1​
0.1275​
0.1240​
0.1235​
0.1270​
0.0030​
0.1270​
0.1220​
0.1250​
0.1270​
0.0050​
0.1315​
0.1285​
0.1260​
0.1315​
0.0030​
2​
0.1275​
0.1210​
0.1215​
0.1270​
0.0060​
0.1270​
0.1195​
0.1245​
0.1270​
0.0075​
0.1315​
0.1285​
0.1260​
0.1315​
0.0030​
3​
0.1270​
0.1230​
0.1230​
0.1270​
0.0040​
0.1270​
0.1155​
0.1200​
0.1265​
0.0110​
0.1315​
0.1285​
0.1260​
0.1315​
0.0030​
4​
0.1275​
0.1230​
0.1225​
0.1270​
0.0040​
0.1270​
0.1170​
0.1175​
0.1245​
0.0075​
0.1315​
0.1285​
0.1255​
0.1315​
0.0030​
5​
0.1275​
0.1245​
0.1240​
0.1270​
0.0025​
0.1270​
0.1260​
0.1255​
0.1270​
0.0010​
0.1315​
0.1285​
0.1260​
0.1315​
0.0030​
6​
0.1275​
0.1215​
0.1215​
0.1270​
0.0055​
0.1265​
0.1200​
0.1215​
0.1255​
0.0055​
0.1310​
0.1285​
0.1260​
0.1315​
0.0030​
7​
0.1265​
0.1250​
0.1245​
0.1270​
0.0020​
0.1270​
0.1260​
0.1260​
0.1270​
0.0010​
0.1315​
0.1285​
0.1260​
0.1310​
0.0025​
8​
0.1270​
0.1195​
0.1195​
0.1270​
0.0075​
0.1270​
0.1205​
0.1255​
0.1265​
0.0060​
0.1320​
0.1280​
0.1255​
0.1315​
0.0035​
9​
0.1270​
0.1255​
0.1220​
0.1265​
0.0010​
0.1270​
0.1230​
0.1255​
0.1260​
0.0030​
0.1325​
0.1285​
0.1255​
0.1315​
0.0030​
10​
0.1270​
0.1215​
0.1215​
0.1270​
0.0055​
0.1265​
0.1140​
0.1155​
0.1250​
0.0110​
0.1315​
0.1280​
0.1260​
0.1315​
0.0035​
mean
0.1272​
0.1229​
0.1224​
0.1270​
0.0041​
0.1269​
0.1204​
0.1227​
0.1262​
0.0059​
0.1316​
0.1284​
0.1259​
0.1315​
0.0031​
Std Dev
0.0003​
0.0018​
0.0013​
0.0001​
0.0018​
0.0002​
0.0037​
0.0034​
0.0008​
0.0032​
0.0004​
0.0002​
0.0002​
0.0001​
0.0003​
Range
0.0010​
0.0060​
0.0050​
0.0005​
0.0065​
0.0005​
0.0120​
0.0105​
0.0025​
0.0100​
0.0015​
0.0005​
0.0005​
0.0005​
0.0010​
Questions:
* Which tool do you trust for the true primer pocket depth to determine where pocket bottom really is? see diff of "AO Flat Stem vs No Stem"
Observations:
* Alpha is incredibly consistent from case to case within that tool's measurements!
* Lapua: surprisingly inconsistent with both AO stem ends from case to case. However, was more consistent with calipers and no stem but still not as good as either Nosler or Alpha.
* Felt like stem was galling a little inside AO body at times and had some large differences from case to case. However, this did not occur with even one Alpha case.
 
Which tool do you trust for the true primer pocket depth to determine where pocket bottom really is? see diff of "AO Flat Stem vs No Stem"

AO flat stem. The tool comes with a check gage for zero'ing the micrometer. You can't misalign, inconsistently locate, or apply excess pressure. Your primer cup isn't flat and it is easy to get different measurements with calipers. There is variation in the cup profile and depth, in the end it is more important you seat the primers to the same depth from the cup base, not the face of the case.

FCP came up with this work around:

 
I would have agreed. However, I can't get past how both the calipers and the indicator with an extension measuring.180 in diameter always matched each other and was incredibly consistent from case to case. The stems were very inconsistent from case to case and I remeasured many times on each case on all 4 methods. How can both ends of the stems be greater than .010 off different from one case to the next. If anything, I wondered if I should just use the AO body with indicator extension only.
 
I would have agreed. However, I can't get past how both the calipers and the indicator with an extension measuring.180 in diameter always matched each other and was incredibly consistent from case to case. The stems were very inconsistent from case to case and I remeasured many times on each case on all 4 methods. How can both ends of the stems be greater than .010 off different from one case to the next. If anything, I wondered if I should just use the AO body with indicator extension only.

I checked a handful of different cartridges.. My calipers get about .002" readings from the AO. Certainly not .006" different. I get within .0005" with the flat and concave stem. The calipers vary depending on where in the pocket the caliper is touching. I don't feel any drag in the AO tool that makes me think there is galling.