Re: Adjusting NIghtforce Zero Stop
I just did this today, using the alternate (and better than Nightforce's, IMHO) process suggested by DesertHK, 1sikpupi and Scottx88. For posterity, here is the procedure that (IMHO) Nightforce should provide instead of the get-dust-into-my-innards procedure that they do provide:
1) Do not remove the elevation dial.
2) Fire and zero the rifle at your desired range, adjusting the elevation dial as necessary.
3) Add 4 more clicks down (or your desired number of below-zero clicks).
4) Loosen the two set screws on the elevation dial 2 turns (counter clockwise). Assure that dust is not blowing over your position.
5) Lift the elevation dial upward to remove it, twisting it a bit right and left as needed. Due to the air tight seal created by the O-ring inside, there will be some resistance while removing it. You should not feel any clicks while doing this.
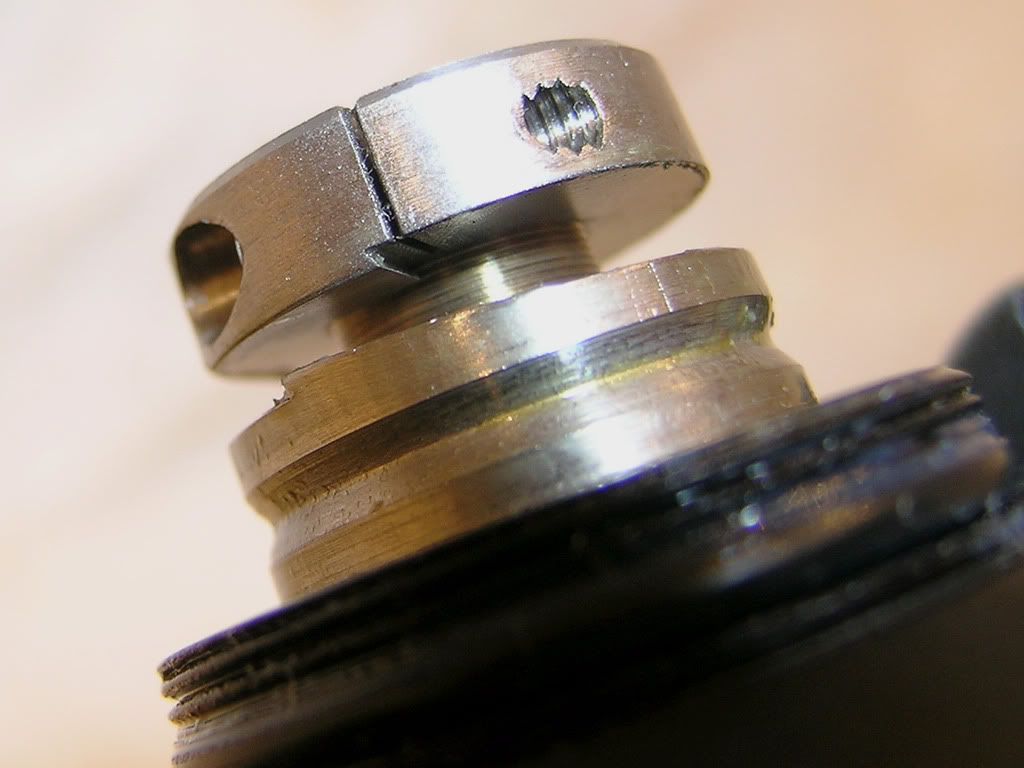
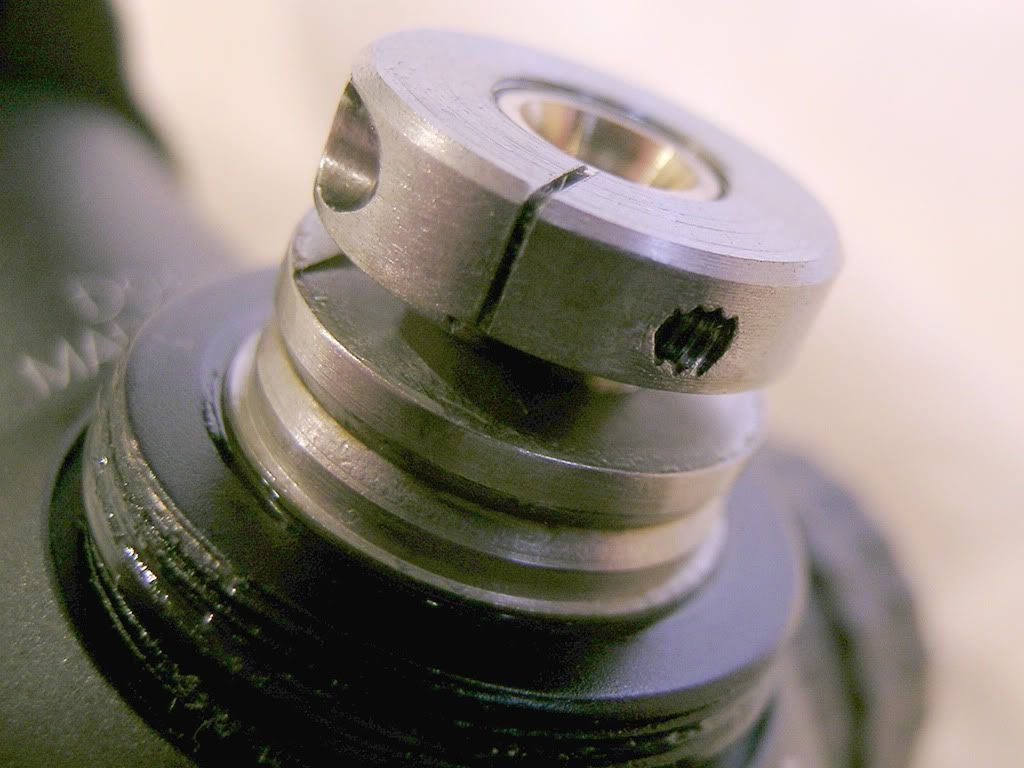
6) The ZeroStop Clutch assembly is the shiny, two-tiered metal disc that you now see at the top of the turret. Loosen each of its four set screws 2 turns (counter clockwise).
7) Wipe any and all dirt from your thumb and forefinger. The ZeroStop Clutch assembly is covered with grease, and you want to be able to grip it firmly without transferring dirt to the grease.
8) Grip the greasy ZeroStop Clutch assembly (easiest if you grip the larger diameter lower part) and turn it clockwise all the way to the stop (until it will not turn any more). It may take several revolutions until you reach the stop.
9) While holding tension against the stop, tighten the four set screws evenly. To assure even tensioning, alternate between opposite screws as you tighten.
10) Reinstall the elevation dial by pressing it down, and turning slightly side to side as you press down. You will hear air hiss out as you do this. When you believe it is all the way down, apply significant downward pressure to assure that it is, in fact, all the way down.
11) Turn the dial so that the "9" is lined up with the tick mark. Or, turn it to some other appropriate position if you did not dial in 4 extra down clicks in step 3 above.
12) While holding the elevation knob to assure that it does not rotate, tighten the 2 set screws on the elevation knob. To assure even tensioning, alternate between the set screws as you tighten.
13) Dial the elevation knob over to "0". You should feel and hear clicks as you do this.
14) Your riflescope is now ready for use at the range that you zeroed it at! If your shooting sucks, don't blame us.


