I loaded up 200 rounds of 6.5CM and finally just got through most of it. I’m starting the process of starting the next batch after tumbling and annealing and I noticed that the die appears to be leaving scratches on the brass toward the case head end.
Most of the scratches are superficial but I can feel a slight ridge with my nail at a couple of places. Is this ok or do I need to do something about it? The die has been sitting in its box since I finished the first batch. I disassembled and wiped it out but I’m still seeing the same thing.
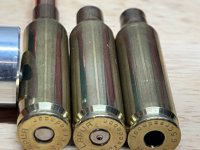
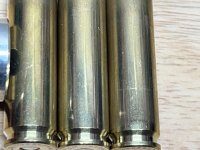
Pics left to right:
Leftover round from first batch
Case after annealing but before sizing
Sized case
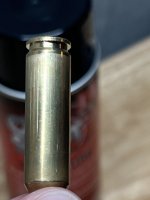
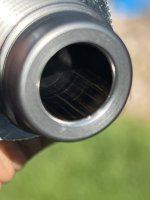
3rd photo - closer look at sized case.
Most of the scratches are superficial but I can feel a slight ridge with my nail at a couple of places. Is this ok or do I need to do something about it? The die has been sitting in its box since I finished the first batch. I disassembled and wiped it out but I’m still seeing the same thing.
Pics left to right:
Leftover round from first batch
Case after annealing but before sizing
Sized case
3rd photo - closer look at sized case.