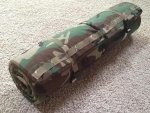
DIY Shooting Mat and Rear Bags:

mhuff

Private
Full Member
Minuteman
Aug 5, 2012
63
1
45
Maryville, TN
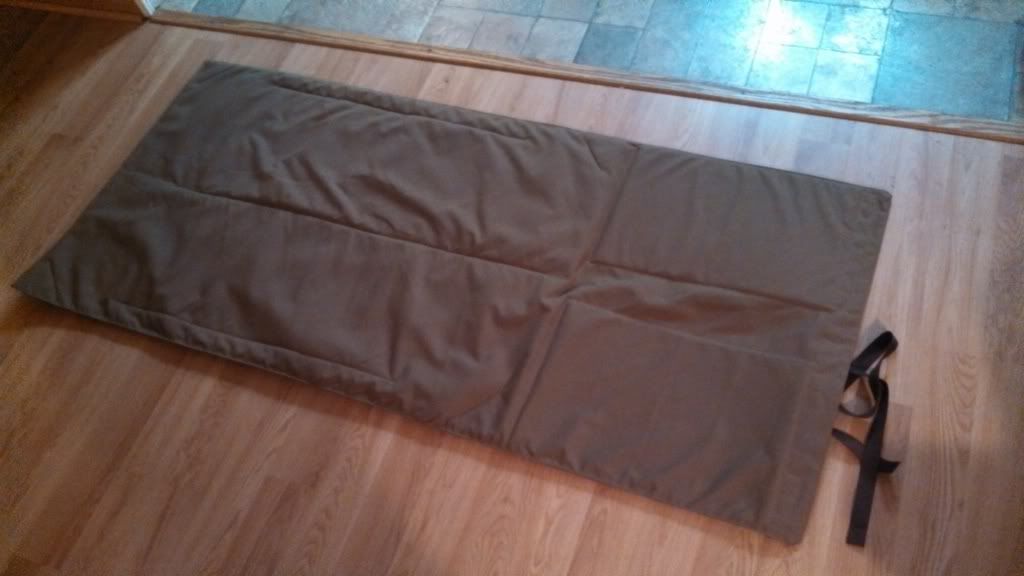
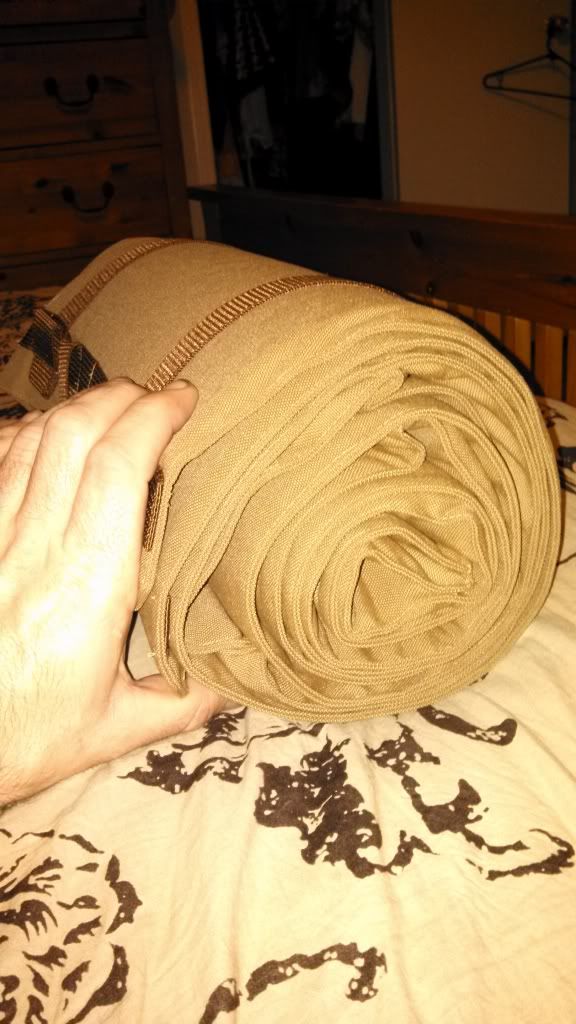
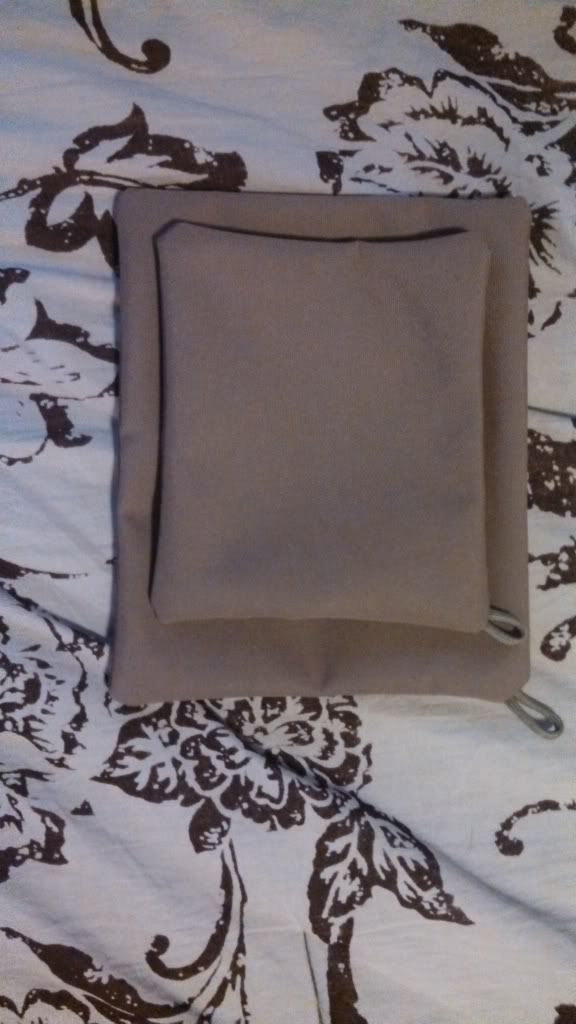
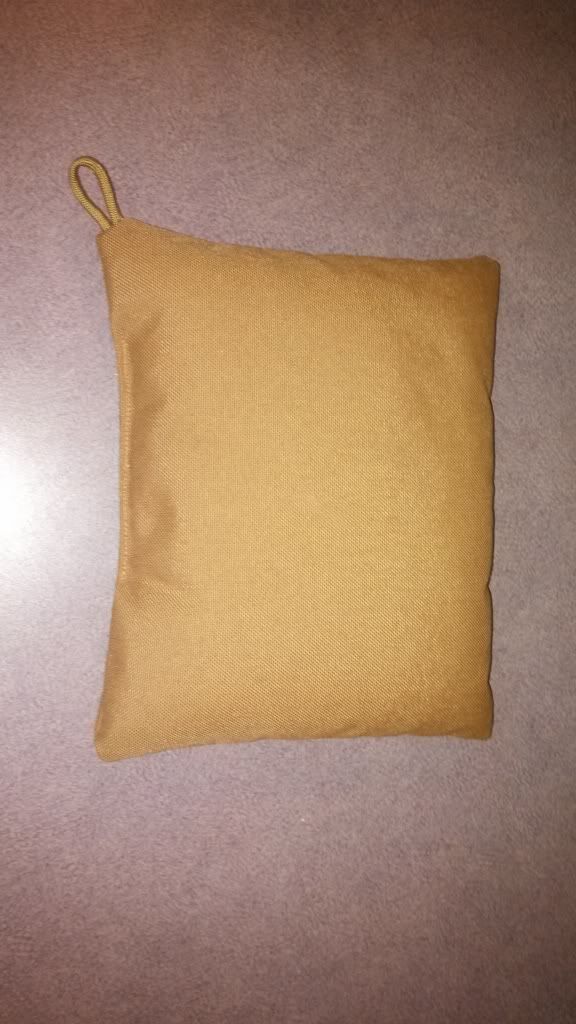
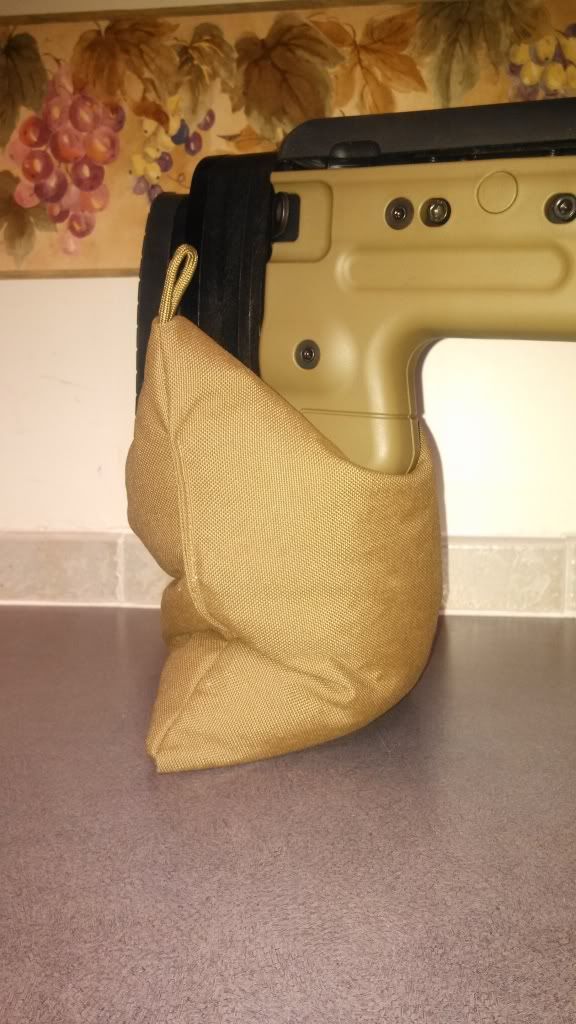
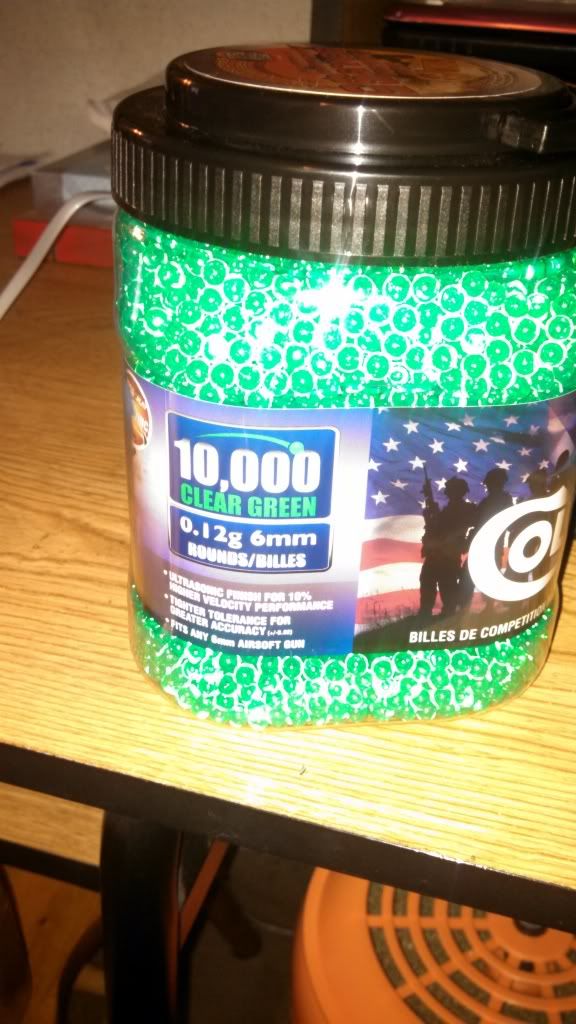
Yes I know it's much easier to jusy buy all your gear but what's the fun in that? I started searching for fabric and realized its really easy to find just about anywhere on the net. I bought the 1000D Cordura mat 72" by 60" on Ebay for $12.00 plus shipping. Having a sewing machine and upholsty thread also helps with a upholstry projects! Starting out I laid the material on the floor and laid out all the padding where I wanted it for placement when unrolled. After figuring padding placement I pinned everything in place and figured out seams. I wanted to have enough fabric to have the abilty to make rear range bags if possible. I was able to trim about 10" of fabric from the end to make bags and also have enough to make a decent sized mat (62"x30")when complete. For padding "elbows" in the mat I used 2 sheets (12"x18") of closed cell foam approximately 3mm thick (the foam used in kids projects). For my lower body I used thermal insulated padding (for pot holders and food carriers) that is approximately 2mm thick also from. I picked up some brown 1" nylon webbing to use as attachment points for tie straps. I started by attaching the webbing to the back and spaced it 1" as per "Military Style" is done across the bottom/front of the mat 30" wide. I then folded the Cordura in half which made my total mat size 62"x30". I then sewed 3 of 4 seams and re-installed padding where I had pinned earlier. I then encased all padding with stiching so there was no movement of padding. I also stitched across the lower "thermal padding" so it would not bunch up over time. After the padding was complete I sealed up the last seam. All stitching is double stitched and "hopefully" should last over time. Unfortunately I forgot to take pics during the work so I hope the pics will do of the finished project. For the bags I cut the fabric 7 1/2" x 9 1/2" and sewed 4 seams but left a slot for media install and can be sewn shut after work is complete. for the bag media I used airsoft bb's due to cost and durability.

Shooting Mat---

Items Needed:

Cordura- Depending on finished size of mat- 72"x60"
Nylon Webbing- 12' length, 1"wide
Closed Cell Foam- Depending on users padding requirement- (2) sheets 12"x18" 3mm kiddie project foam
Thermal Insulation- Depending on users padding requirement- (1) bundle 2mm thick "has aluminum film in center"
H.D. Upholstry Thread- (1) spool

Tools:

Sewing Machine
Pinning Needles
Measuring Tape

Rear Bags---

Items Needed:

Cordura- Depending on size- 71/2" x 91/2"
Airsoft BB's- Depending on size- 10,000 count

Tools:
Same as Mat

Mat Pictures:

Bottom
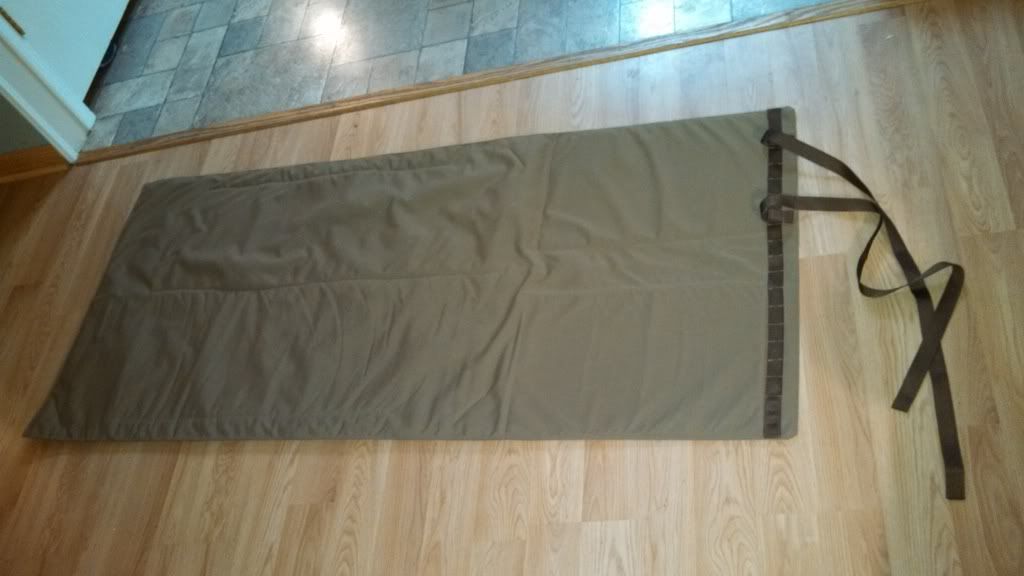
IMG_20130228_211447_281_zps5c175d45.jpg


Top

IMG_20130228_211536_338_zps4c1b81db.jpg


Rolled up

IMG_20130228_211736_535_zps262762a4.jpg


Bags:

Before media

IMG_20130302_152303_647_zps690bdebd.jpg


After media

IMG_20130305_183618_945_zps587c5d5e.jpg


IMG_20130305_183726_311_zpsb5eaa353.jpg
 
I really do wish I had taken pictures during assembly. I literally have like $45.00 in all the materials to make the mat and (1) bag. I used the whole tub of bb's in the bigger bag. So depending on how much you fill the bag will determine how many bb's you will need. Bag size determines also. I found measurements for the bags off Triads site. I cut the fabric bigger due to when you fill the sewn bag with media the outer dimensions shrinks.

Filling Media:

IMG_20130302_152039_638_zpsd1efed67.jpg


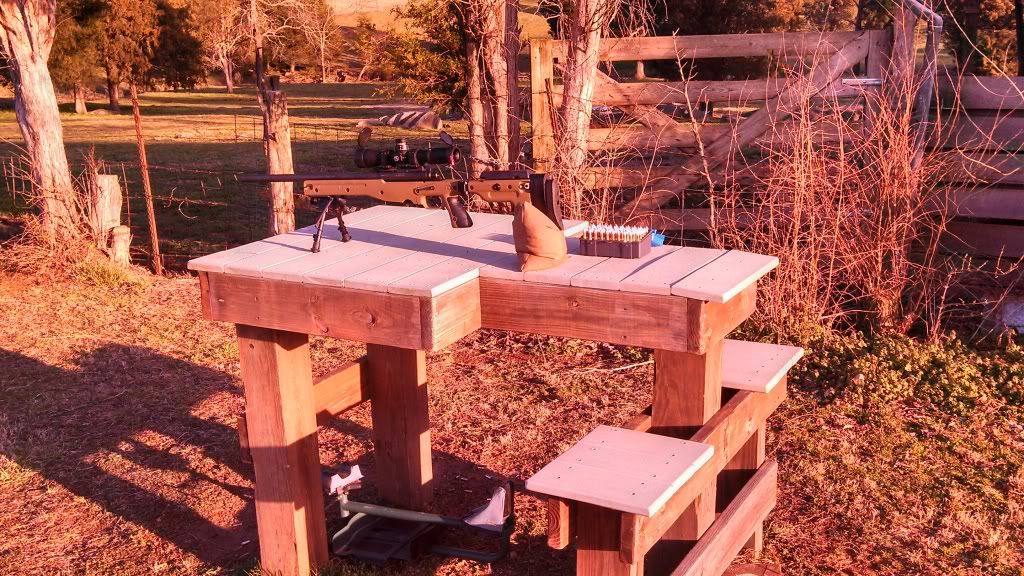
You can fill the bags with anything. The airsoft bb's are a little heavy but I'm going to see how it shoots on the bench before I try and lighten it up with "bean bag chair" pellets or something like that. I will probably use the smaller bag and use it to strap to my bi-pod legs when shooting off a barrier. I will have to sew on a strap for it if I decide to do so. I may due that so I can strap it to my rucksack when traveling to the range.
 
Looks good. Thanks for the info. I made a much more simple (less impressive) mat about 14 years ago. I just covered a sleeping mat with camo material.
Believe I'll try to make one your way.
 
Thanks for posting...will have to give it a shot.

Crown royal bag for a rear bag. Use either a ballon or ziplock inside filled with your choice of filler.

Crown Royal bag? My brother used that to hold school supplies back in elementary school...back then it was OK. I'd like to see someone try it now.
 
Thanks for the replies guys. I was amazed that I could make something useful to someone other than myself. I'm by no means trying to corner the market with something new, but I figured I could save myself a few bucks making my own.
 
How do you go about getting media into a balloon? Seems tedious and difficult.

Just fill a 2-liter bottle with your media, inflate the balloon and stretch it over the top of the bottle, invert bottle and watch media replace air. Not tedious or difficult at all.....

I don't think's its very useful or productive, but it can be easily done.
 
I picked up all the supplies except for the Cordura at Hobby Lobby. The "elbow" padding is made from craft foam sheets. It was the thickest they had (2 mm). You can find it in the "kids crafts" section. I purchased black but they have it in various bright colors also. The "body" padding used was an insulation material from the fabric section. They use it in pot holders and food carriers to keep heat from passing through or getting out. It came folded with a paper wrapper around it. It has an aluminum foil film sandwiched between two pieces of insulation. It was thin so I doubled the fabric for extra padding. It works extremely well for keeping the cold off while burning powder. I appreciate all the positive feedback from everyone. It was an inexpensive project that turned out very well.
 
Last edited:
This is a very cool idea! Does the 1'' webbing located on the front edge provide enough surface area in order to put a load on your bipod or would you suggest a wider piece of webbing? I've needed a shooting mat for awhile but didn't want to shell out the cash for one. Thanks again for the great idea!
 
Last edited:
his rear bag looks much nicer than my bags. I turned the lower portion of the leg off blue jeans inside out, tied it off, used super glue to insure that the tied end inside the bag wouldn't come undone. Then just fill up the leg and tie off the other end. My bag is very simple, and works well, but it looks crude compared to what the OP is posting here. I like the looks of OP's bag. I gotta learn to sew.
 
molle systems have an infinite quantity of bags in all the prices,sizes and tactical colors: often they come with a side protected hd zip closure, and some straps_ you can easily find the best suited for your needs, stuff inside it an inner bag of plastic pellets,and be happy_ when not in "shootin' bag " mode, you have an useful molle accessory, anyway_
found mine cheaply at the softair section on a gunshow
 
Well I read this thread a while ago and kept it in the back of my mind.

My mother in law had a sewing machine that she never used so I thought I'd ask her if I could borrow it. She just told me to keep it as she never learned how to use it and had no desire to learn how. I then asked a good friend who knew how, to come over and run me through how to use it.
Then after I realized it's not too terribly hard, and it might be useful to have this skill in my toolbox, I went and bought some thread, and pins.

I also ordered some Cordura 1000D fabric, and webbing from Ebay, got some camping matts from WalMart, and already had the quick disconnect clips. I decided to go full length and width with the foam so I could also use it as a comfy camping pad also, instead of just padding the elbow and knee areas. All in all I have almost 50.00 in Cordura, foam, webbing, thread and pins, so I probably could have just found something very similar to buy, but I learned something, and had fun doing it so I'm happy I did it.

Here's some pics of the bad sewing...mat 1.jpg mat2.jpg
 
I have been thinking about a sewing machine and learning how to use it just so I can patch a few things and add things like straps to packs and such. Any suggestions on what machine.
 
If you can search Craigslist you can usuallly find an old Singer sewing machine. My grandmother had mine and my brother found someone selling about 15 of them and bought the cleanest one. An older model (50's-70's) will usually accept thicker thread and needles (more industrial type). That's the issue with buying a machine nowadays. You can pick the old stuff up between $40-$100.
 
The machine I used was just a standard machine with no frills or anything, I just used a more heavy duty needle and upholstery thread. Both available at WalMart. My machine was about 30 years old though.
 
The old Singer (Travel Box) machines were designed back in the day to sew anything even leather. That's why you have to look for an older one. By the time you are sewing through two plys of cordura, foam, and insulation it can get a bit tricky to sew. Your mat looks really good though. Looks comfy for waiting for "the shot"!!!!