• Get 30% off the first 3 months with code HIDE30

    Offer valid until 9/23! If you have an annual subscription on Sniper's Hide, subscribe below and you'll be refunded the difference.

    Subscribe
  • Having trouble using the site?

    Contact support

Gunsmithing Dremel/Polishing a Feed Ramp?

littlepod

Newbie
Full Member
Minuteman
  • Oct 16, 2012
    4,713
    3,648
    Kirkland, WA
    instagram.com
    I got a new barrel for my rimfire, and it did not have a feed ramp like the factory barrel which is causing me some slight feeding issues. In my old Tikka T1X Barrel -

    1575351336107.png


    You can notice a small little feed ramp polished to get rid of that hard edge. This allows rimfire ammo to feed in really smoothly. My new barrel shoots great, but didn't have a feed ramp and is getting stuck on Lapua/SK ammo. Barrel edge catches the line on the SK ammo.

    1575351400205.png


    So I want to polish a little feed ramp in the new barrel -

    1575351445850.png


    Since the new barrel is imported from Canada, I can't send it back for them to do the work. (Import/Export laws). They suggested I could just try it myself and if I fuck up get sent a new barrel, but I already lot matched $1000 of ammo to this barrel, just want to improve feeding.

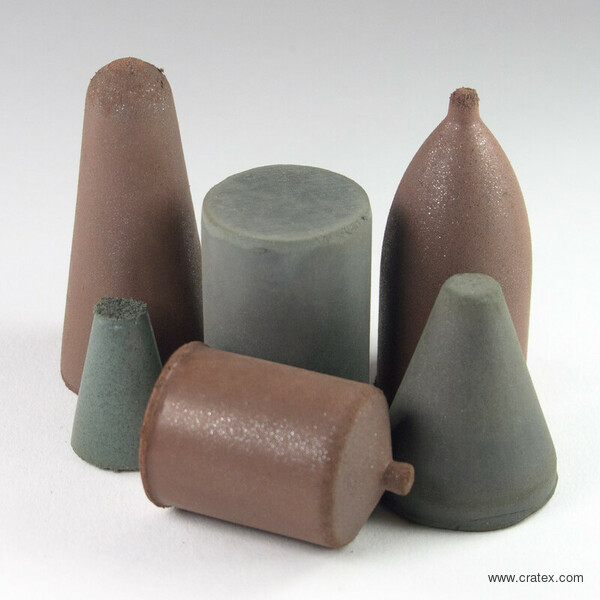
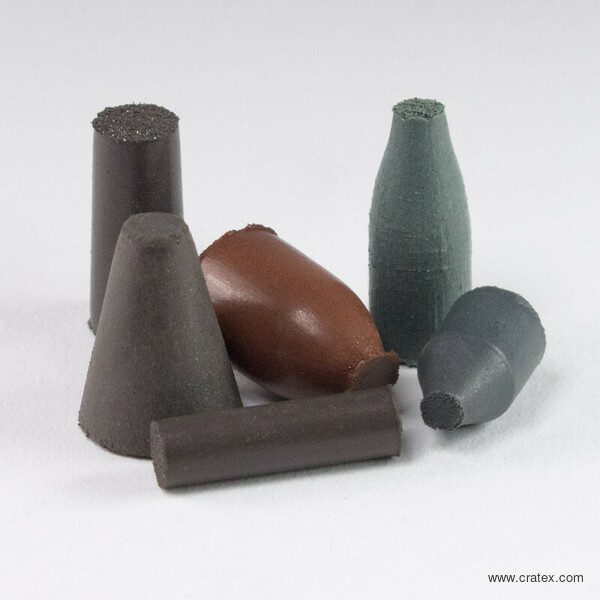
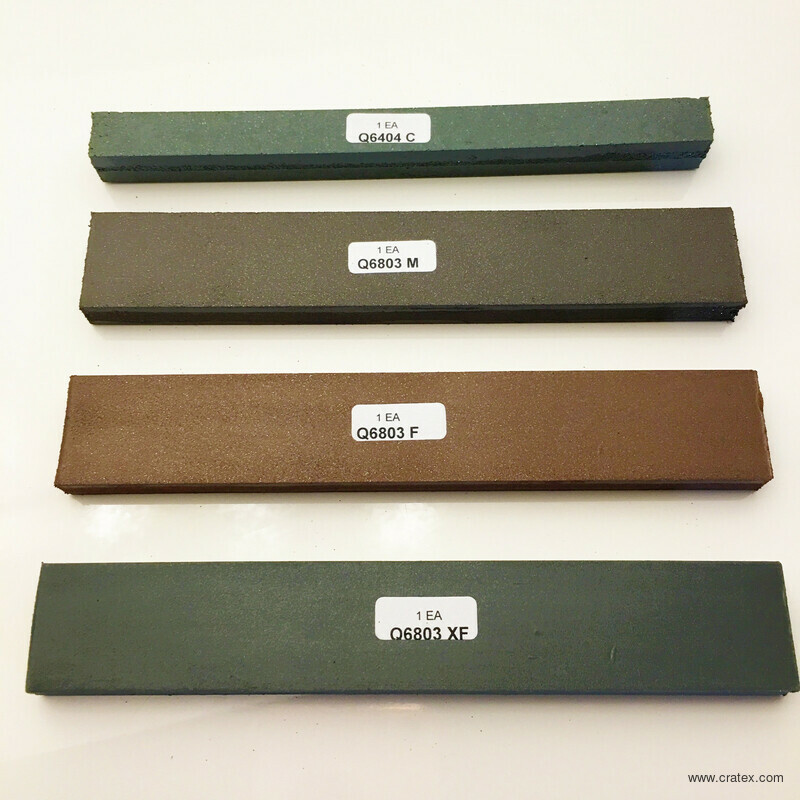
    I want to do this right, and not fuck anything up. I did email benchmark barrels if they could do something like this for me and I could swing by, but they never got back to me, and a lot of people say this should be pretty easy to do at home. Dremel and a tiny soft stone will do it. So some questions --

    Agree on dremel? What size soft stone, looks like it's width is about 5mm, length of the feed is 1.1mm. What are the steps with grinding/polishing? Can I just slowly polish it all the way down or do I need to grind some first?

    With the polishing/grinding I am guessing tiny little stainless steel shavings will be in the barrel, how do I clean that out w/o scratching the inside of the barrel? Compressed air and blow it out? If I patch it, won't that just drag the shavings through the inside?

    Thanks in advance... I'll keep searching for a gunsmith in the area but would like to learn/try it myself if it's not too risky.
     
    I would give it a try and just go slow and take a little off at a time. If you do try it, use the old barrel as a reference and stop grinding when you get close and give it a try. It's much easier to take a little more off than to put it back on.
     
    The ramp on his original barrel looks way too deep to me. If I did anything at all I would maybe just break the edge on the new barrel and only if it was sharp. I wonder if he has tried other magazines?
     
    The ramp on his original barrel looks way too deep to me. If I did anything at all I would maybe just break the edge on the new barrel and only if it was sharp. I wonder if he has tried other magazines?

    This is for my T1X rimfire and all 3 of my magazines feed the same way. The first few rounds of a 10 round magazine feed a little better given the amount of spring tension, but the last 5 or so start getting more stuck/friction against that sharp edge.

    I found a local gunsmith that said I could drop by and they'd do it for me in like 30min. Cost me probably $75 but better than me screwing it up I guess. Barrel company said that all I need to do is just break the edge, no need to polish it, just clean with brake cleaner to get the shavings off when done.
     
    CRATEX

    I was told about cratex by a friend who started building guns from kits 2-+ years ago

    Diamond embedded rubber its removes some metal and leaves a smooth finish... I used it on all my handguns to clean up the ramps and on sharp bits to remove the sharp corners...

    as the base is rubber, you can re profile the material...wear them down on scrap to change the profile as needed... If one is too fat, re shape it before using on your project.

    As a rabbi once said- measure twice, cut once.... as you work on an area, consider remarking with a sharpie as you take a break...

    once market, its easy to see what you are working on...


    Cratex-Abrasives-Cones_cratex600w.jpg

    Abrasives-Cratex-Points_cratex600w.jpg


    (not my ads, just links I found)
     
    Last edited:
    • Like
    Reactions: Cheyenne Bodie
    Q128B-Block-Kit_cratex800wh.jpg


    Grit Textures
    CRATEX products are made in four standard grit textures or compositions which differ in accordance with the mesh size of the abrasive grain used:
    • C - COARSE (Green)
    • M - MEDIUM (Dark Brown)
    • F - FINE (Reddish Brown)
    • XF – EXTRA FINE (Grey Green)
    CRATEX Abrasives and other CRATEX products are perfect tools for gunsmithing and their place in workshops of many gunsmiths has been well-earned over the years.
    CRATEX rubber bonded abrasives are made of high-quality silicon carbide and are perfect for operations like: removing rust from old firearms, removing trigger serrations, removing stretches, rounding edges, cleaning up worn or damaged pistol and rifle markings and engravings, polishing flash pan, bolts and feed ramps, smoothing surface and getting almost mirror finish, jeweling a rifle bolt or pistol barrel, etc.
    CRATEX abrasives come in four standard grit textures which differ in color: Course (green), Medium (dark brown), Fine (reddish brown) and Extra Fine (grey green). However, there is also the possibility to modify standard shapes and grits and get a modified abrasive tool that fits your needs much better.
    Below you’ll find some of the CRATEX products widely used as gunsmith tools and equipment.

    skip to 1:45
     
    I've used cotton types like these and polishing compound with great success. You'll want to find one with a head as close to the form you are trying to polish as possible to get the best uniformity— slightly undersized is better than slightly oversized usually, so you can keep it moving without accidentally chamfering or fucking up edges. It will take longer than rubber or smooth stone bits, but it will be easier to take your time and give you a better surface in the end if you use a polishing compound. I'd just take it to somebody, but if it's only a 22 maybe you can do the trick at home.
    download.jpg
     
    Went to a gunsmith, we spent about 3 hours doing it bit by bit to see if we could get it to feed smoothly. He also ended up polishing and sharpening my extractor because the rim wasn't seating in it too which caused more feed issues if the round isn't close to center with the bore.

    Here's the current state which has improved feeding dramatically, but the tight chamber and angle still requires a bit of push to feed the round. Yes it's not silky smooth like a control-fed V22.

    1575768468873.png


    Where things require a bit of a push -

    1575768489499.png


    Bottom edge of that rimfire is what rubs against the barrel. We didn't want to remove too much more and screw up the precision on it. I think I could maybe do a teensy bit more, but right now it feels pretty good. Did the NRL22 stage 25yd 100yd back and forth in 120s, nailed all the 1/4" and 1" group at 100, so I'd say it still shoots.