This is probably the most "formal" product review I've ever done (in the NV/Thermal space). But it is an independent review, I received no $$ or perks of any sort for doing it. I will say, sometimes when I test thermals my expectations are not exceeded. But with the A55, my expectations WERE exceeded. I was surprised, but it is what it is. Some of this I posted in my shooting thread while I was actually doing it, but here it is all pulled together in one spot.
If any questions please ask and I will try to answer.
==
Genesis Apocalypse A55 Thermal Modular System
Thanks to Vlad Savchik of Luna Optics and Warren Offenberg of Full Moon Optics, I was able to test the A55 thermal during the period June 2020, through August 2020.
This unit is called a “Thermal Modular System” because it is possible to swap out the rear lenses with three different lenses to produce:
01 - A thermal clip-on
02 - A thermal rifle scope
03 - A hand held thermal monocular
All three modes were tested.
The unit also has a built in laser range finder.
On the postal scale, the unit weighed in a 2 lbs 2.1 oz with batteries

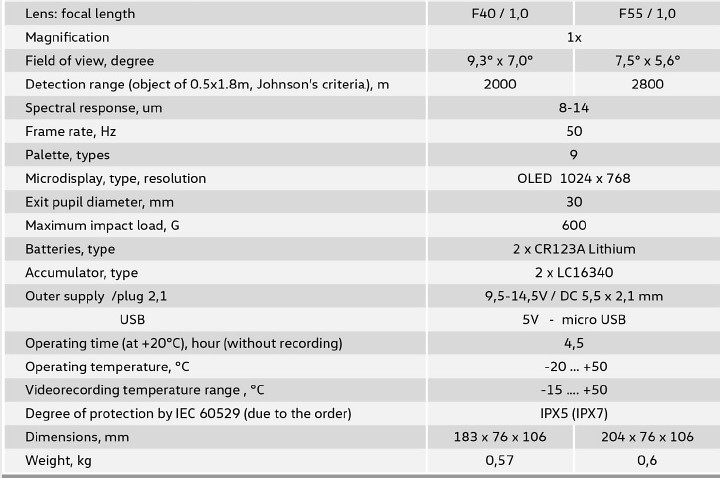
Basic data on the unit:
Sensor: 17um
Frame Rate: 50hz
Shutter Free/NUC Free
Display: 1024x768
Optical Magnification 3.5x
Digital zoom 2x, 4x
FOV: 7.5 deg
Detection Range (1.8 Meter object) 1,500m
Laser Range Finder max distance: 700m
Power Supply: 2xc123 or 5v USB
Shown price on B&H Photo: $6,200
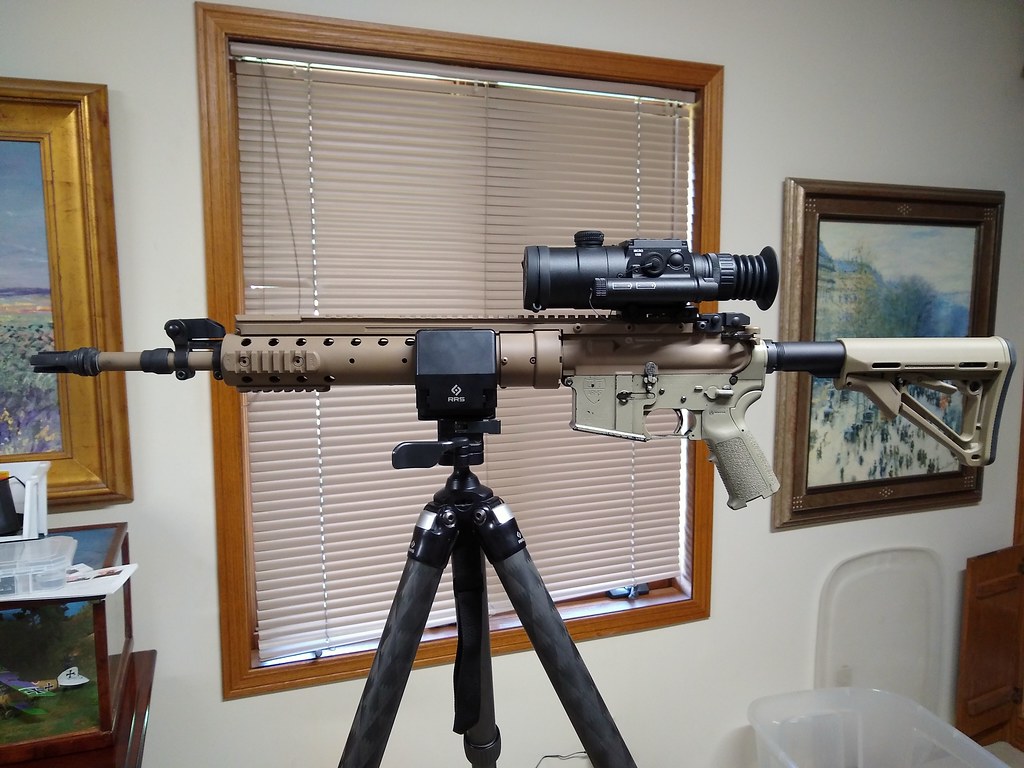
I attached the clip-on lens and mounted the unit to one of my bolt guns.
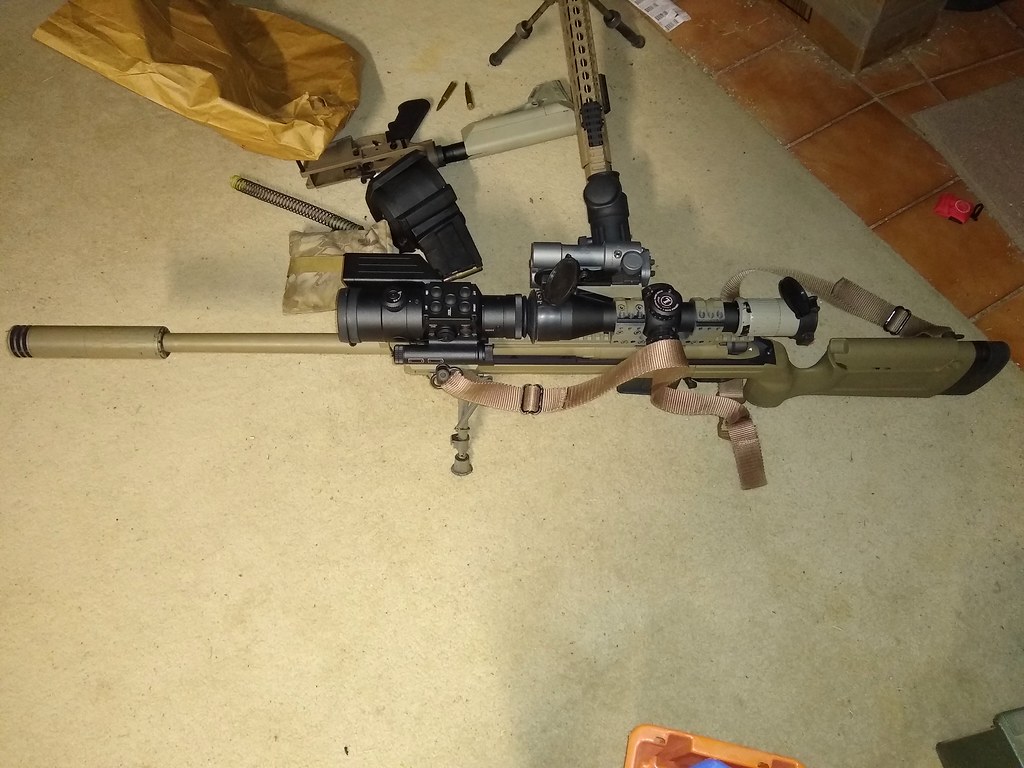
In the event, the stock mount worked very well for me in terms of alignment. I normally use the UTC/x thermal clip-ons and so my Spuhr mounts are 1.34 center (34mm center) … but the A55 lined up perfectly AFA my eyes could tell. I then moved the clip-on one notch closer to the front lens of my daylight scope, so that the rubber eyecup of the clip-on is connected to the front frame of the daylight scope (this is necessary to minimize POI adjustment as much as possible).
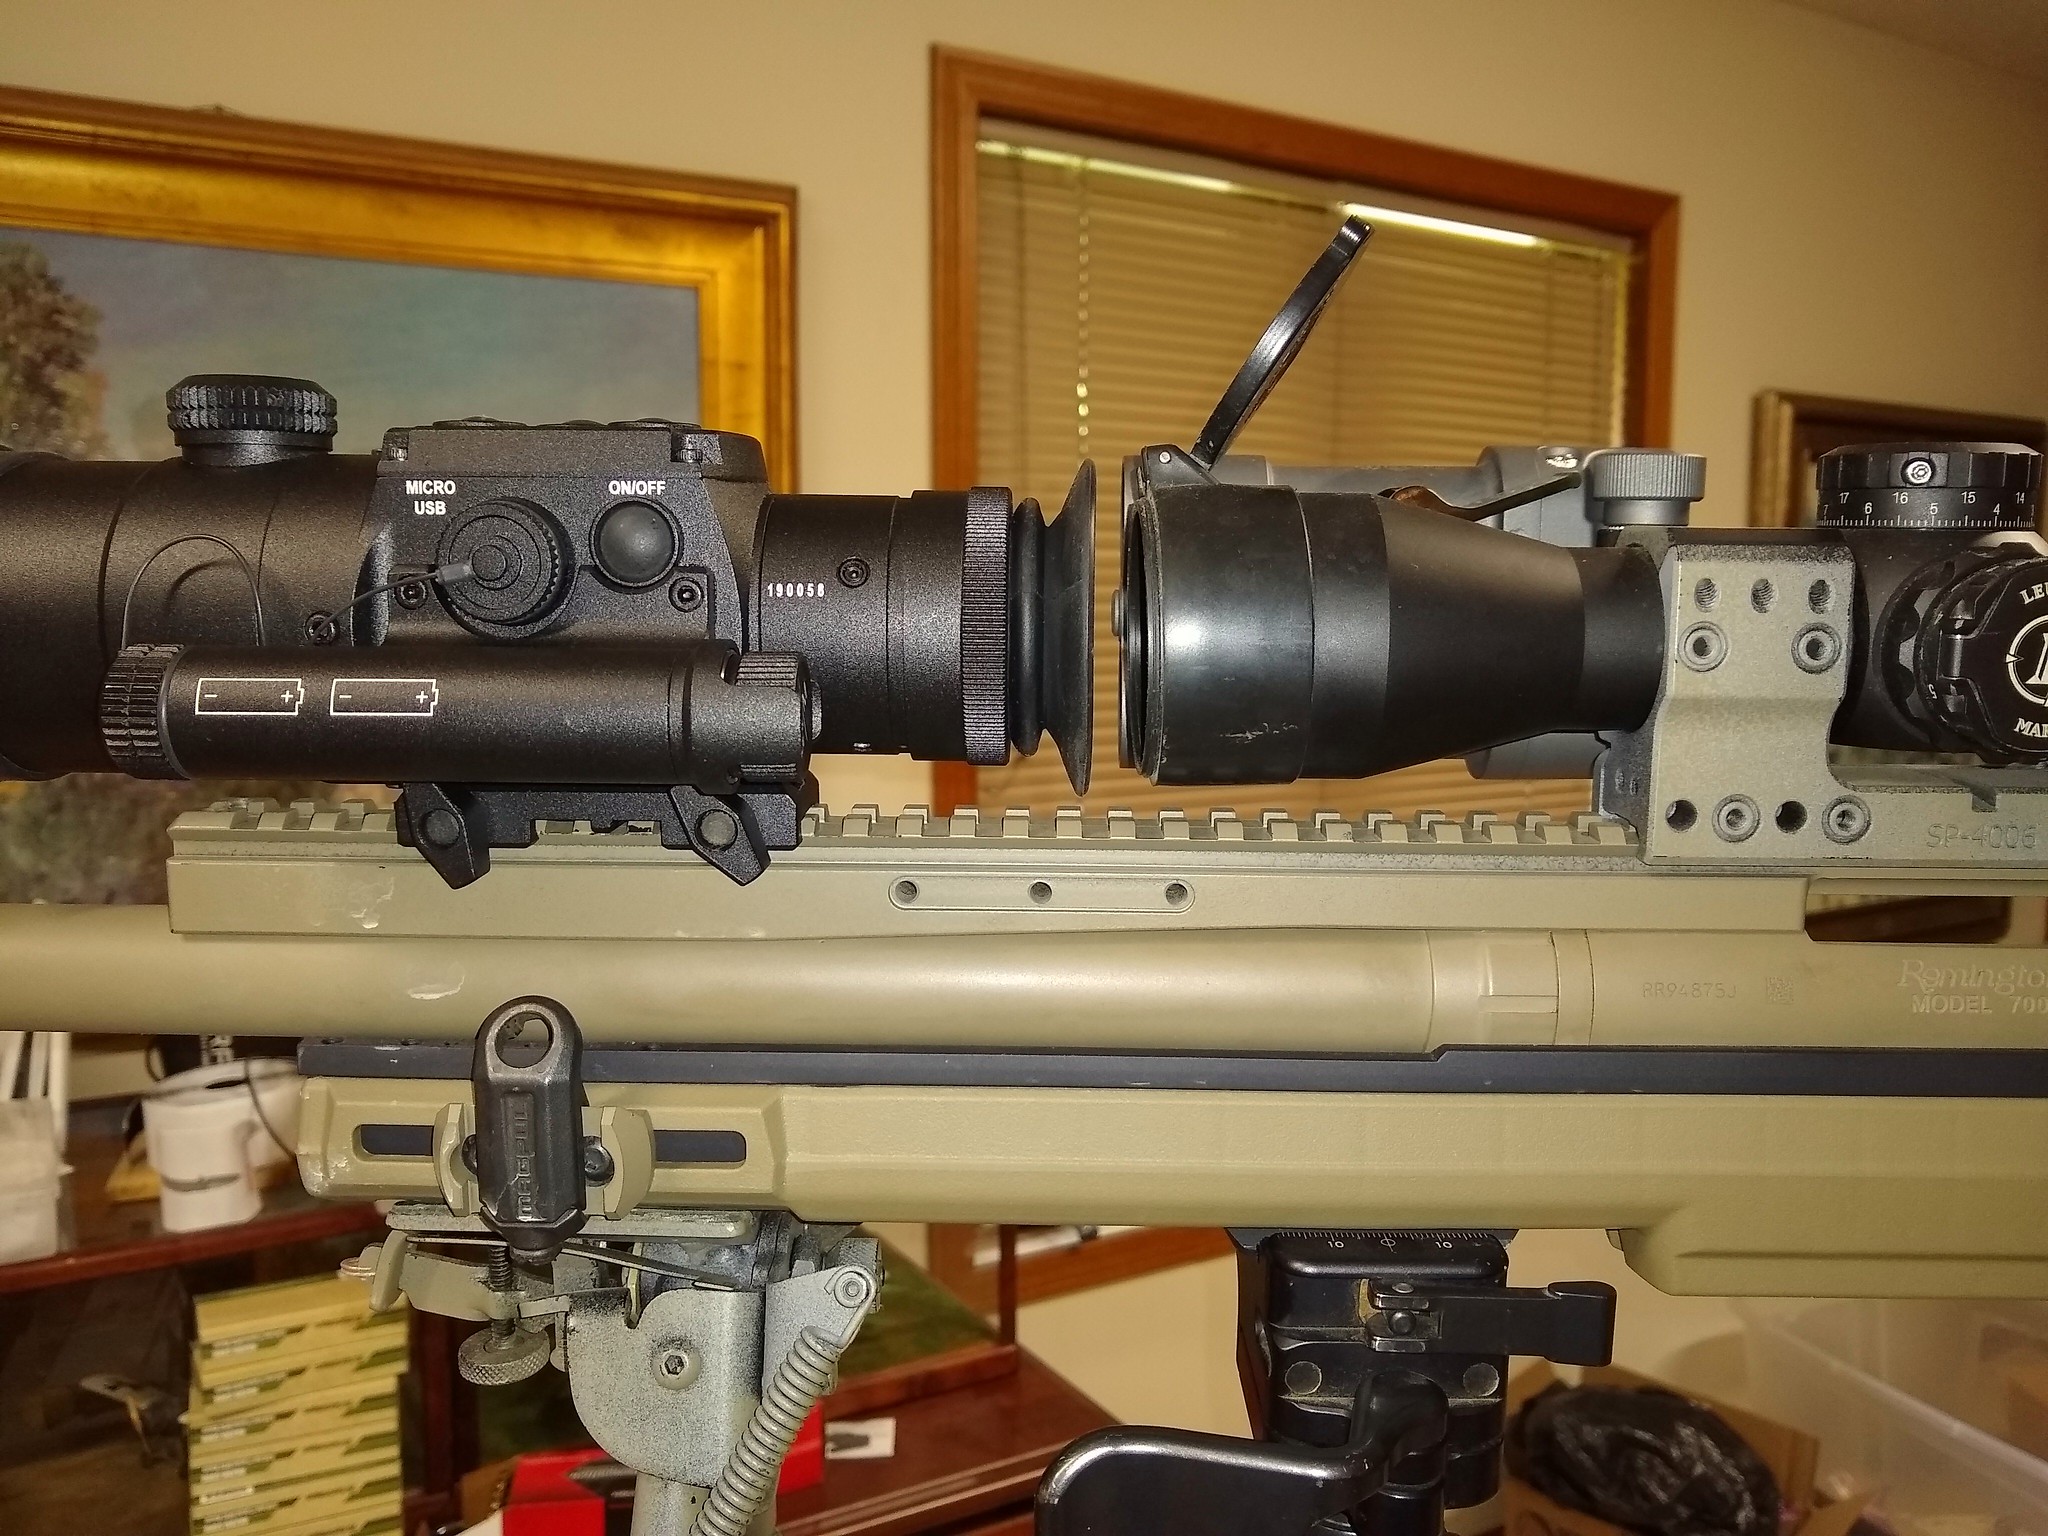
The scope behind the A55 is a Leupold and Stevens Mk6 3-18x T3 Illum.
Investigating the unit in the house I noted two key points about the menu system.
01 - It was a single level system, so had a lot of entries … but very intuitive. I think the easiest thermal menu system I’ve used … and I’ve used most of them. The only time I referred to the manual was to try to figure out how to NUC the unit and learned that this is a NO NUC unit .
.
02 - The menu system is controlled by one knob (the knob on the rear end of the battery compartment) … turning that knob cycles through the options and pressing the button selects an option. Additional buttons on the top and sides of the unit allow operation for features such as the LRF, VIdeo, Inversion and digital zoom.
I’m a software guy by profession and I’ve seen a LOT of menu systems, and this one is rare in that it provides a LOT of control over the unit, but also is so intuitive, you don’t need to read the manual.
I contrast that with the Pulsar system, which took me several days to learn. Those icons in the pulsar system just didn’t click for me
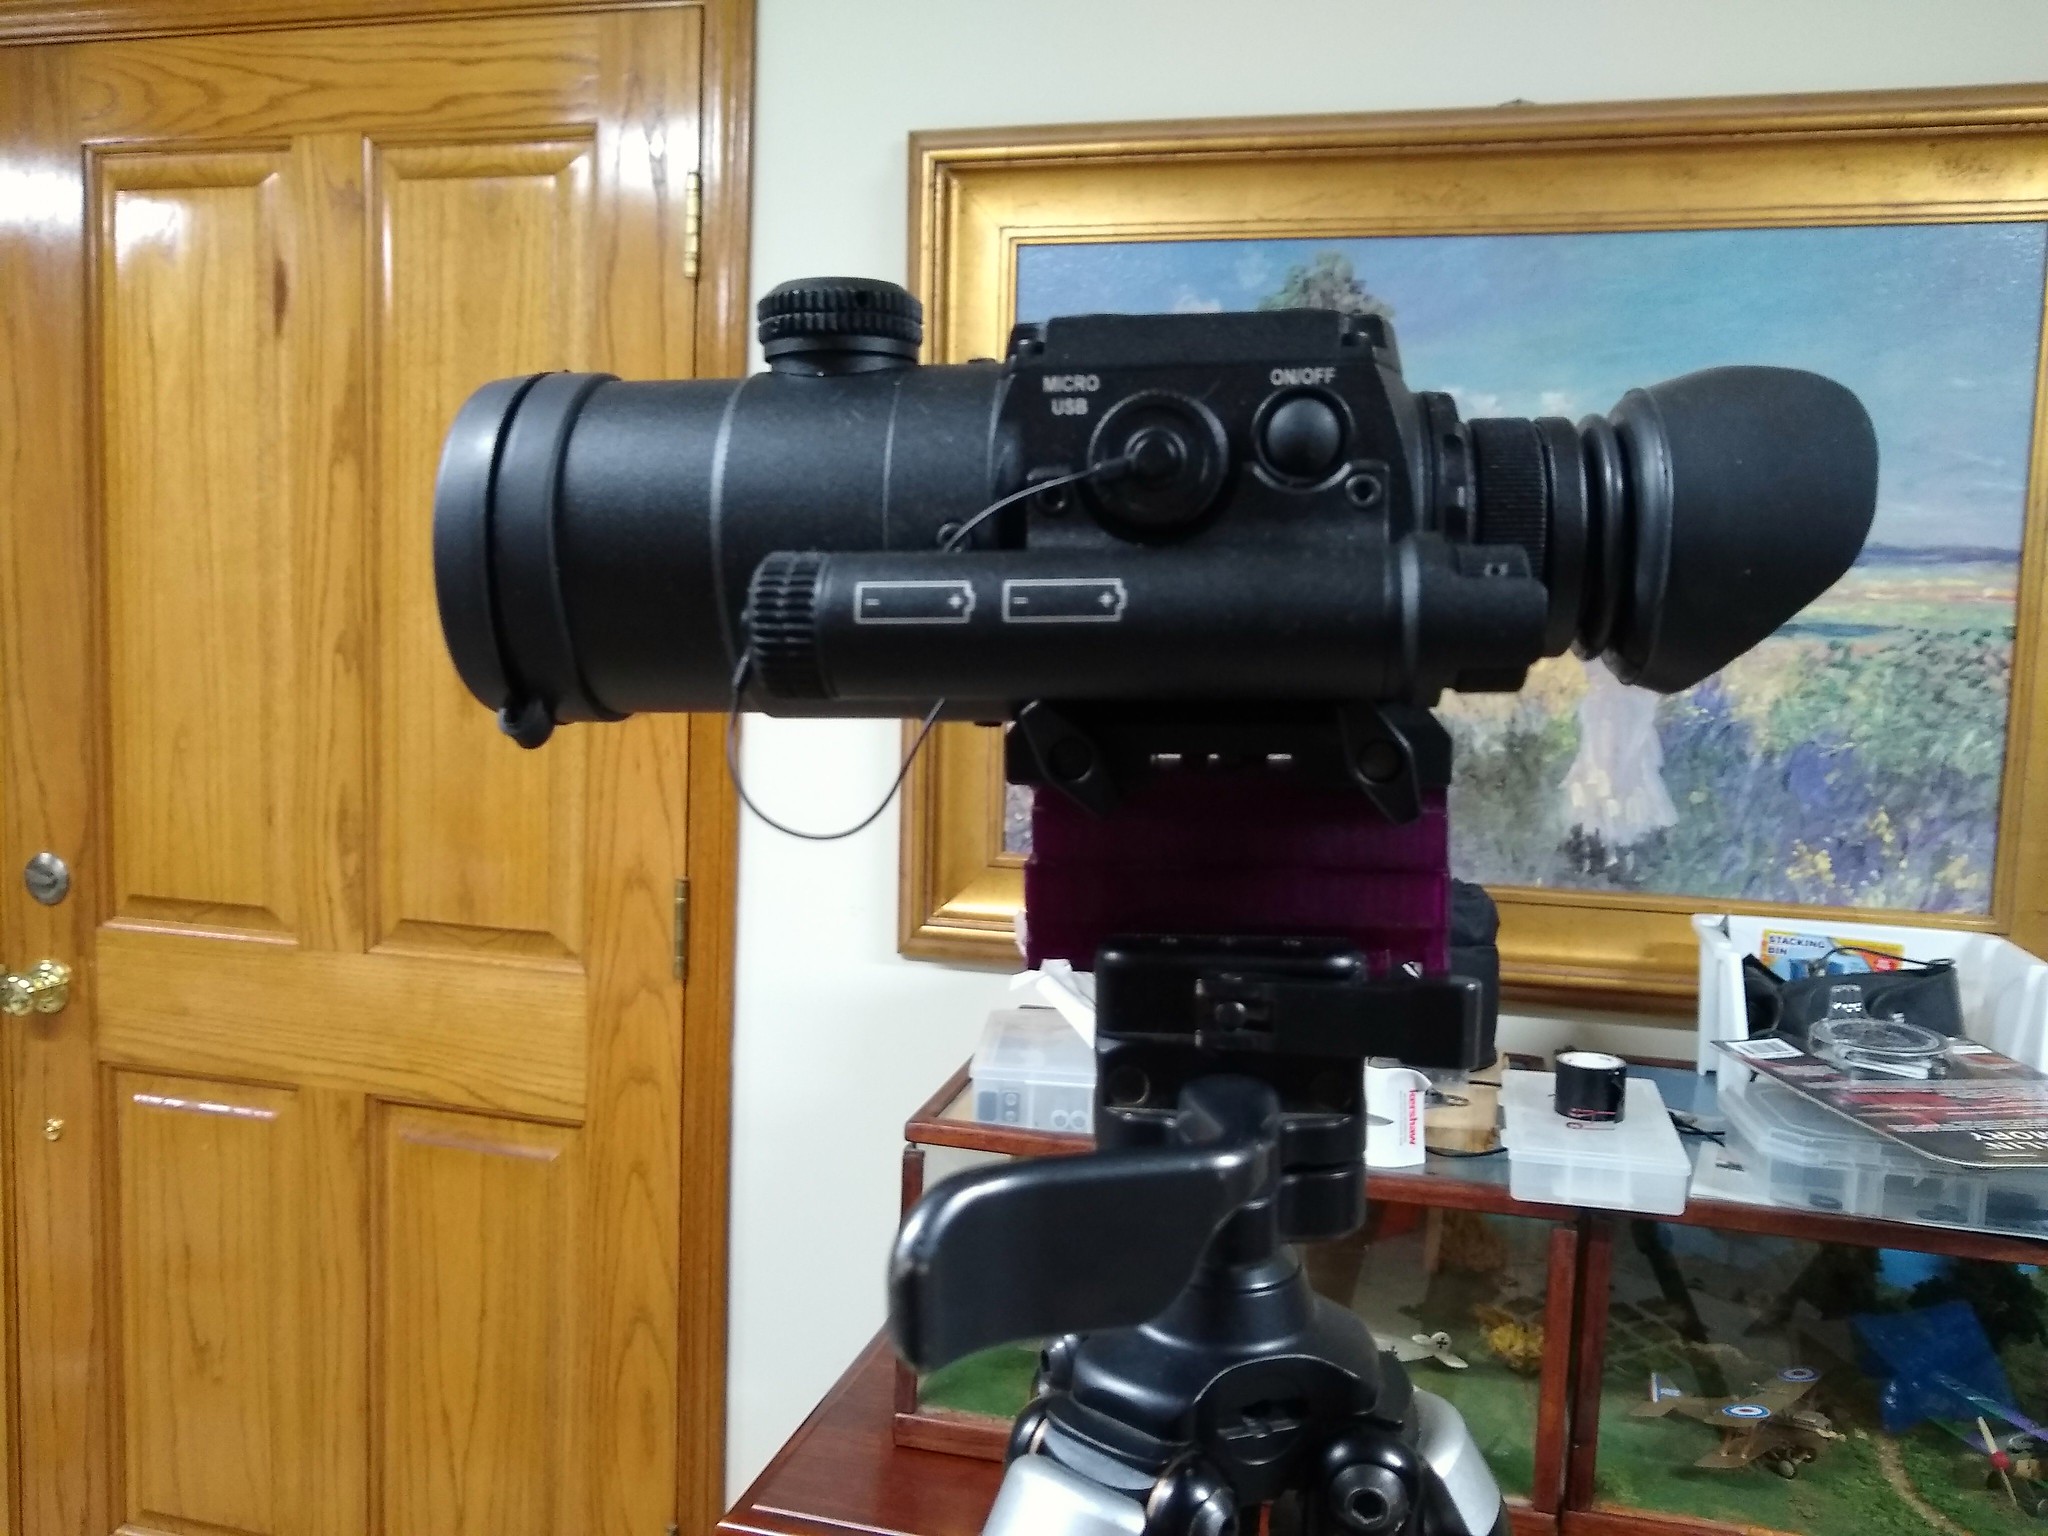
Oh and this unit has manual focus, that’s the big knob up on the top of the lens housing.
Also, the housing is metal, not polymer.
CLIP-ON MODE
The unit has boresight adjustment capability, so the first step was to adjust the boresight. As I’ve relearned this summer, zeroing/boresighting thermal with hand warmers is TOUGH because the handwarmers “bleed” onto the target board and the “target” gets larger and larger and the center of the target “moves” as the bleeding continues. I’ve subsequently retried aluminum foil patches and they are working better, since they can be smaller and don’t bleed.

These are handwarmer groups fired after completing the boresight

Fired from left to right. The right hand hand warmer bled up some on the target board and when I aimed at the center of the hot spot, the group wound up looking high.
Next I looked around a little to get some thru the lens shots.
Here’s a mouse at 40yds, near the chicken coop

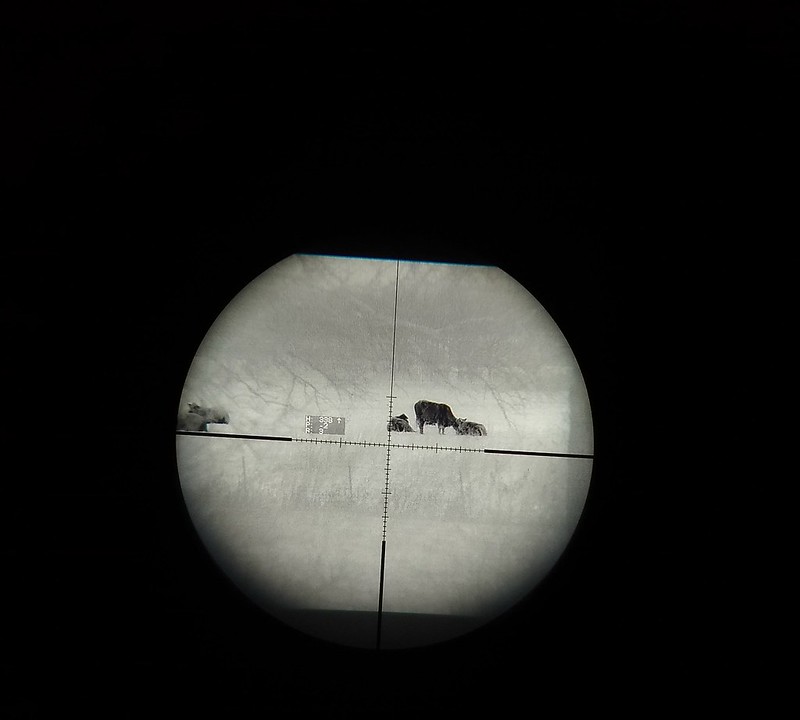
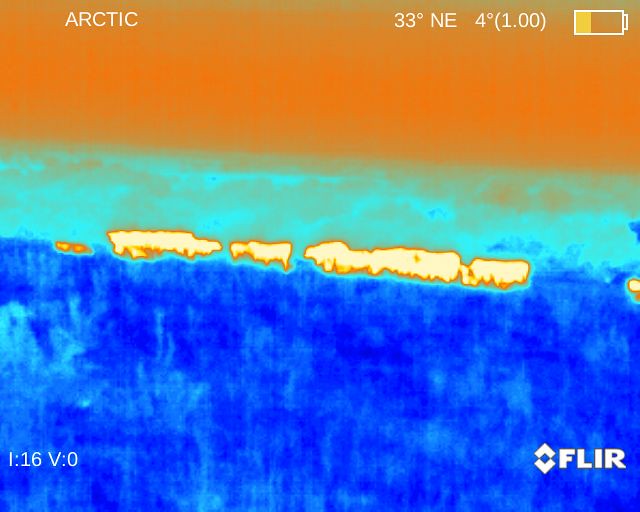
Shot of cattle in the West pasture, 150-200 yards

And here’s a shot using the rangefinder off a diesel tank at 79yds

Now for comparison purposes, I will show some shots of 4 other thermal clipons:
UTC (320), UTC-x (640), LWTS-LR (640) and SNIPE (640)
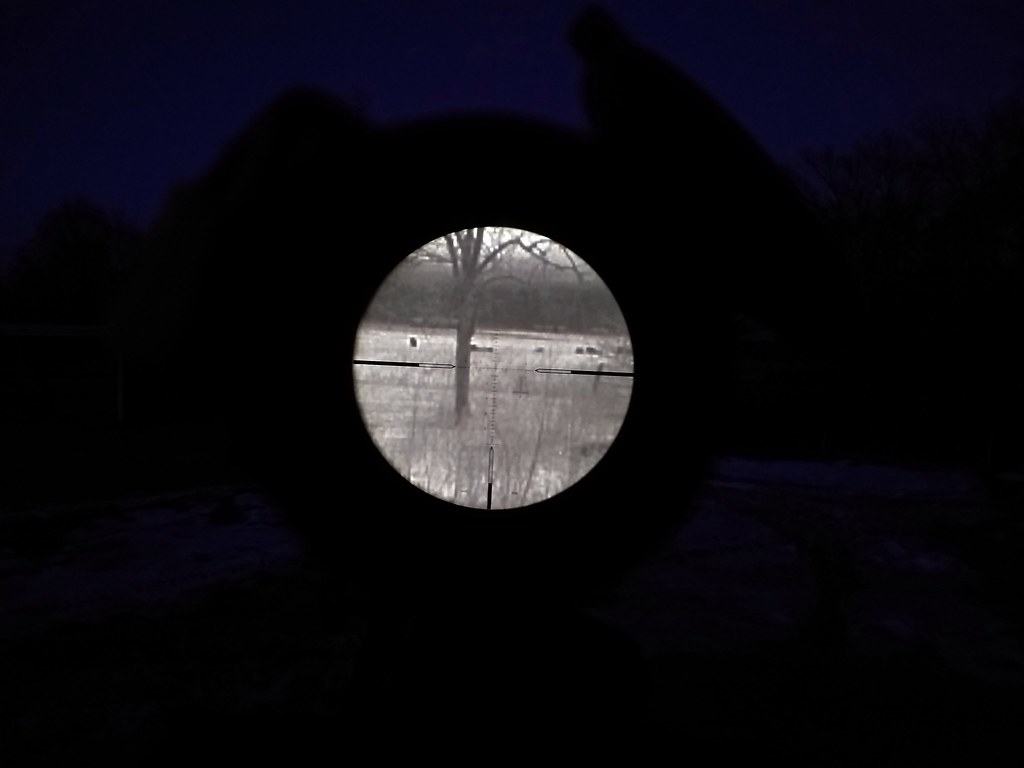
Here’s a shot of cattle in the alfalfa patch at 200 to 300yds with the UTC(320)
If any questions please ask and I will try to answer.
==
Genesis Apocalypse A55 Thermal Modular System
Thanks to Vlad Savchik of Luna Optics and Warren Offenberg of Full Moon Optics, I was able to test the A55 thermal during the period June 2020, through August 2020.
This unit is called a “Thermal Modular System” because it is possible to swap out the rear lenses with three different lenses to produce:
01 - A thermal clip-on
02 - A thermal rifle scope
03 - A hand held thermal monocular
All three modes were tested.
The unit also has a built in laser range finder.
On the postal scale, the unit weighed in a 2 lbs 2.1 oz with batteries

Basic data on the unit:
Sensor: 17um
Frame Rate: 50hz
Shutter Free/NUC Free
Display: 1024x768
Optical Magnification 3.5x
Digital zoom 2x, 4x
FOV: 7.5 deg
Detection Range (1.8 Meter object) 1,500m
Laser Range Finder max distance: 700m
Power Supply: 2xc123 or 5v USB
Shown price on B&H Photo: $6,200
I attached the clip-on lens and mounted the unit to one of my bolt guns.

In the event, the stock mount worked very well for me in terms of alignment. I normally use the UTC/x thermal clip-ons and so my Spuhr mounts are 1.34 center (34mm center) … but the A55 lined up perfectly AFA my eyes could tell. I then moved the clip-on one notch closer to the front lens of my daylight scope, so that the rubber eyecup of the clip-on is connected to the front frame of the daylight scope (this is necessary to minimize POI adjustment as much as possible).

The scope behind the A55 is a Leupold and Stevens Mk6 3-18x T3 Illum.
Investigating the unit in the house I noted two key points about the menu system.
01 - It was a single level system, so had a lot of entries … but very intuitive. I think the easiest thermal menu system I’ve used … and I’ve used most of them. The only time I referred to the manual was to try to figure out how to NUC the unit and learned that this is a NO NUC unit
02 - The menu system is controlled by one knob (the knob on the rear end of the battery compartment) … turning that knob cycles through the options and pressing the button selects an option. Additional buttons on the top and sides of the unit allow operation for features such as the LRF, VIdeo, Inversion and digital zoom.
I’m a software guy by profession and I’ve seen a LOT of menu systems, and this one is rare in that it provides a LOT of control over the unit, but also is so intuitive, you don’t need to read the manual.
I contrast that with the Pulsar system, which took me several days to learn. Those icons in the pulsar system just didn’t click for me
Oh and this unit has manual focus, that’s the big knob up on the top of the lens housing.
Also, the housing is metal, not polymer.
CLIP-ON MODE
The unit has boresight adjustment capability, so the first step was to adjust the boresight. As I’ve relearned this summer, zeroing/boresighting thermal with hand warmers is TOUGH because the handwarmers “bleed” onto the target board and the “target” gets larger and larger and the center of the target “moves” as the bleeding continues. I’ve subsequently retried aluminum foil patches and they are working better, since they can be smaller and don’t bleed.

These are handwarmer groups fired after completing the boresight

Fired from left to right. The right hand hand warmer bled up some on the target board and when I aimed at the center of the hot spot, the group wound up looking high.
Next I looked around a little to get some thru the lens shots.
Here’s a mouse at 40yds, near the chicken coop

Shot of cattle in the West pasture, 150-200 yards

And here’s a shot using the rangefinder off a diesel tank at 79yds

Now for comparison purposes, I will show some shots of 4 other thermal clipons:
UTC (320), UTC-x (640), LWTS-LR (640) and SNIPE (640)
Here’s a shot of cattle in the alfalfa patch at 200 to 300yds with the UTC(320)


