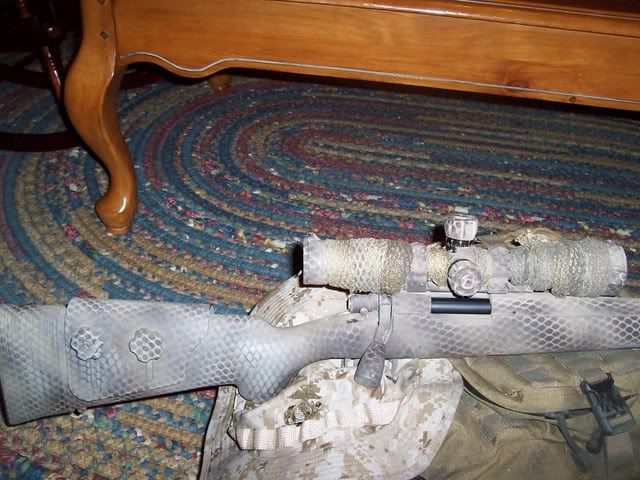
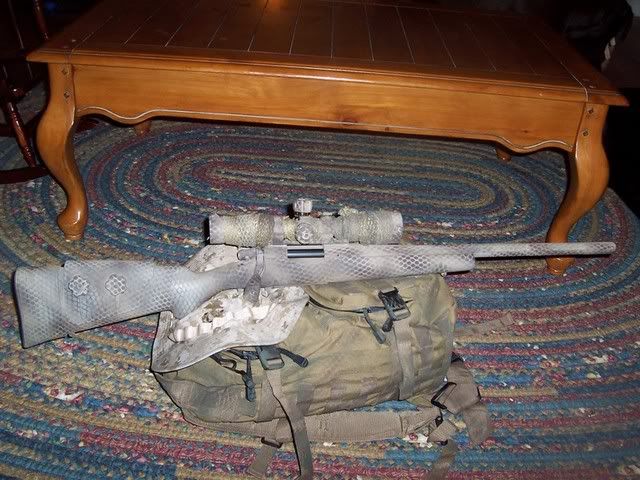
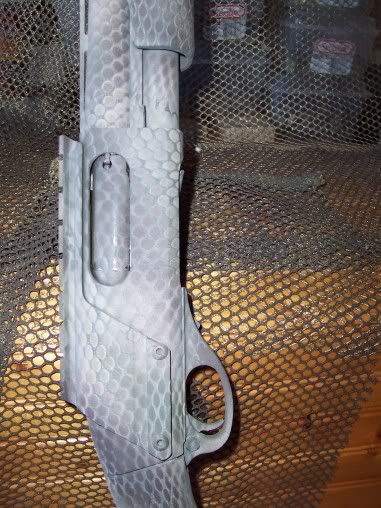
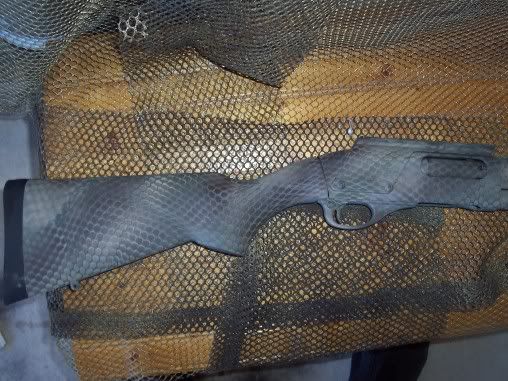
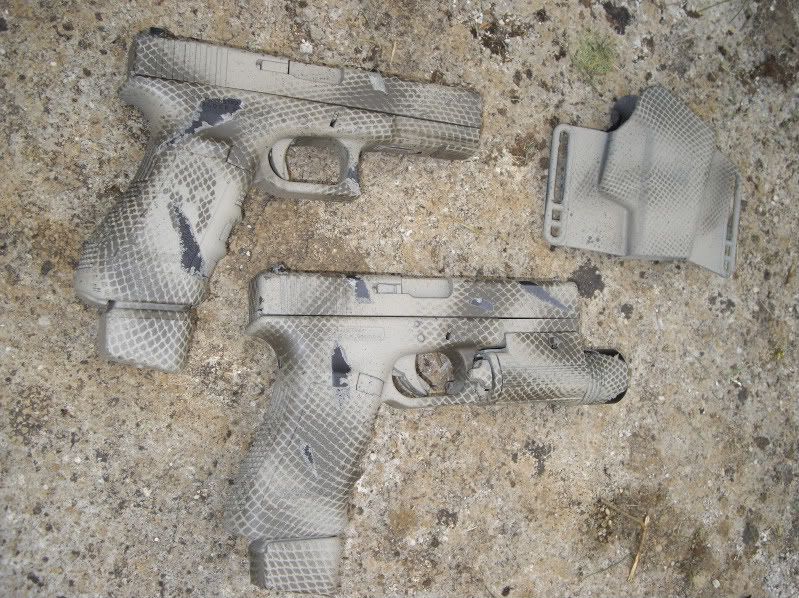
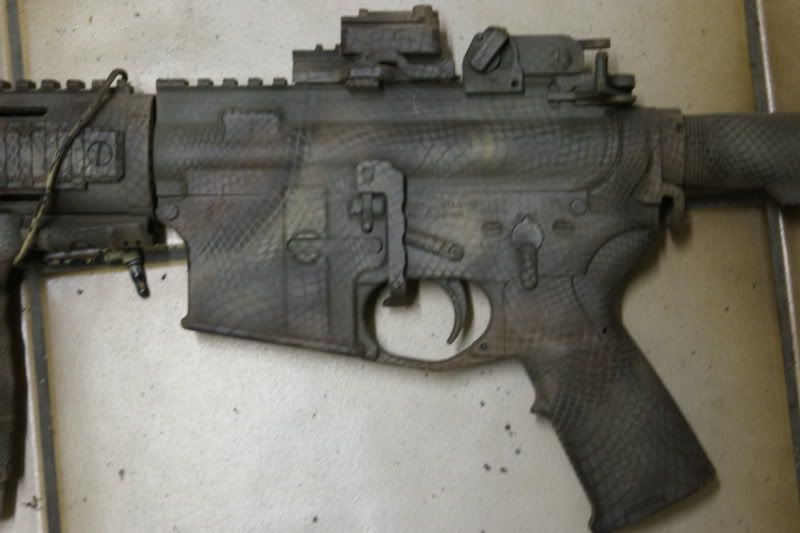
Re: photo request - snake skin/webbing camo
<div class="ubbcode-block"><div class="ubbcode-header">Originally Posted By: Ascendancy</div><div class="ubbcode-body"><div class="ubbcode-block"><div class="ubbcode-header">Originally Posted By: Scimitar</div><div class="ubbcode-body">
</div></div>
This looks really good. Any details on how you did it? I'm not the most artistic person so I have a hard time picturing the process. </div></div>
That does look sweet. Think about the layers top to bottom. I don't think you need to be artistic, just process orientated and patient.
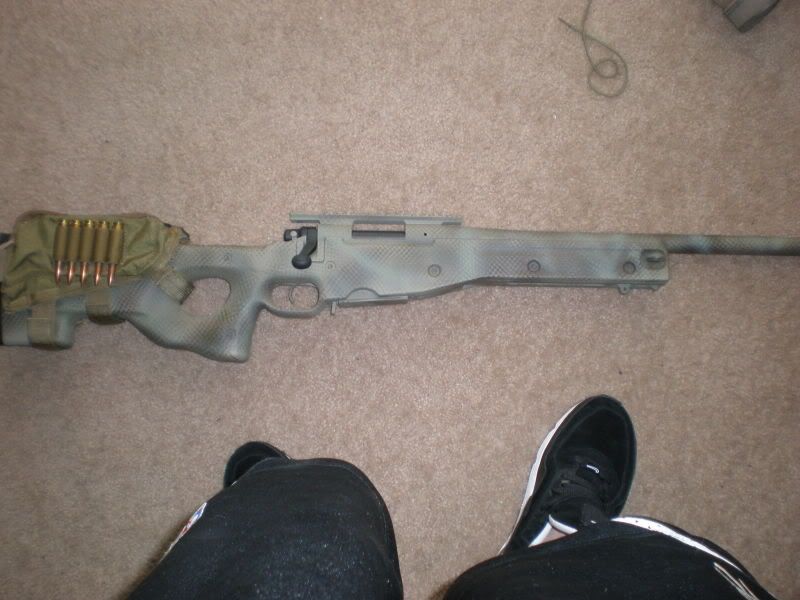
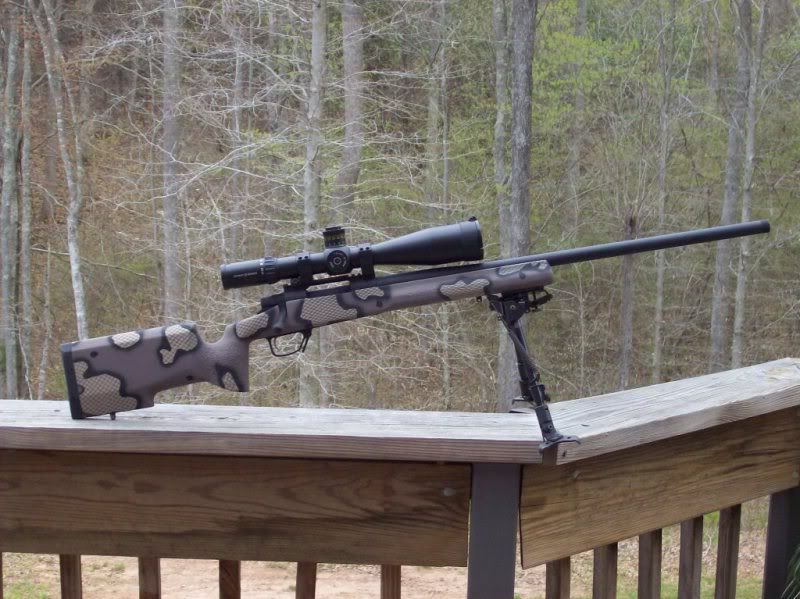
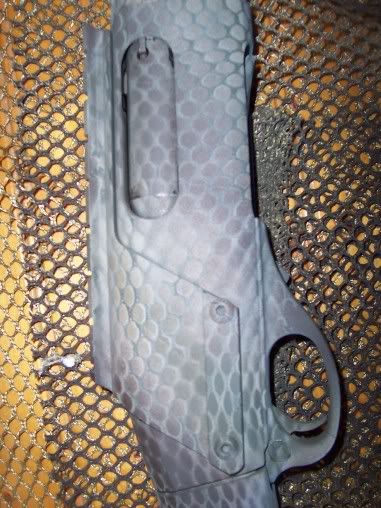
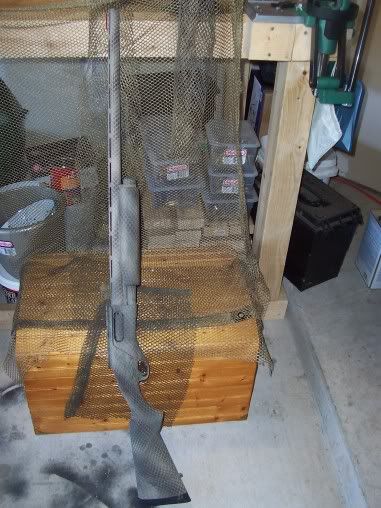
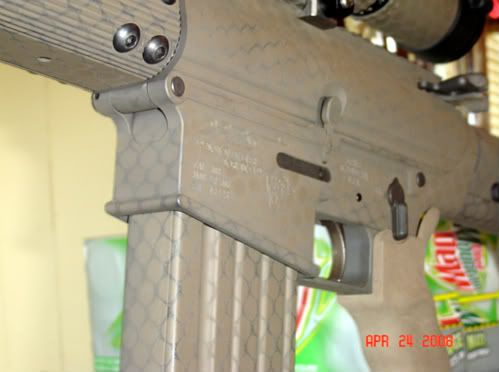
I'd guess or I would would attempt this as base coat black. Cure/dry. Prep and tan over webbing on entire stock sides. Limit the coating build. Cure/dry. Then tape/mask over what webbing patches you wish to retain and evaluate size and pattern per color. Spray top coat OD. Light tack, do not let cure/dry. Then airbrush the black patch outline. Let tack. Pull mask/tape. Bake.
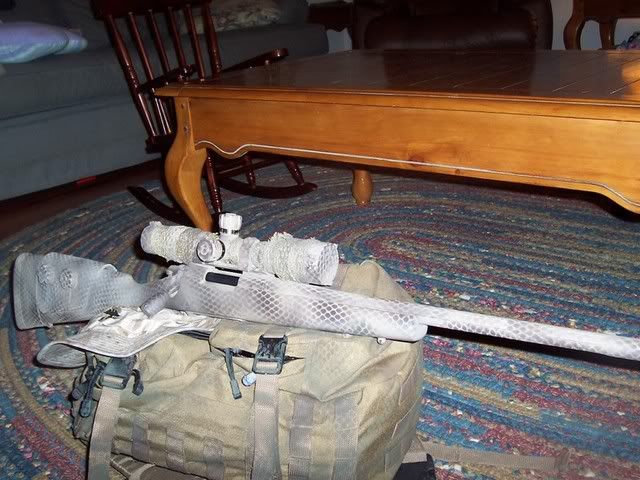
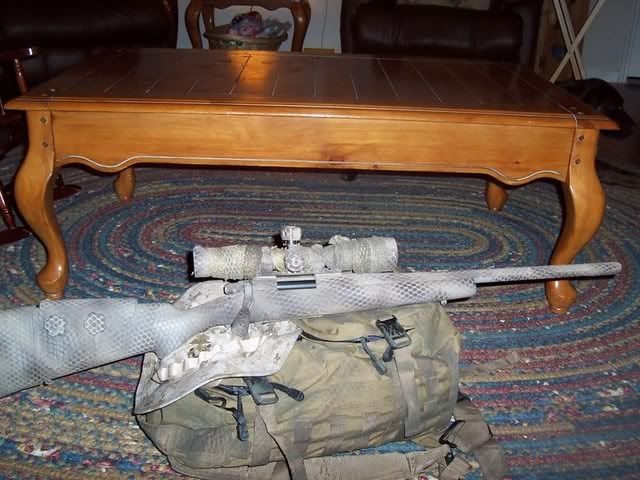
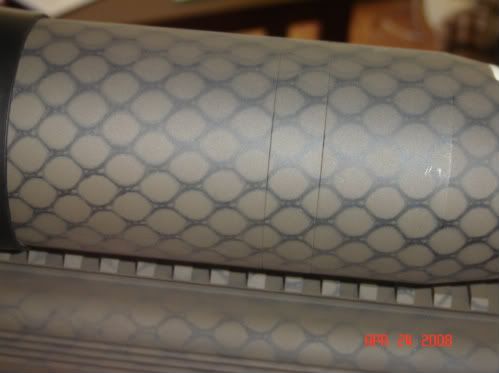
Another effect is to cut the webbing into patches and tape over the now previously conceived areas orientating the direction of the webbing differently with each patch. This also helps in appearance (not effective camo) if you want to pattern the barrel but not in a single complete assembly. You can web the action and barrel with patches separate from the stock and it visually fits together well. Getting the webbing tight over the entire rifle in a single piece while keeping crisp edges can be tricky.
The poster may have done it differently. However he did it, hats off.
HD rifles did some nice looking web camo jobs with the webbing in different orientations per color and with black outline. I think the latest ones before going out of business were just single wrapped in webbing or veil.
Norrels moly is super easy to work with and performs well on metal and doesn't have allot of build to it. I prefer using a different coating on stock (Duracoat) vs metal (Norrells). So you can't do full camo in that process.
If you don't want to invest in much equipment or material cost, camo krylon patterns with a top coat of Duracoat matte clear hold up well and are fast-easy-fun.
Even with a base of texturized spray bombs, given prep. Krylon is also really flat, relative to more invested coatings. Better to base duracoat and go from there. Point being your not locked into a particuler coating for effect.
You can ruin it with the clear. Light coats from distance, i like higher pressure and wide fan with ample hardener. You waste most of the material.
I did a makeshift durcoat/krylon black to match a SS barrel to a AR reciever and it turned out great. Given prep and the duracoat base it was also not dirtbag. The krylon was just added matte tint before baking. Duracoat did'nt freak out mixing krylon overcoats before cure.
I tried tinting the clear to try to add another subtle pattern on top once but that turned out like crap. I also tried to hide to much coating build in the mask seams with the clear and that also ruined it. It's not like autobody where you can try to fix shit with the clear. With the clear you need to focus on that application only.
It's not artisitic, maybe in how you cut your mask tape. It's really dealing with getting excited or dissapointed.. and the patience for prep work before hand. Follow the process, let small errors go. I fucked up allot of stuff focusing on dumb imperfections.
I need to spray something. Been awhile. It's fun enough in experiment to start with whatever you can get your hands on. Dirtbag .22s, shotguns, etc. If your worried about it and unsure, it's benefical in prep but ill in application. Atleast for me. Prep 100% in research, plan it out with time and be patient. Something small and bad happens, ignore it. Somthing big...stop. Clean up and evaluate the next day.
Too many words... Spray some shit.
HTH

