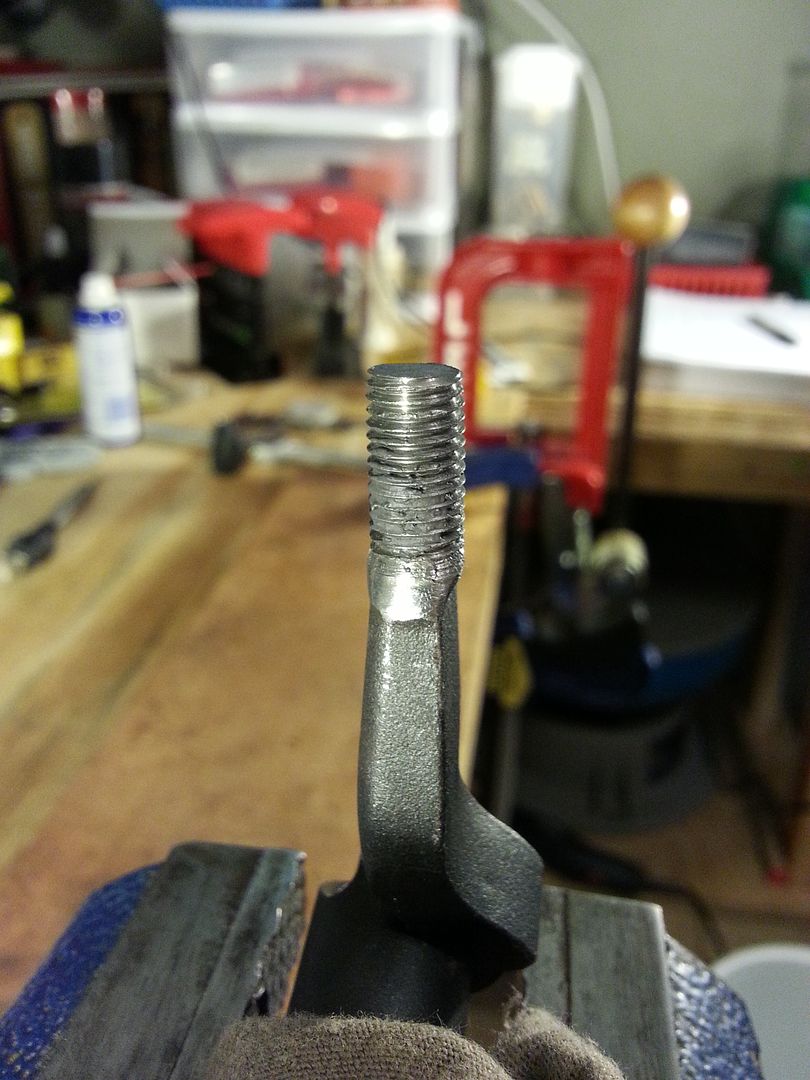
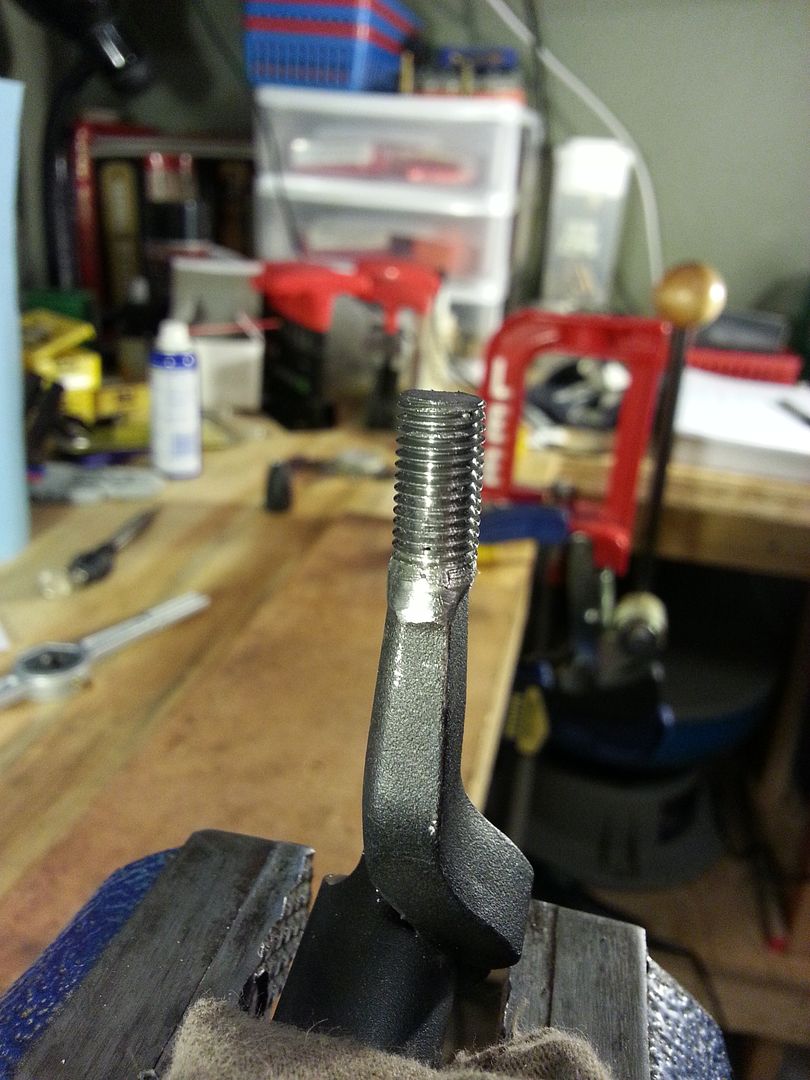
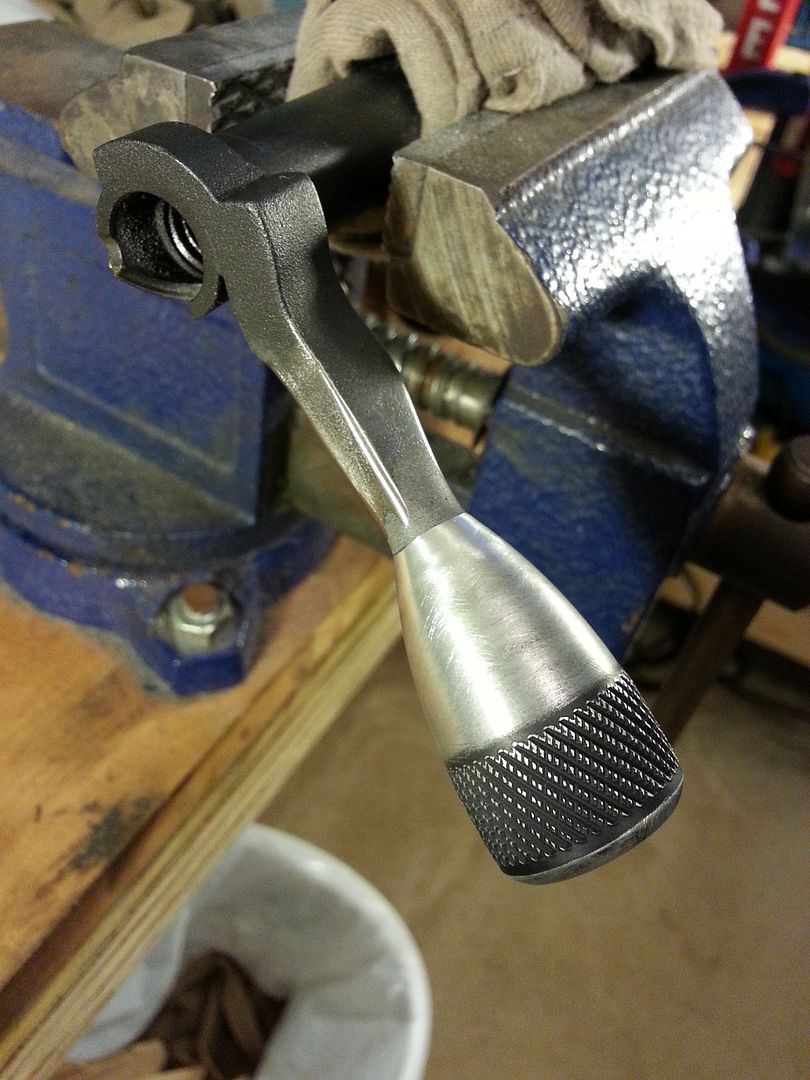
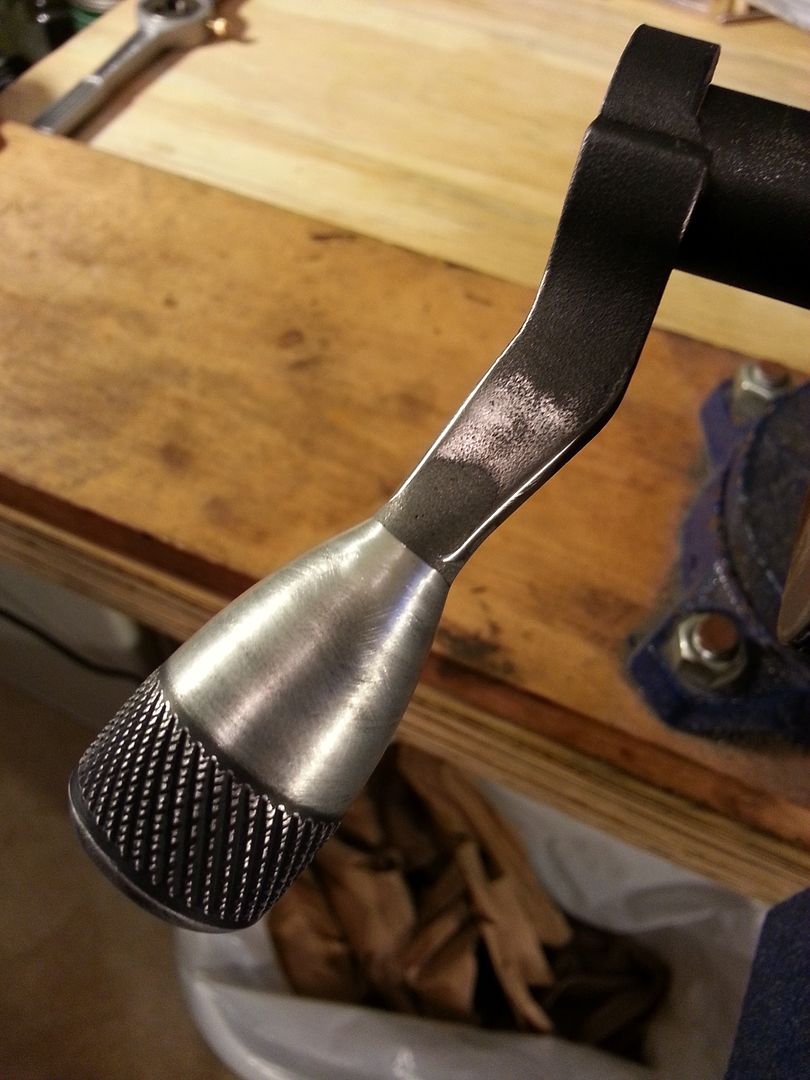
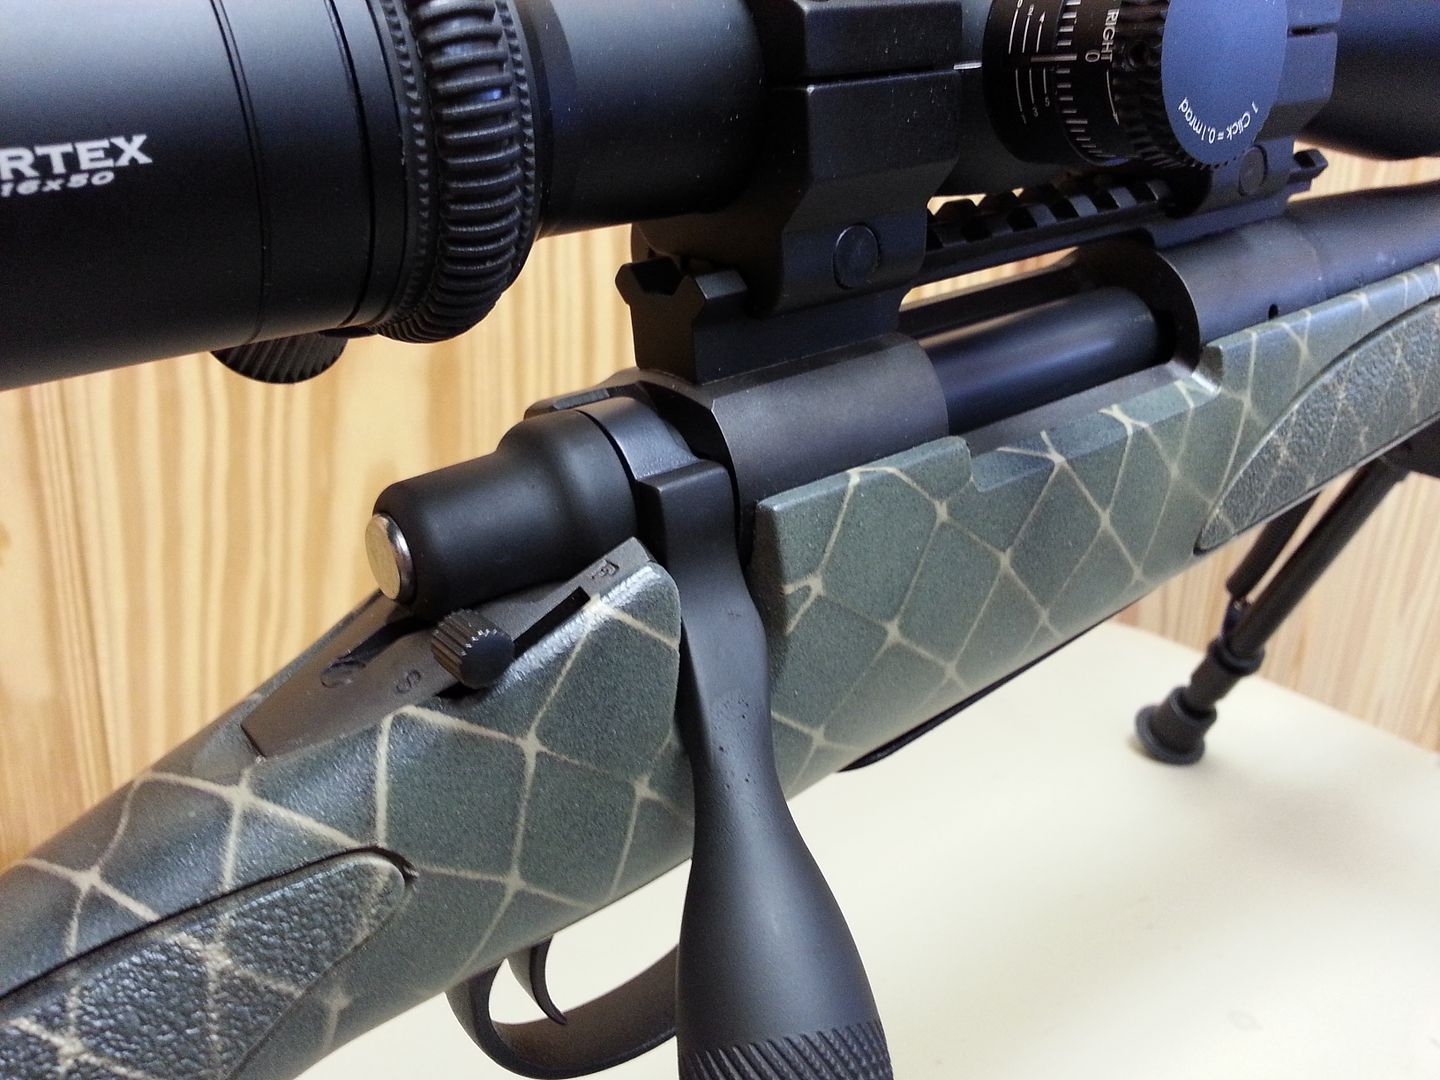
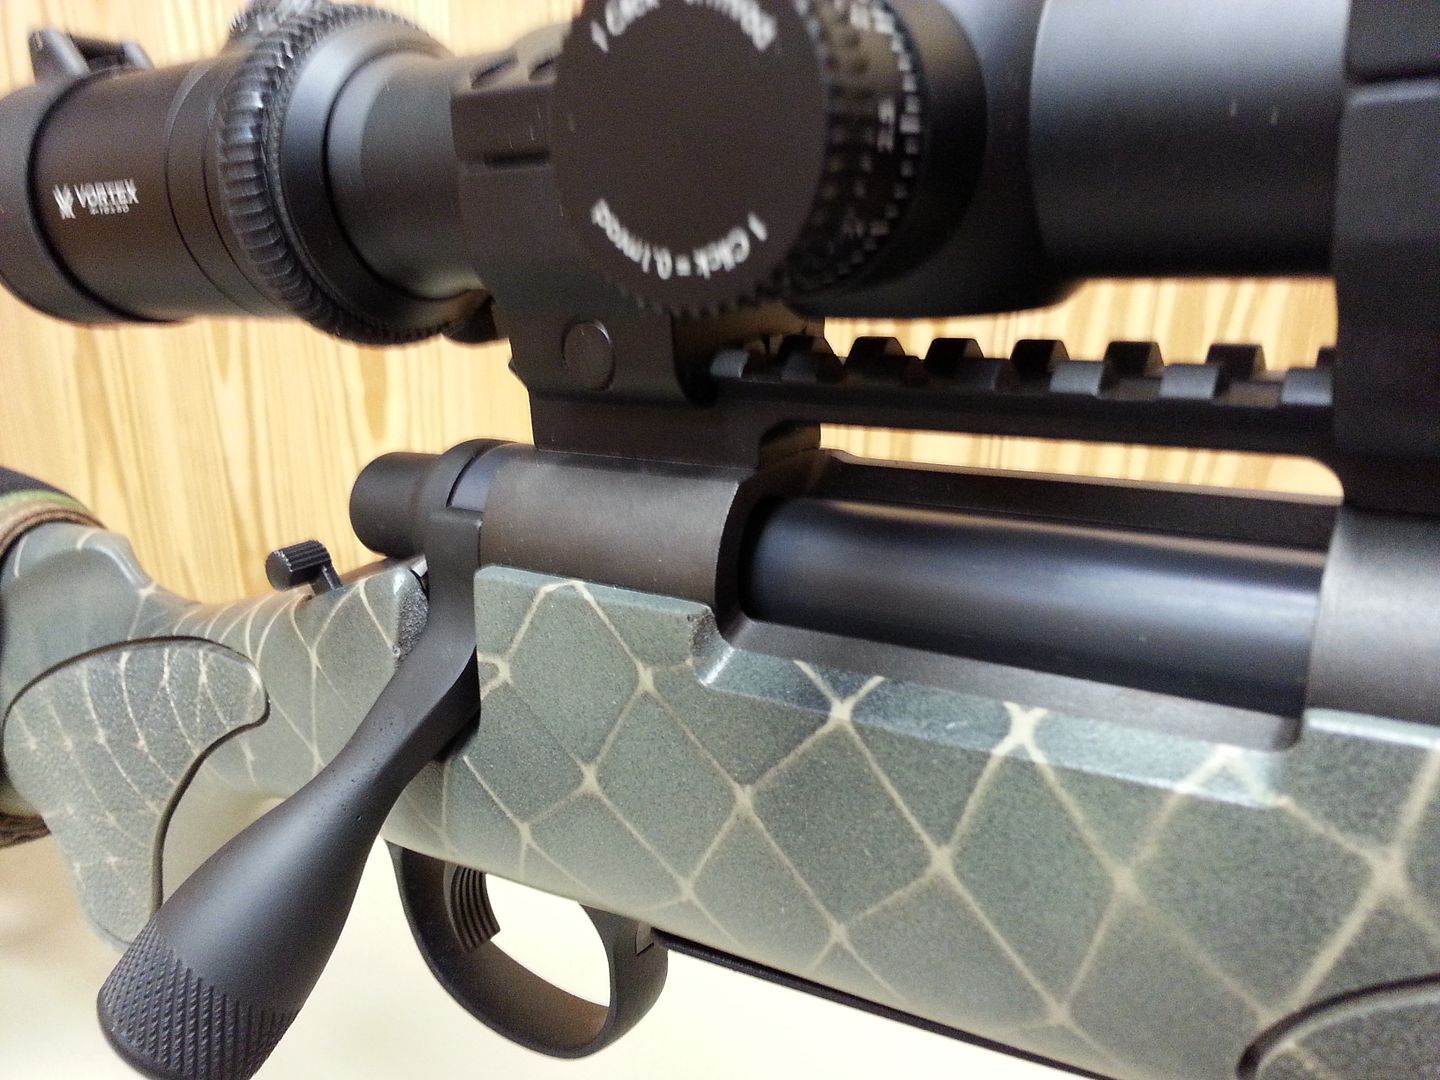
When you paint it why don't you screw a bolt into the body and use it rather then a coat hanger? Much stronger and you can manipulate it any way you want.
Join the Hide community
Get access to live stream, lessons, the post exchange, and chat with other snipers.
Register
Download Gravity Ballistics
Get help to accurately calculate and scope your sniper rifle using real shooting data.

Install the app
How to install the app on iOS
Follow along with the video below to see how to install our site as a web app on your home screen.
Note: This feature may not be available in some browsers.
You are using an out of date browser. It may not display this or other websites correctly.
You should upgrade or use an alternative browser.
You should upgrade or use an alternative browser.
Another DIY Remington 700 Bolt Knob Install (Pic Heavy)
- Thread starter TennJeep1618
- Start date
When you paint it why don't you screw a bolt into the body and use it rather then a coat hanger? Much stronger and you can manipulate it any way you want.
To be honest, I never even thought about it. Plus, I don't have any idea what thread size the bolt body is. I just use coat hangers for pretty much all of my painting needs, so I just defaulted to that.
1/2-13 I believe
Cool. I'll keep that in mind. Thanks!
I see a full rifle Kryptek paintjob in your future, since you're already halfway there with the netting pattern on your stock. Excellent job for Dremel garage machining.
I really like that Kryptek camo. I had never seen it before. Thanks for the compliments.
I guess I should update this thread. After going back and forth about re-doing the Aluma-Hyde, I decided to just bite the bullet and get it Cerakoted. I talked to a local shop that really seemed to know what they're doing. The owner is going to coat the bolt body and all the engagement surfaces with Micro Slick and do the bolt shroud, handle and knob with Armor Black. I can't wait to see how it looks and functions with the new coating. I dropped it off last week and should have it back within a week or two.
The JB Weld was good and dry, so I went ahead and re-threaded it.
Not perfect, but it's better than it was. We'll see if it holds up for the long haul.
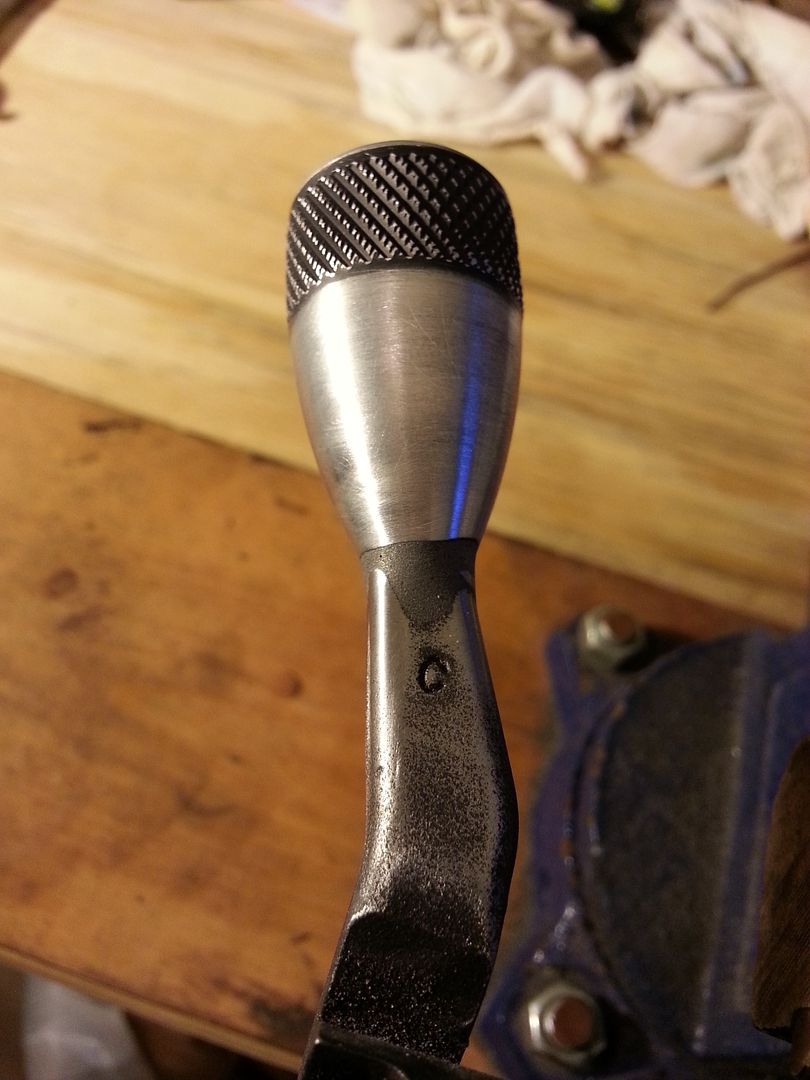
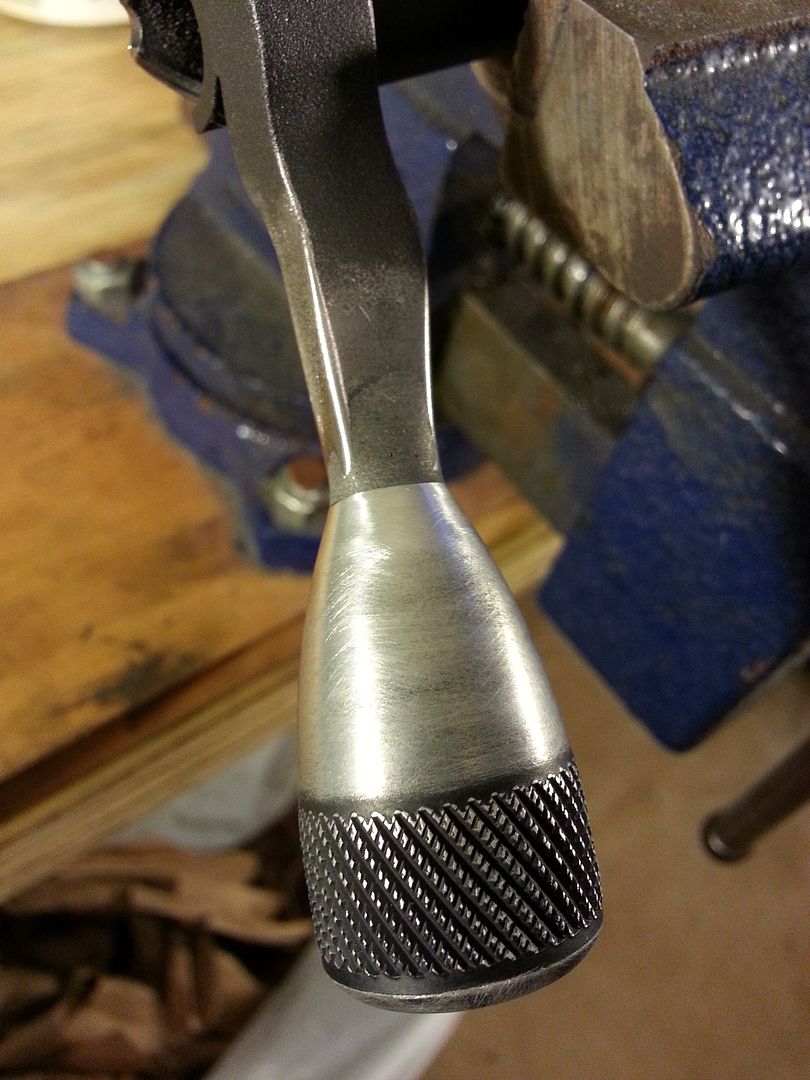
After I got done doing that, I Loctited the bolt knob on and smeared some Devcon around the base of the knob and onto the handle.
Got the Devcon sanded down into a contour I'm satisfied with last night. I'll probably end up getting the bolt Cerakoted. I haven't decided on a finish yet.
Pictures continue on Post #24 here: http://www.snipershide.com/shooting/snipers-hide-d-i-y/189751-another-diy-remington-700-bolt-knob-install-pic-heavy.html#post2505263
nice job. Better than the last tutorial I found.
The bolt is finally DONE!
The pictures below show the bolt after about 30 rounds fired and the bolt being cycled many, many times.
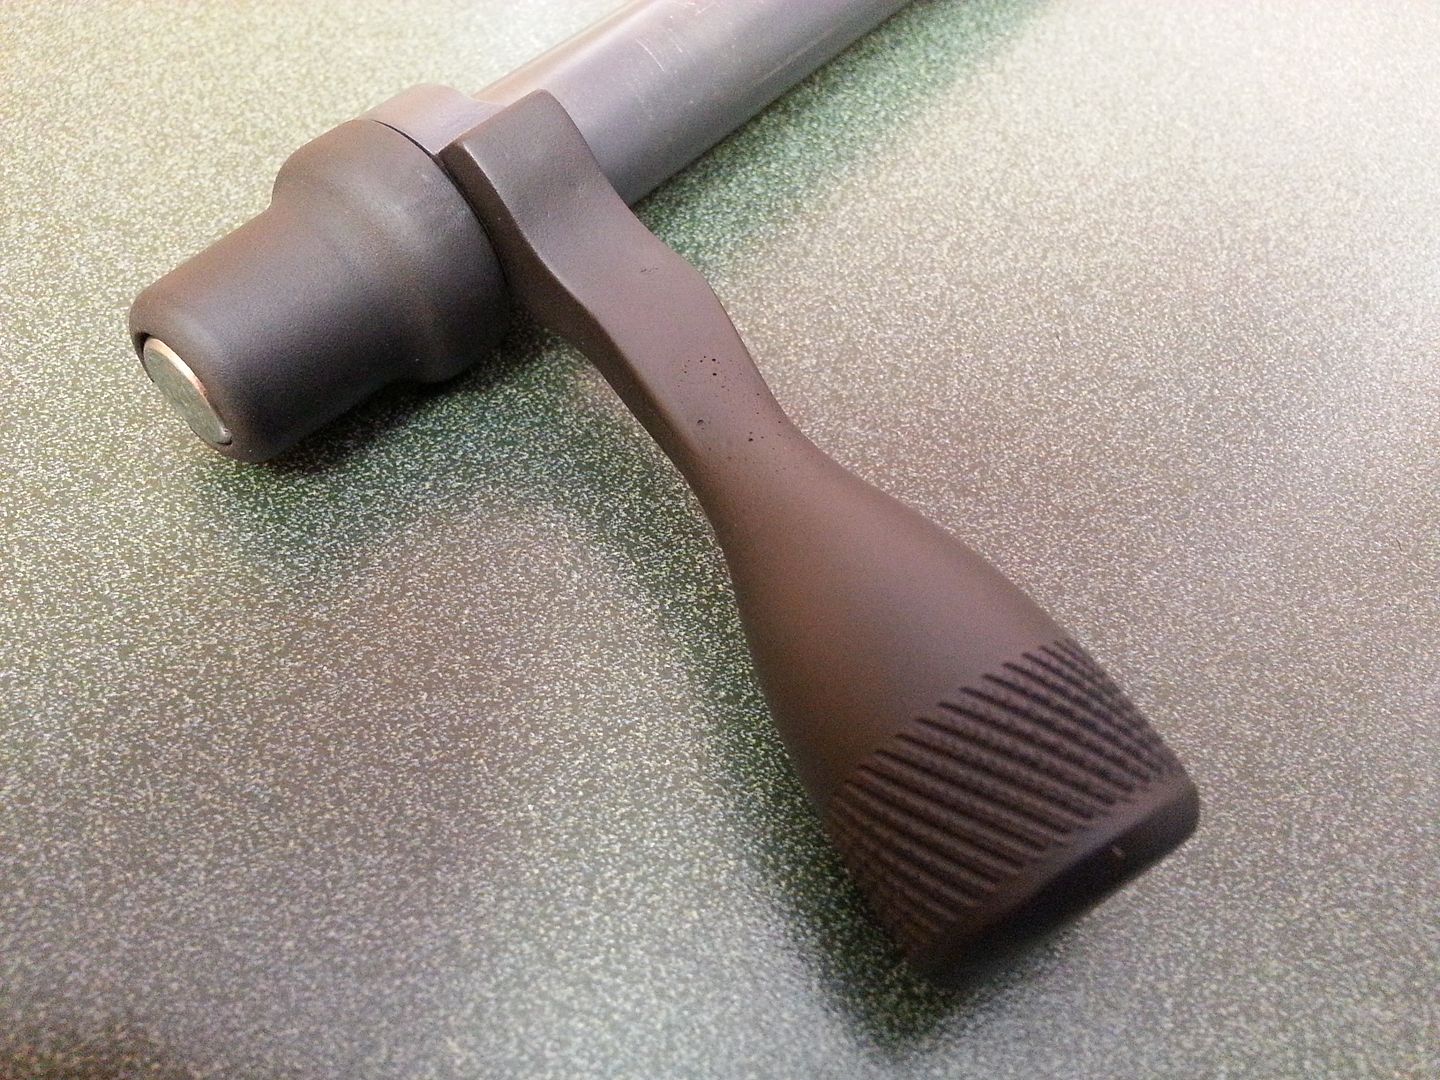
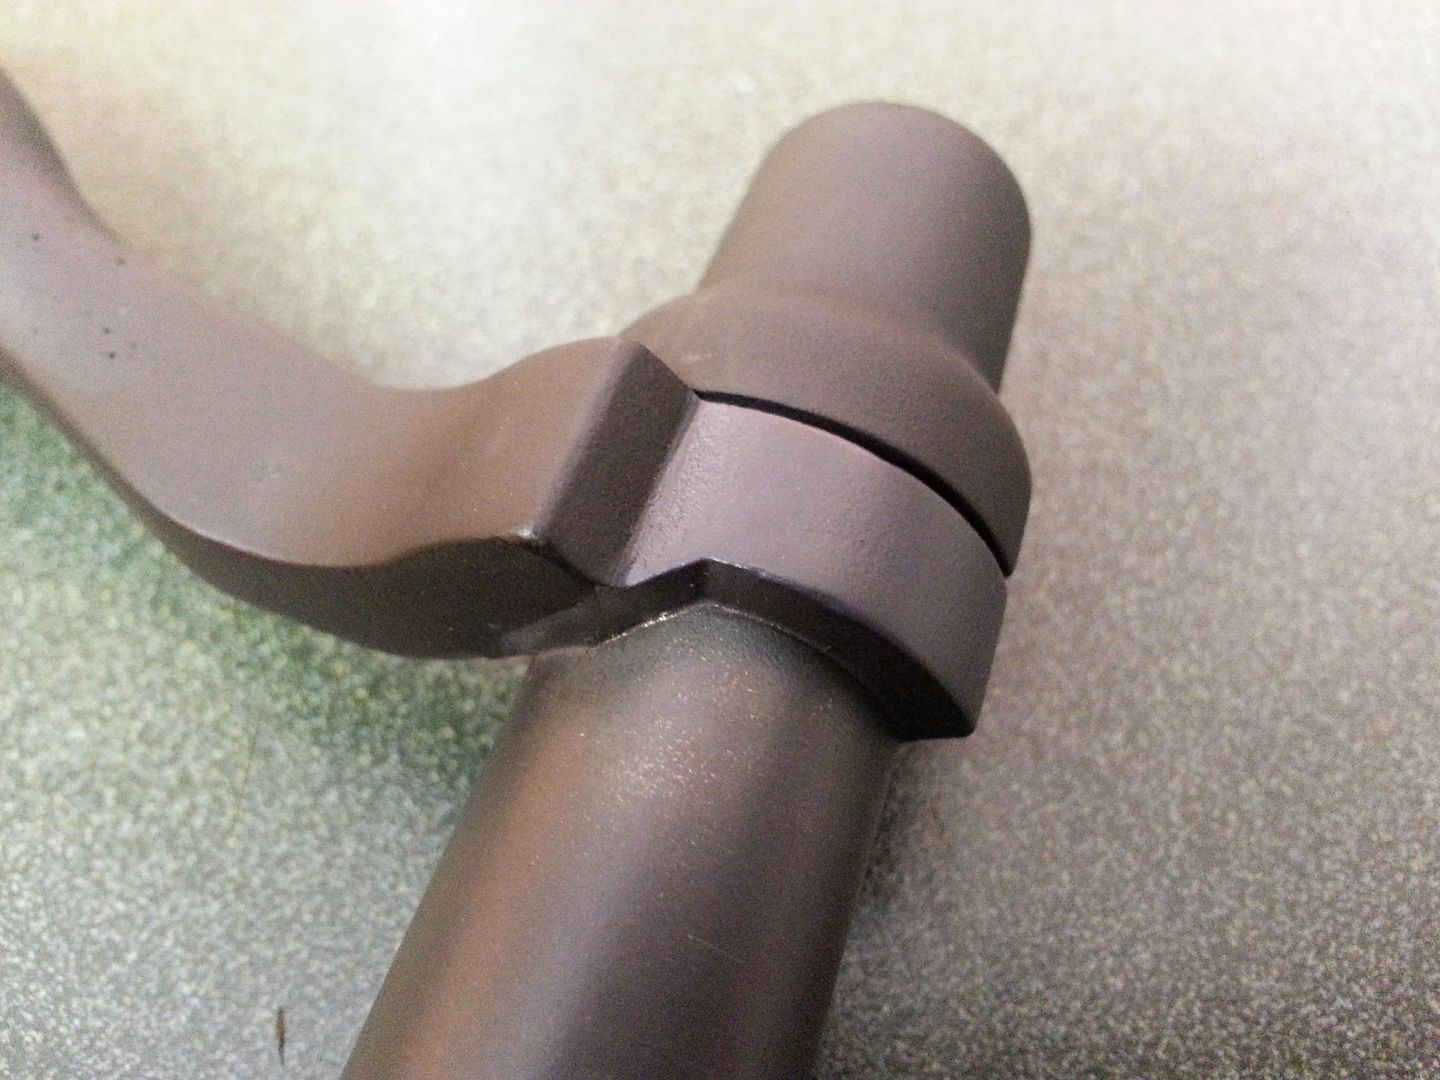
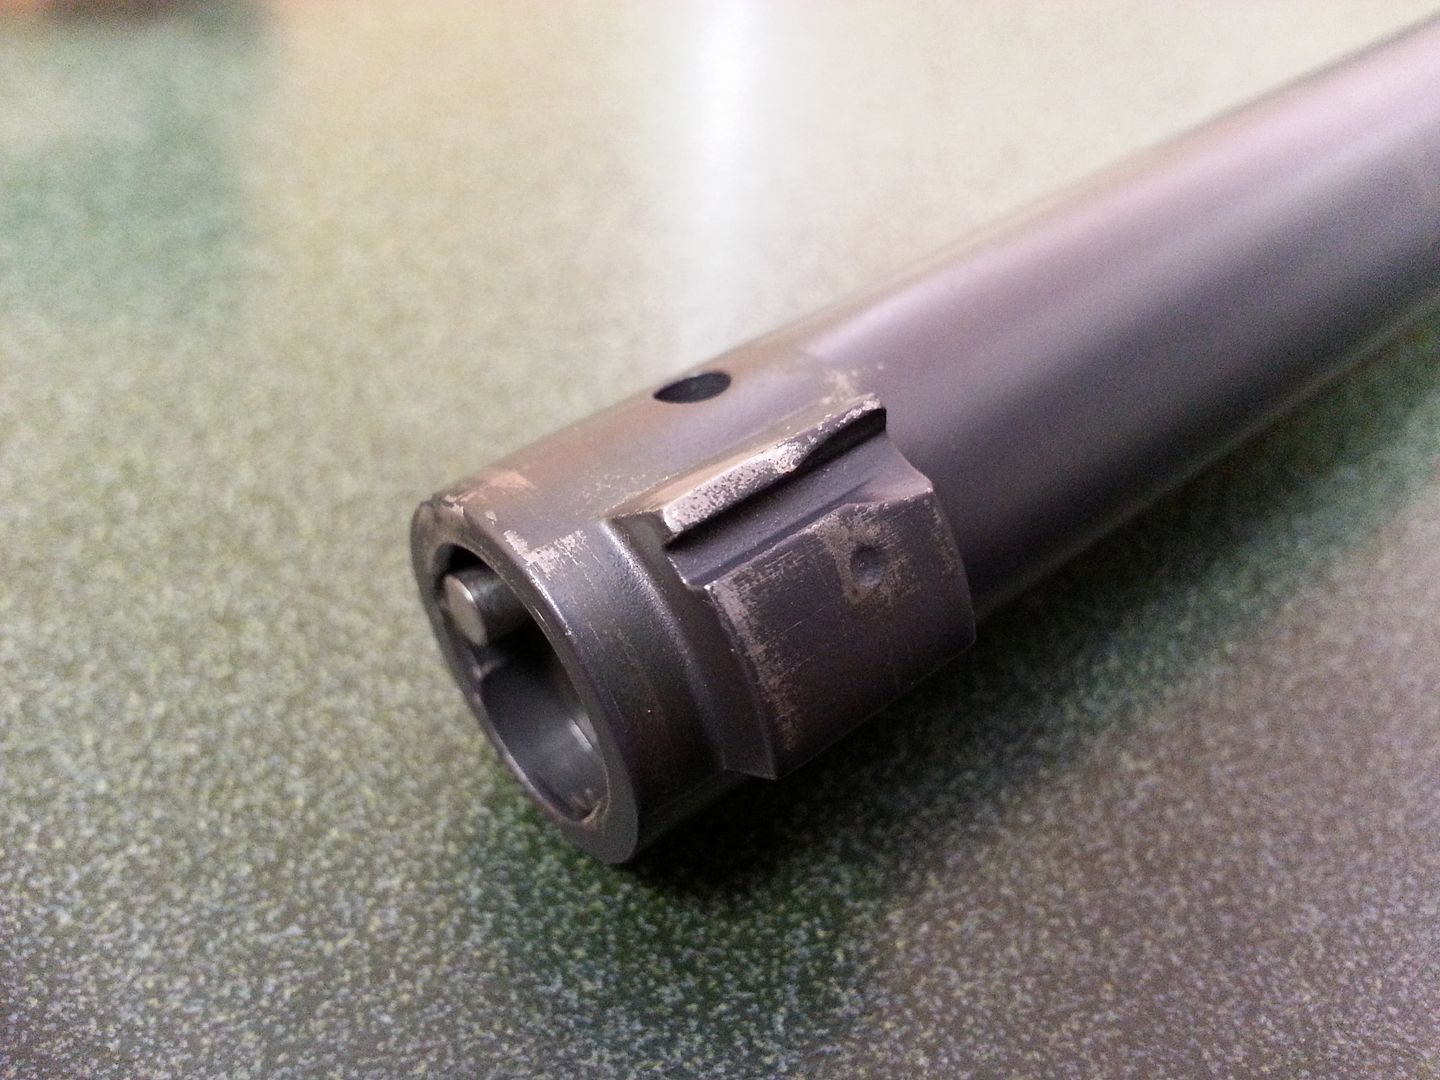
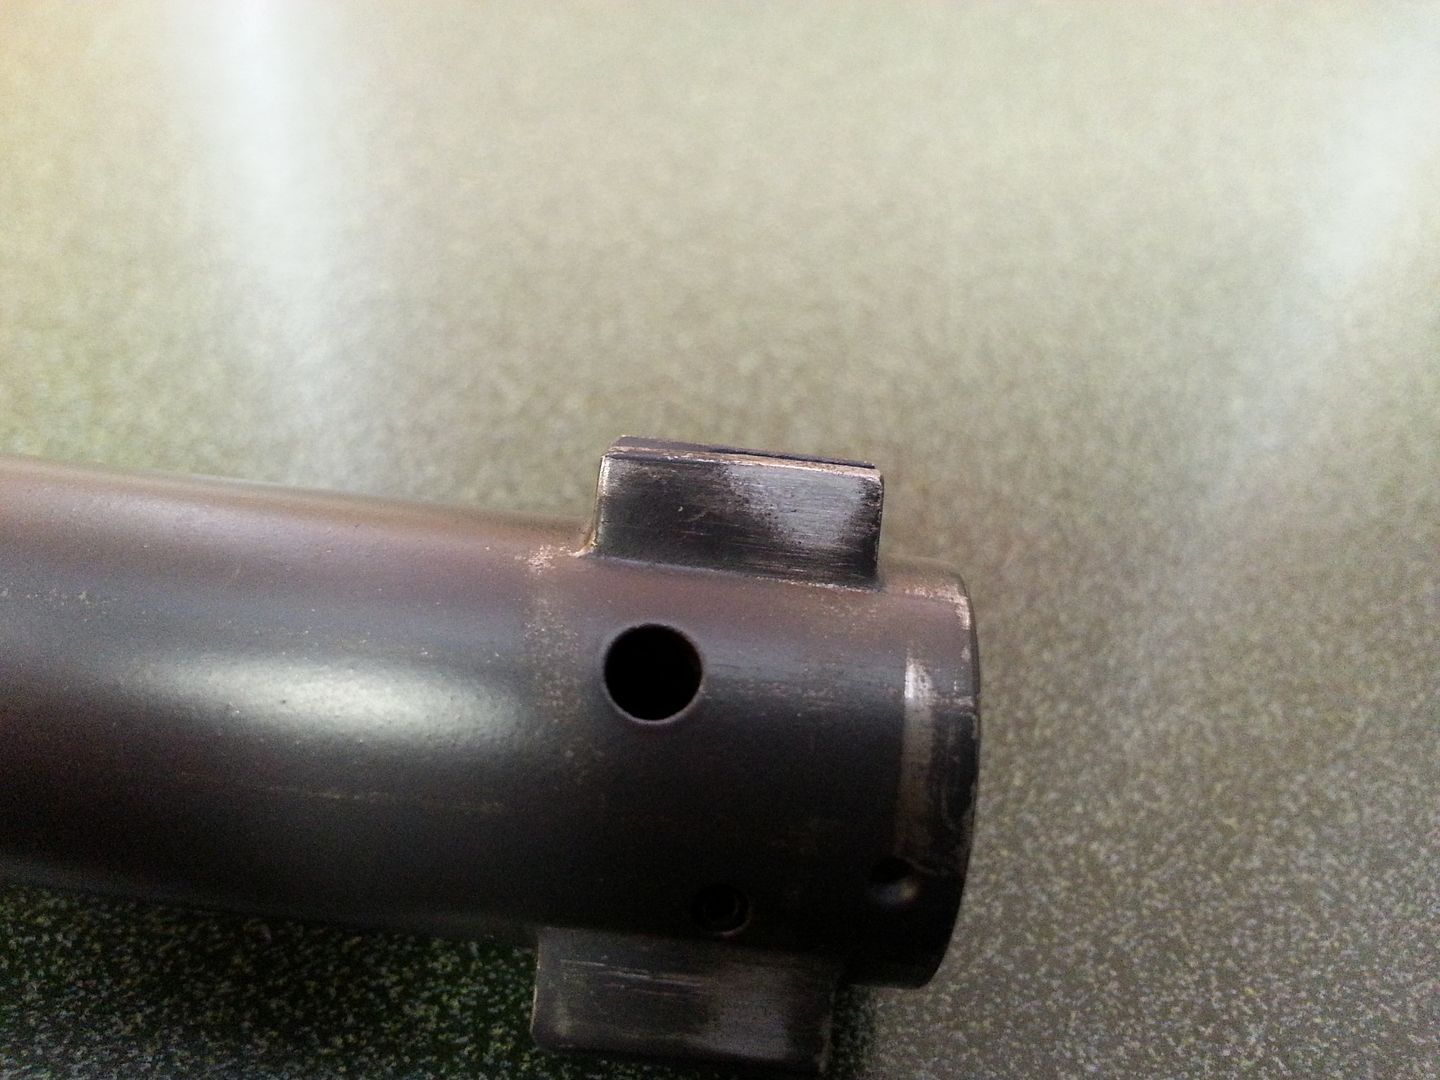
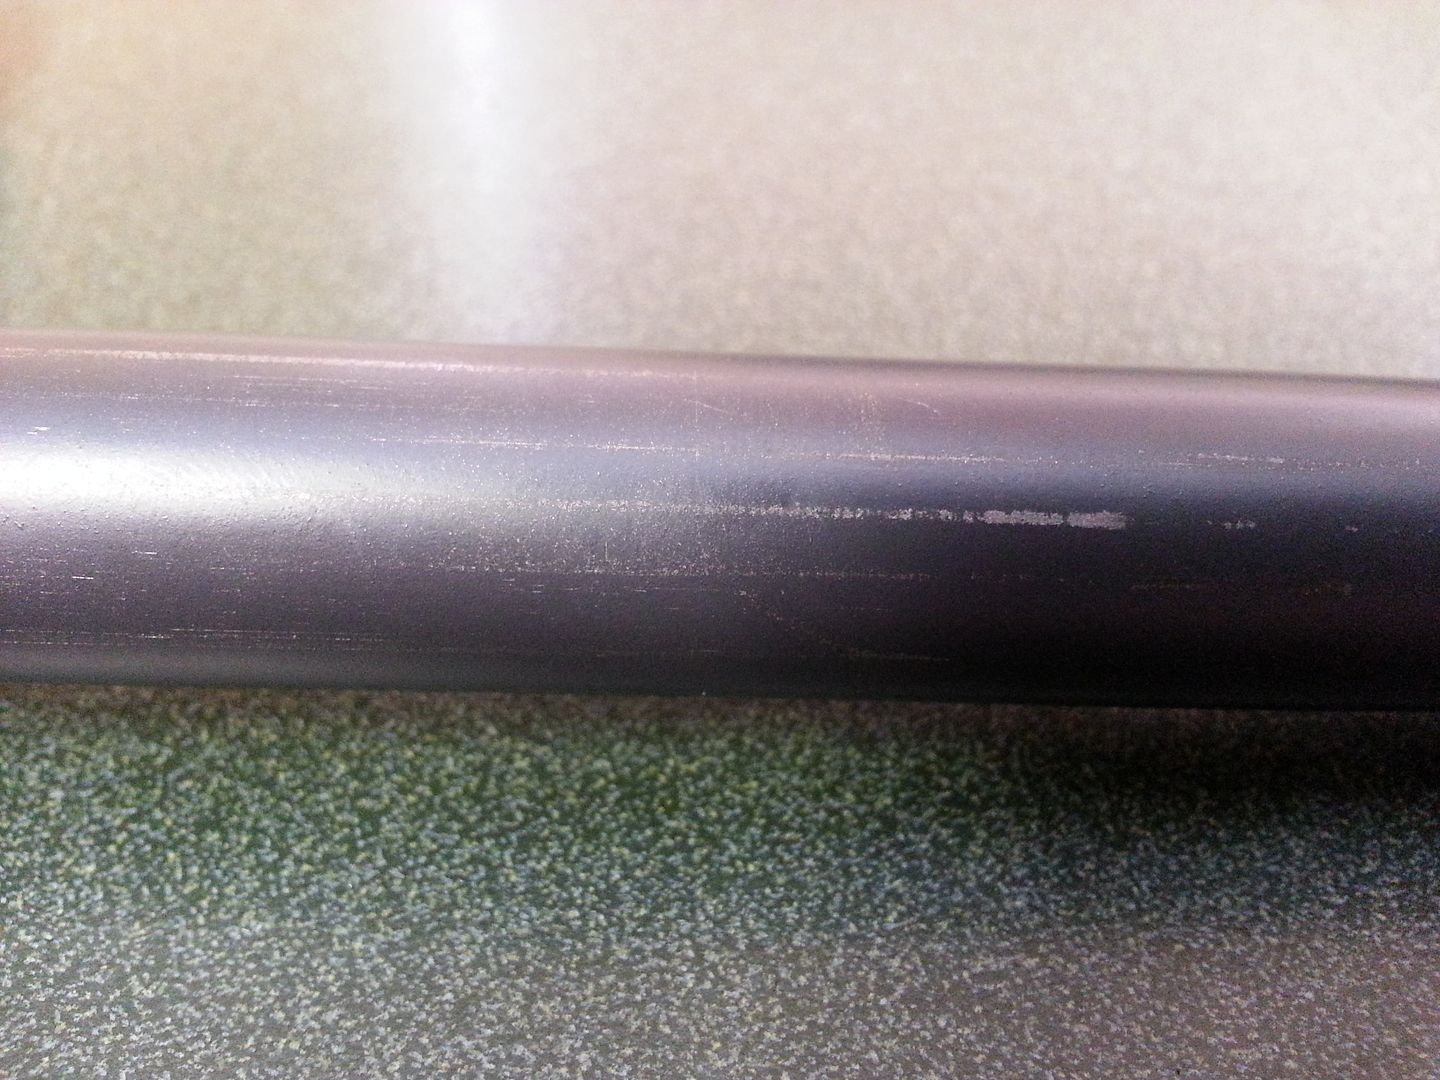
Obviously there is some wear on the contact surfaces and from brass rubbing, but I expected that. I can't believe how smoothly it cycles with no grease on the lugs whatsoever.
The pictures below show the bolt after about 30 rounds fired and the bolt being cycled many, many times.


Obviously there is some wear on the contact surfaces and from brass rubbing, but I expected that. I can't believe how smoothly it cycles with no grease on the lugs whatsoever.
Next time get some autobody filler from oriellys and fill the small devcon holes. and on the bare metal i always etch prime it before i use alumihyde. it seems to help it stick a lot better. thinking about doing my bolt knob now. nice job
This is the thread that gave me the confidence to do the same thing. Turned out great, I love it and saved some cash. Not to mention the bit of pride that comes along with doing it your self!
You guys are an inspiration for perspiration!
I decided to do my own bolt as well!
It is a Sendero Rem 700 in Stainless (magnetic stainless though!) and went very well.
I used a stainless bolt handle and it turned out rather nice, also with the pride of DIY!
I did have a back-up plan though: If for 'some reason' I screwed it up, I was going to buy a PTG bolt!
So I felt good either way it was going to work out!
PICS:


Even the STAINLESS bolt handles have inclusions/defects!


Thanks again!
Will
I decided to do my own bolt as well!
It is a Sendero Rem 700 in Stainless (magnetic stainless though!) and went very well.
I used a stainless bolt handle and it turned out rather nice, also with the pride of DIY!
I did have a back-up plan though: If for 'some reason' I screwed it up, I was going to buy a PTG bolt!
So I felt good either way it was going to work out!
PICS:


Even the STAINLESS bolt handles have inclusions/defects!


Thanks again!
Will
Last edited:
You guys are an inspiration for perspiration!
I decided to do my own bolt as well!
It is a Sendero Rem 700 in Stainless (magnetic stainless though!) and went very well.
I used a stainless bolt handle and it turned out rather nice, also with the pride of DIY!
I did have a back-up plan though: If for 'some reason' I screwed it up, I was going to buy a PTG bolt!
So I felt good either way it was going to work out!
PICS:


Even the STAINLESS bolt handles have inclusions/defects!


Thanks again!
Will
Awesome! I like that stainless look!
William_LXIX said:Even the STAINLESS bolt handles have inclusions/defects!
You haven't seen flaws or inclusions until you have done some Savage handles. Stainless or carbon steel it doesn't matter, I have actually seen bats fly out of them when cut into.
Great write up! I used a Dremel tool with a cutting wheel for the initial cuts after starting with a grinder.
How hard it is to work with Devcon? I have a Badger Ordnance bolt knob in a R700 bolt and it needs some blending work. Not all of the original bolt knob was ground down before the threading so there is a small area that is fairly sharp. I figured I could just use a dremel and cutoff wheel to remove that small part and some of the sharp edges then use Devcon to fill in and shape the square bolt handle to the round bolt knob.
What was used to sand/shape the Devcon? Also, what Devcon did you use? I'm guessing it was the Metal Patch and Fill?
What was used to sand/shape the Devcon? Also, what Devcon did you use? I'm guessing it was the Metal Patch and Fill?
How hard it is to work with Devcon? I have a Badger Ordnance bolt knob in a R700 bolt and it needs some blending work. Not all of the original bolt knob was ground down before the threading so there is a small area that is fairly sharp. I figured I could just use a dremel and cutoff wheel to remove that small part and some of the sharp edges then use Devcon to fill in and shape the square bolt handle to the round bolt knob.
What was used to sand/shape the Devcon? Also, what Devcon did you use? I'm guessing it was the Metal Patch and Fill?
Actually I used the Devcon Plastic Steel Putty. It was very easy to use and I just used emory cloth to shape it.
Yeah it depends on the DEVCON my friend!
We use a DEVCON gun with 2 minute epoxy that I wouldn't trust to do this, as it sets up VERY quick...
Will
We use a DEVCON gun with 2 minute epoxy that I wouldn't trust to do this, as it sets up VERY quick...
Will
There are a couple of the Devcon Plastic Steel Epoxys that have 15 or 60 minute handling times. Im guessing that either of those would work.
High Strength Plastic Steel Filled Epoxy
Plastic Steel Epoxy
I don't really need a 1lb tub of the putty, although the putty would probably be easier to work with.
High Strength Plastic Steel Filled Epoxy
Plastic Steel Epoxy
I don't really need a 1lb tub of the putty, although the putty would probably be easier to work with.
Thank you for posting this. I completed my bolt knob installation this afternoon. It took be about five and a half hours, and the work was fairly easy. Hardest part was setting the angle on the shank, when you cut off the old knob lobes. Your instruction was very helpful.
Similar threads
- Replies
- 15
- Views
- 594
- Replies
- 18
- Views
- 2K
- Replies
- 6
- Views
- 2K
- Replies
- 13
- Views
- 1K
