Hello all, I wanted to submit a quick rundown of my digital krylon paint job. I've had a couple of people PM me asking how to do it, so figured I would post this. If this has already been done, I apologize in advance.
First and foremost, "I am no expert", this is just how I've done my rifles. Just a bare bones digital paint job. I'm currently doing a Savage 10 with a Choate tactical stock, so figured I would use this for my pictures.
I start by dissasembling the rifle. Removed stock, scope, rings, and bolt. I left the rail on, running low on lock tite. Next I wipe everything down with acetone and use a compressor to blow it out. I then wear latex gloves and rub everything down with rubbing alchohol. For this gun I am using a three color digi. Tan, OD green, and black. The base of this rifle is OD Green.
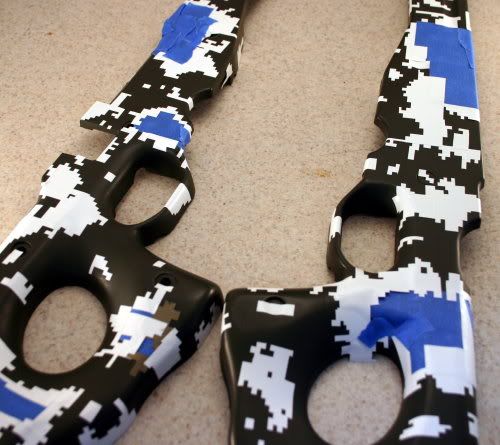
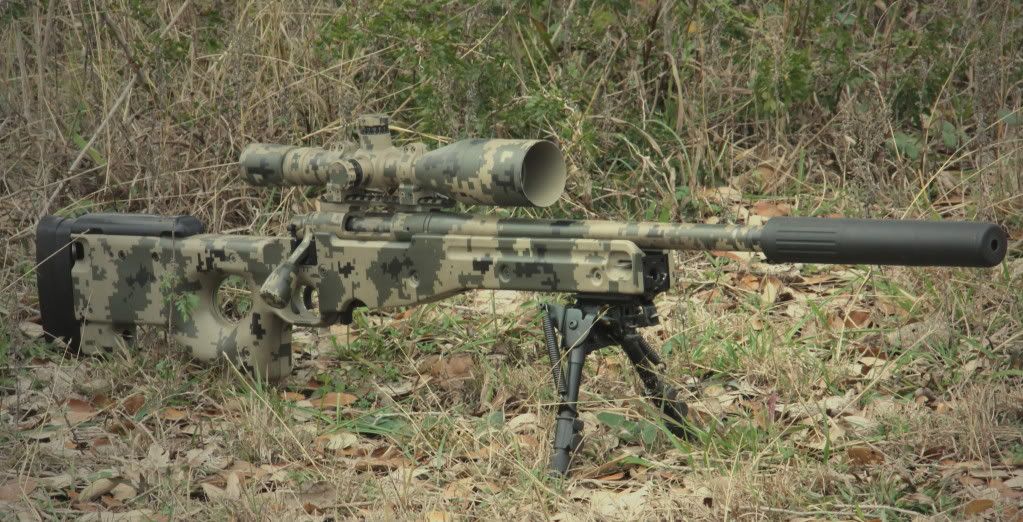
I let the paint cure for a day and then began to apply the stencils. I have used quite a few different stencils, but the bulldog stencils have worked the best for me. What I have learned is that using a blow dryer to heat the parts up a little works very well. The stencils will not stick on cold parts very well. The pattern is all preference, I wanted more OD Green in this rifle so the digi patterns that I used were the larger one's. This is as far as I've gotten with this rifle so far, but will post up when I get back on it. Here is a picture of the rifle reassembled with the stencils applied.

This second picture is of the rifle with the stencils after applying the tan paint. I'll post up the finish soon.

First and foremost, "I am no expert", this is just how I've done my rifles. Just a bare bones digital paint job. I'm currently doing a Savage 10 with a Choate tactical stock, so figured I would use this for my pictures.
I start by dissasembling the rifle. Removed stock, scope, rings, and bolt. I left the rail on, running low on lock tite. Next I wipe everything down with acetone and use a compressor to blow it out. I then wear latex gloves and rub everything down with rubbing alchohol. For this gun I am using a three color digi. Tan, OD green, and black. The base of this rifle is OD Green.
I let the paint cure for a day and then began to apply the stencils. I have used quite a few different stencils, but the bulldog stencils have worked the best for me. What I have learned is that using a blow dryer to heat the parts up a little works very well. The stencils will not stick on cold parts very well. The pattern is all preference, I wanted more OD Green in this rifle so the digi patterns that I used were the larger one's. This is as far as I've gotten with this rifle so far, but will post up when I get back on it. Here is a picture of the rifle reassembled with the stencils applied.

This second picture is of the rifle with the stencils after applying the tan paint. I'll post up the finish soon.


