Re: homemade paint oven (more pics added)
Success! This oven fired right up and performs better than I'd ever thought it would.
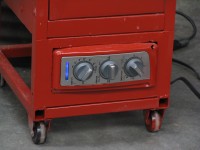
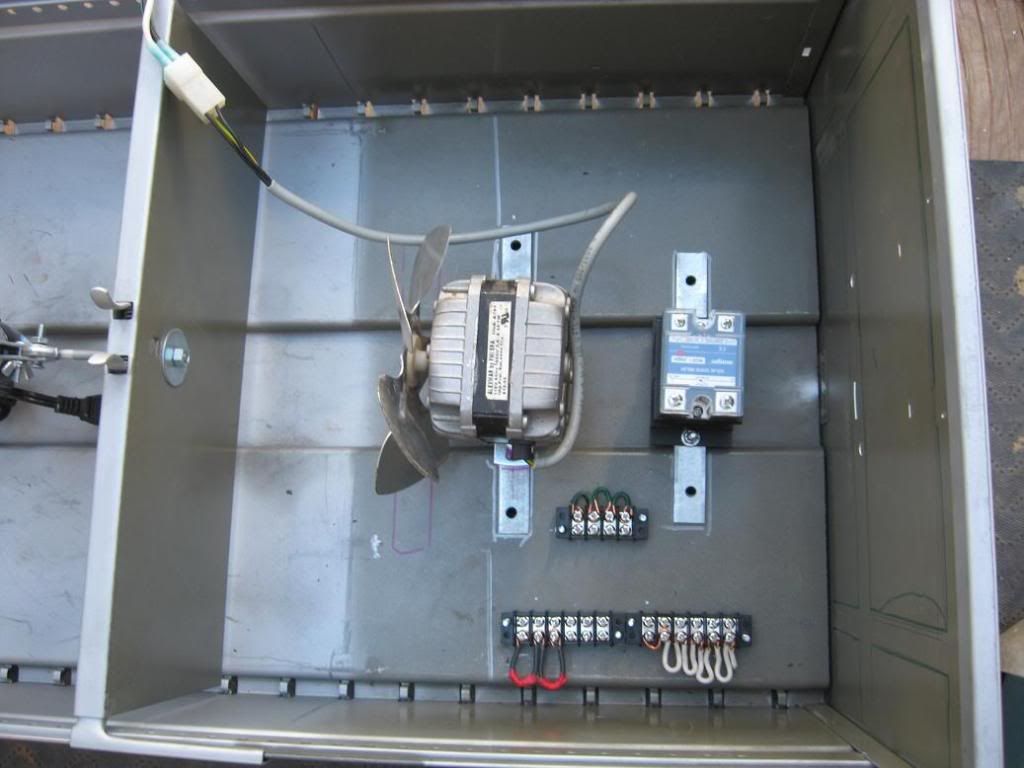
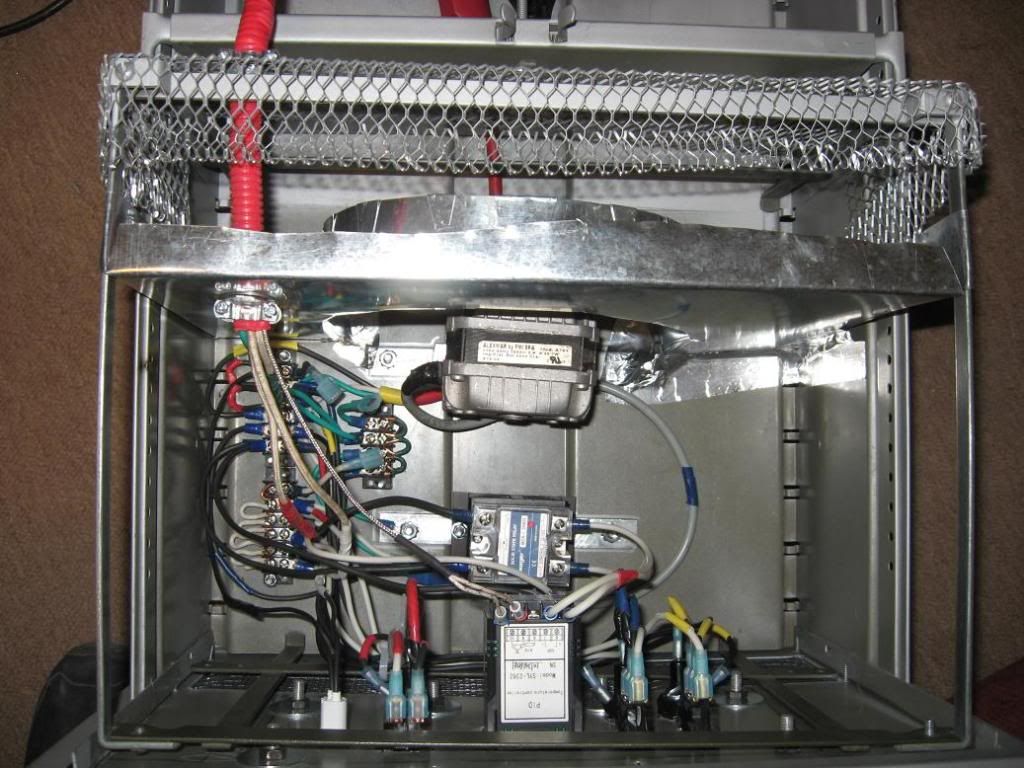
The wiring looks alot more complicated than it really was- obviously it was pretty time consuming putting everything together. The only real problem I had was with those stupid rocker switches that I had been asking for advice on- thought I had them figured otu but was wrong- anyway, for future reference it was 1=source,2=load,3=neutral; neutral was a gold color which is very misleading.
I have my electric split into 3 loops, light (yellow) fan (blue) and elements/PID (red) the (second) wiring diagram I posted was perfect. The PID/SSR could not have been easier to wire or understand and the instructions are pretty clear.
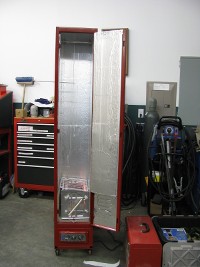
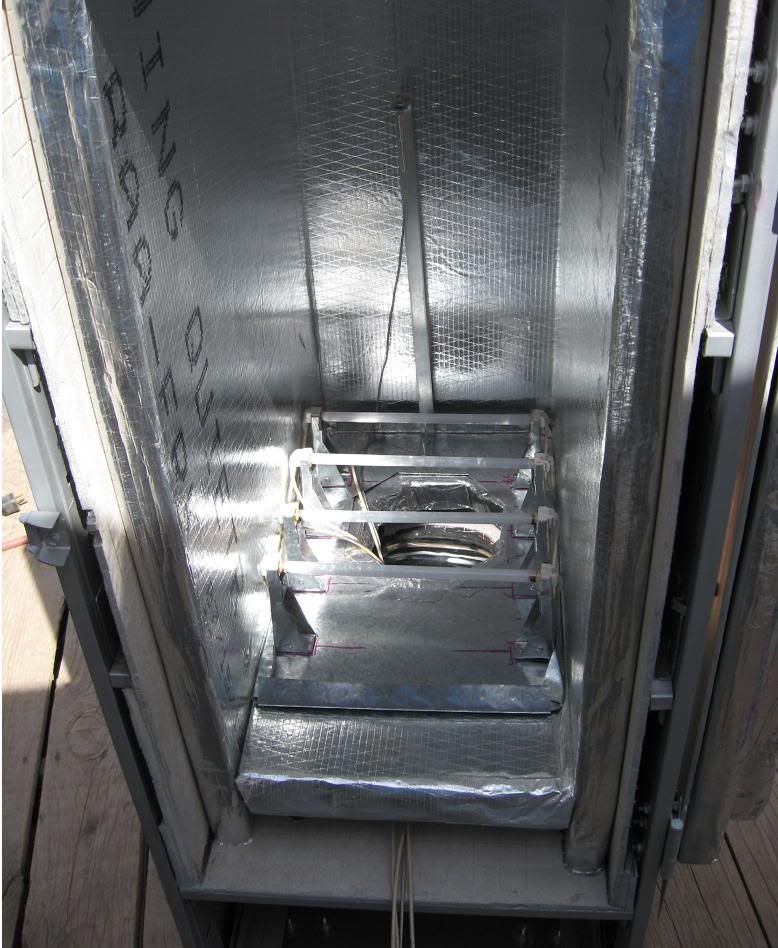
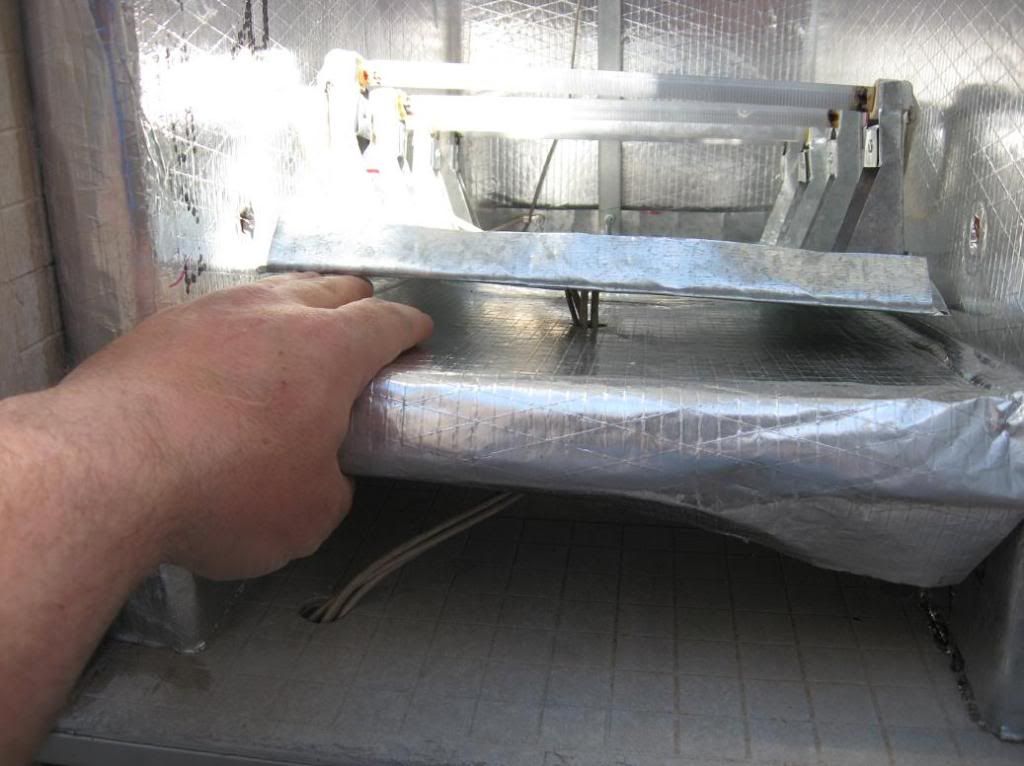
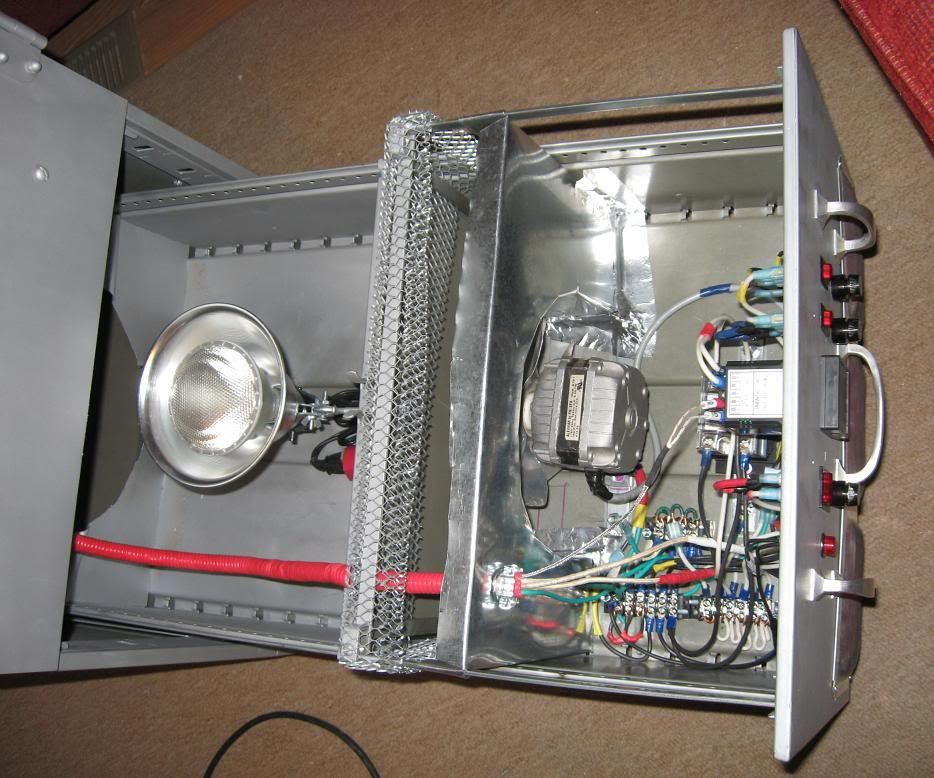
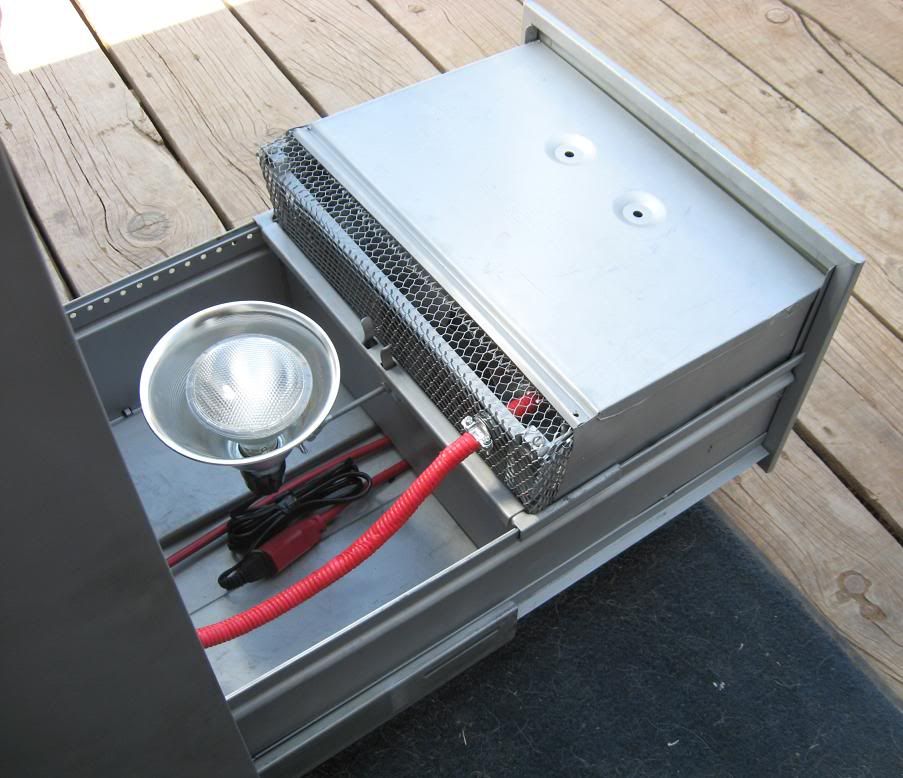
I've got my high-temp element wires, thermocouple, and a earth ground to the outer cabinet run inside this plastic conduit, taped up with electric tape, and attached at both ends with metal wire holders mounted into the panels. Makes for a flexible "umbilicus" that will allow the Drawer to come in and out without tearing anything out or messing anything up.
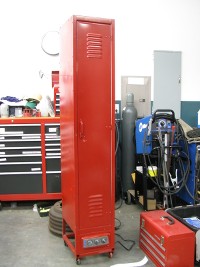
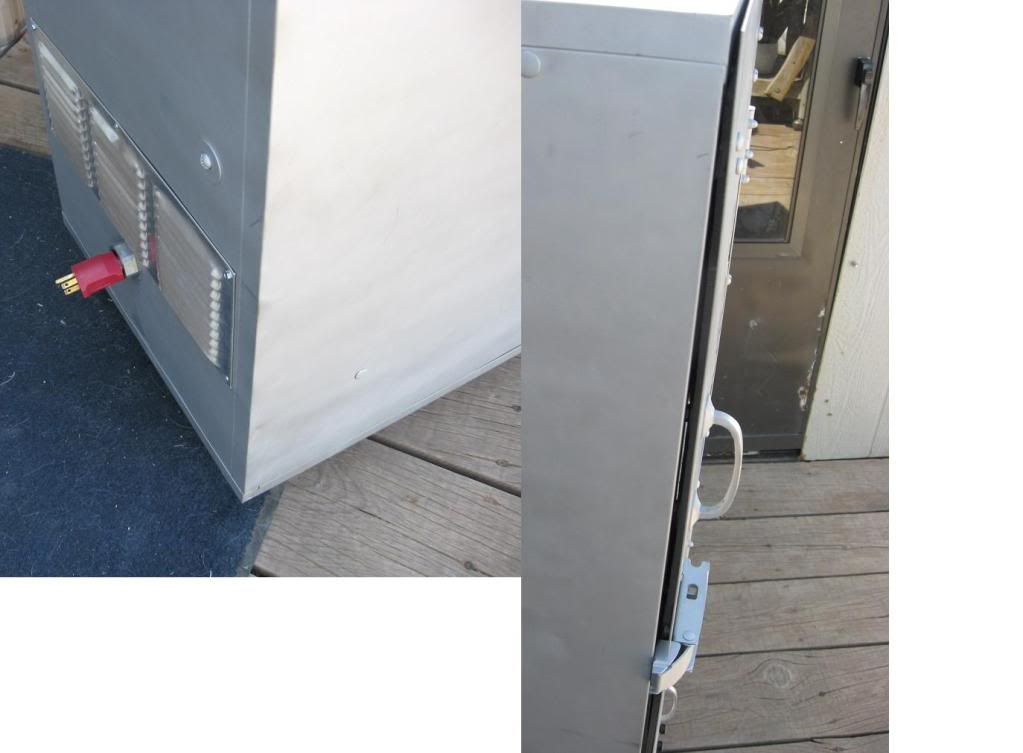
pretty clean build when it's all done, que no?
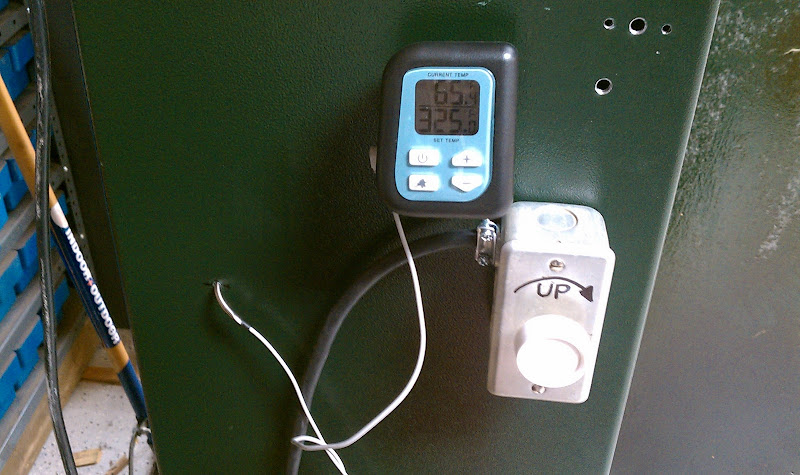
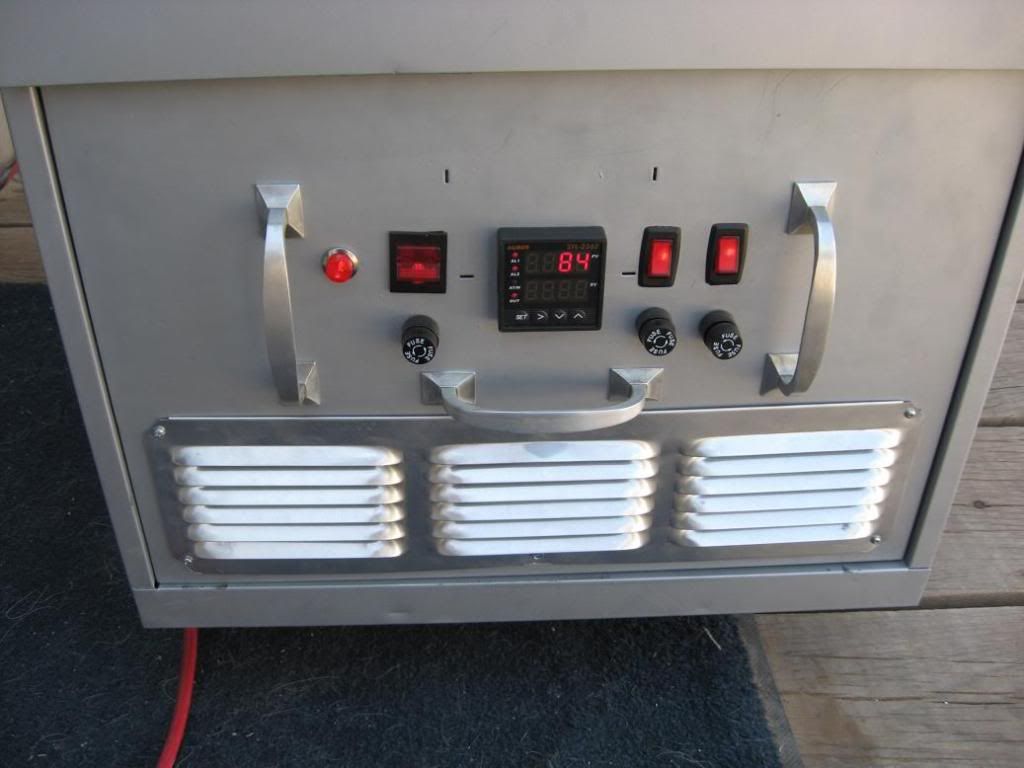
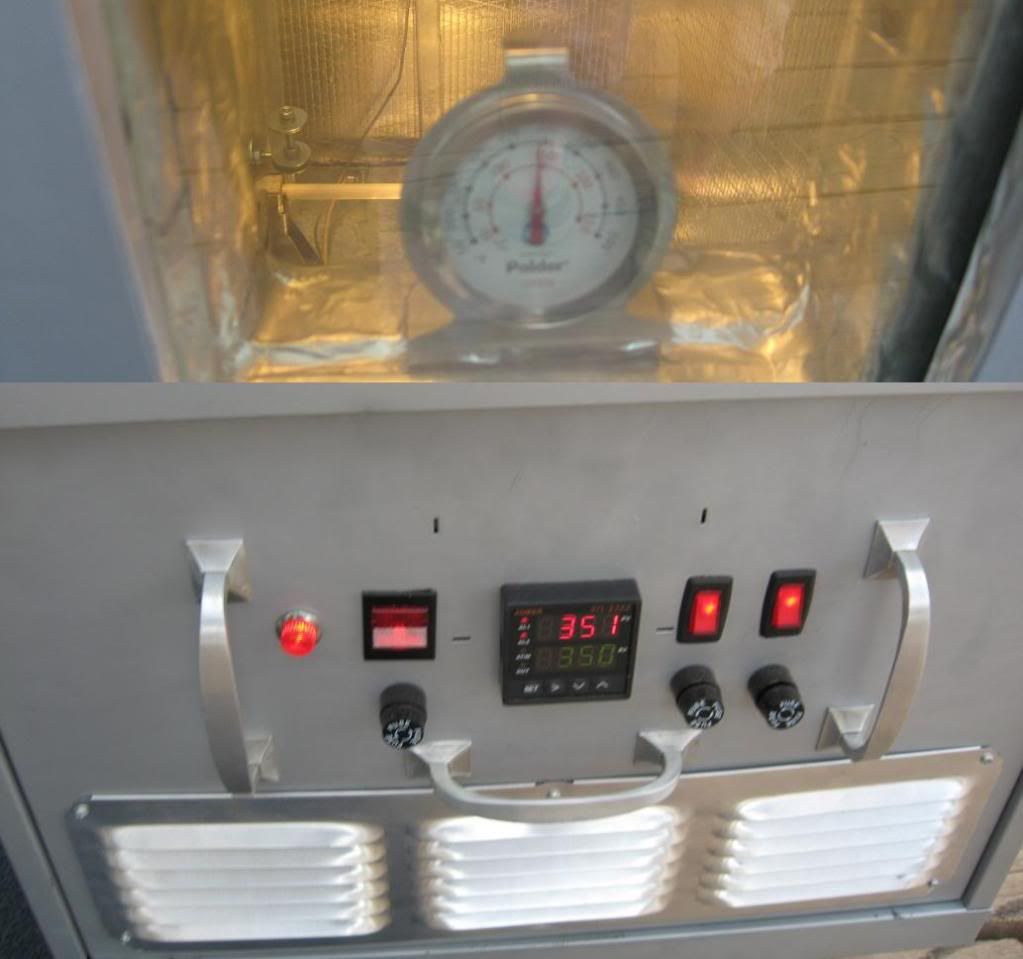
So then I fired it up- i took several pictures of the PID at different temperatures but the LED numbers are kind of constantly flashing- it's not noticable with the naked eye but the camera just captures a millisecond and this is the only pic that captured the entire readout- I had just turned it on.
It only took about 5-6 minutes to get from 70F- to 300F. I didn't pay that close of attention as I concentrating on programming the PID. The PID has an autotune function that basically cycles the oven up to temp a couple of times and uses the information about how long it takes to reach temp, how quickly the temp in that particular oven drops etc, to tune itself for the optimum P, I, and D (PID) settings. No need to get into that but the gist is that with the push a single button the PID taught itself how best to operate for THIS oven, and then changed all of it's internal settings so that it is now set to optimaly run THIS oven. I could not believe how easy this was- it took about 5- minutes and all I had to do was hold down a button for 8 seconds.
After the oven temp increased to it's set temperature (it over-shot the temp by about 7F the first time- but now that it's autotuned it may be better) I did not see the temperature fluctuate more than 1F up or down from that temp for the next hour.
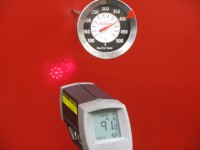
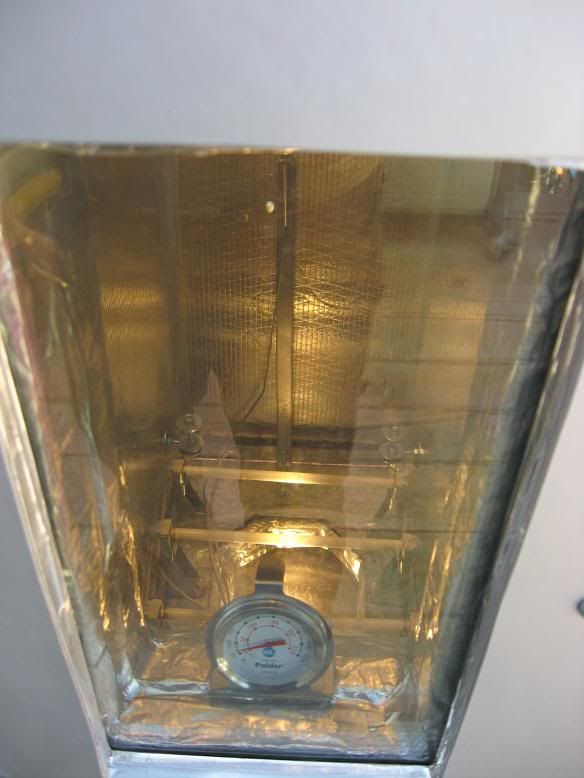
One thing I did notice is that the PID and the steel oven thermometer I mounted inside the window are off from each other by about 40F- Not sure yet which to trust and will be getting a third opinion- When I'm confident what the PID reads compared to true temp I can probably adjust it (program it) , or just set it a little higher or lower depending on what I trust the true temp is inside.
I ran the oven up to 350F for oven an hour. I did not test the oven's top end yet as it heated to 300/350 so fast that I can assume it will be able to exceed the operating limits of much of my components (about 485F) and I'm not looking to try and run it that high.
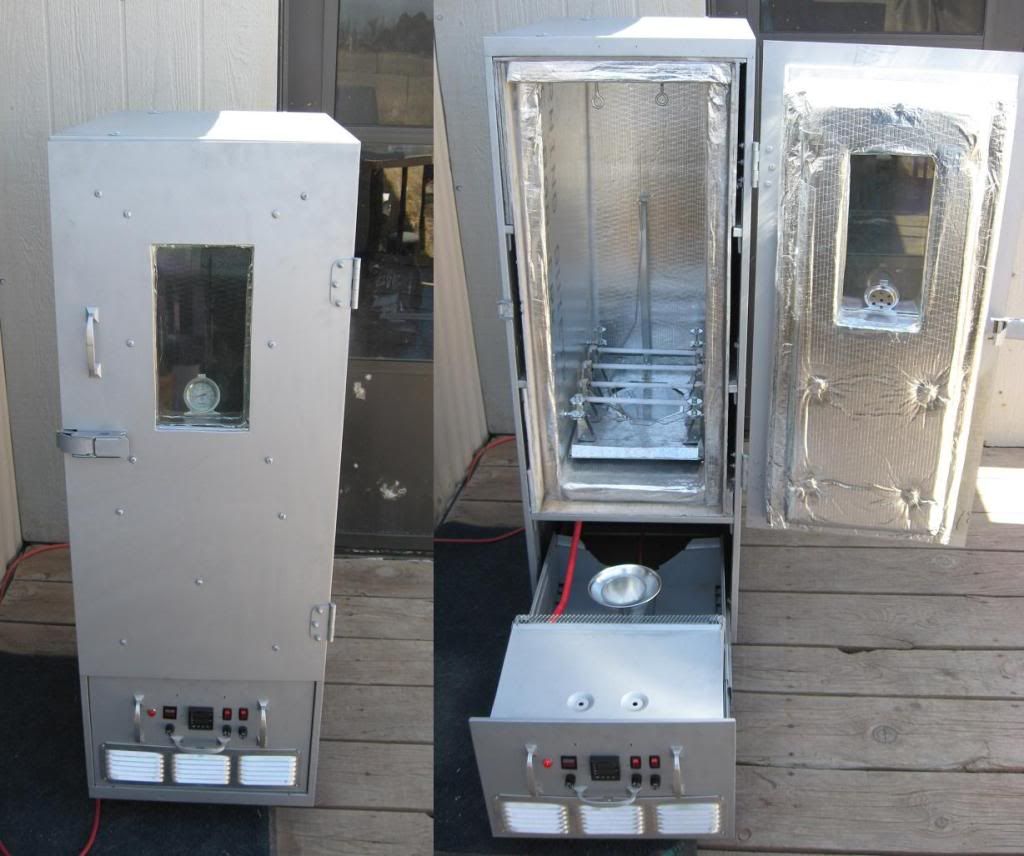
At 350F for 1 hour I did not locate a single spot on the oven that was not "cool" -I mean entirely cool- to the touch. There was a spot on the top of the oven that was warm but then I noticed that the sun was shining on that spot and I moved it more into the shade- and it cooled right off. I could locate- ZERO areas of heat loss- even around the door and the bottom cabinet never exceeded the ambient temperature outside . I touched the bottom portal window under the oven and it was warm but not so much that I could not keep my hand on it indefinately. In fact, most of the warmth in the bottom portal had to have come from the 75 watt light as I did burn the crap out of myself on the bulb when I reached in there-
The outer door window finally got warm enough that you could not leave your hand on it after an hour of baking.
That's about it- This thing kicks ass and I'm suddenly glad that I invested so much effort (and money) to build this thing the right way, as I feel this is a tool that will literally last and work a lifetime.
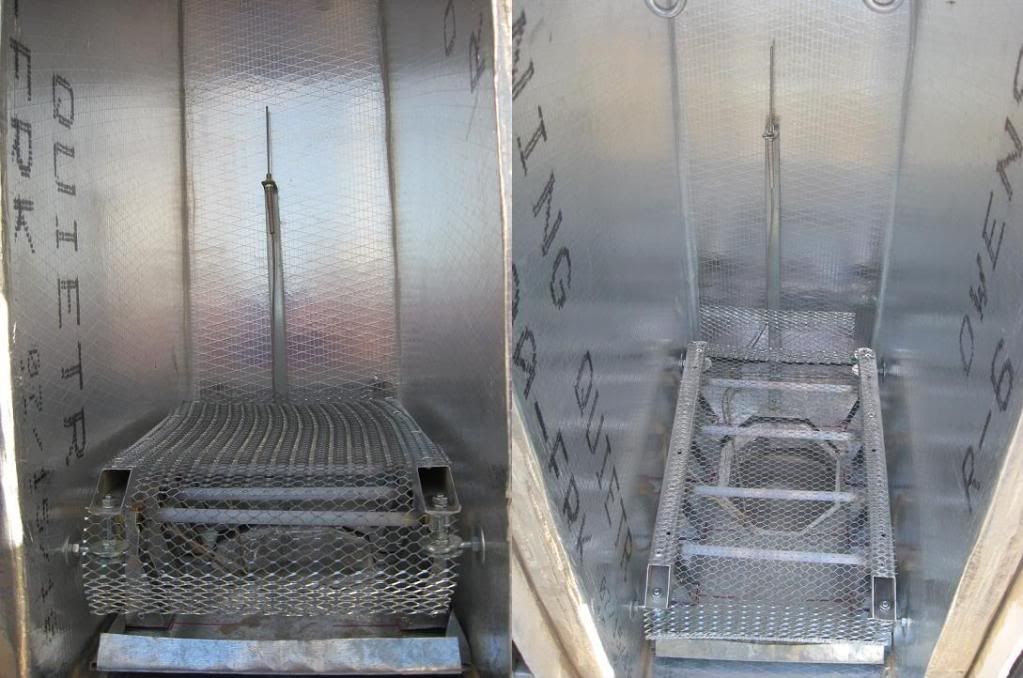
I need to finish up building a rack above my elements, and maybe some kind of hanging rack from my top eyebolts-
I'm going to paint another coat of silver in a few spots, and probably paint her name on her. I'm calling it the Fee-Nix F5
F5 heat rating
F=Fire
FF= Forest Fire
FFF= Fox in a Forest Fire
FFFF= F%$ked Fox in a Forest Fire
FFFFF= Freshly F%$ked Fox in a Forest Fire
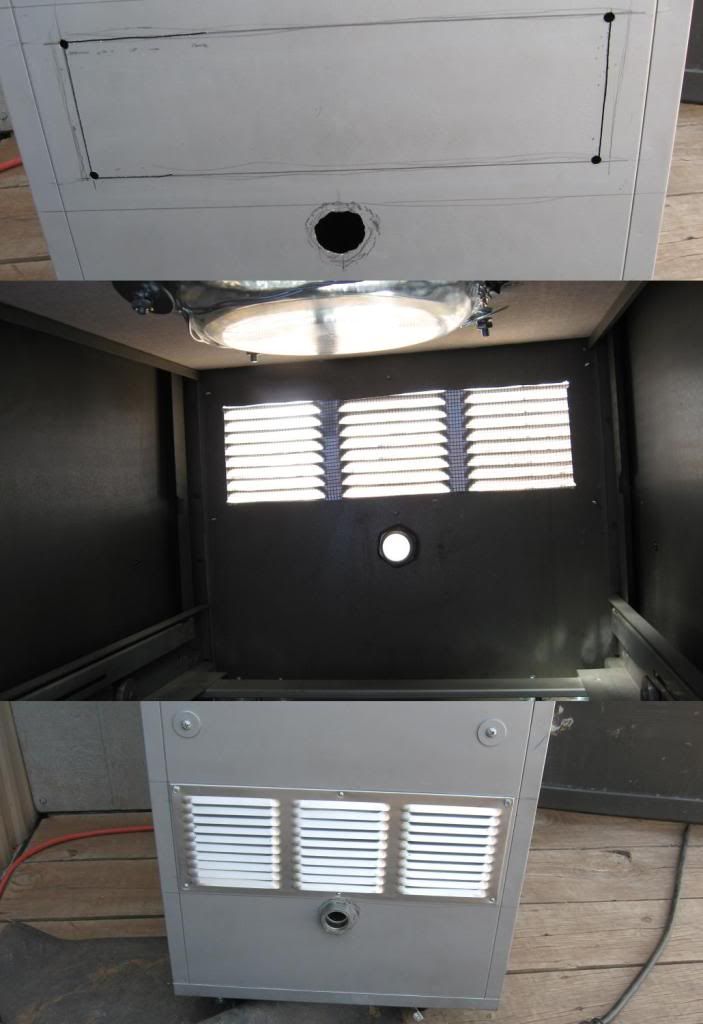
Issues: I'm not a big fan of how the cord sticks out in the back- but at least I can push most of the cord inside when I'm not suing it
The door does not close pretty, but it seals perfectly


