Re: How To Install BT17 Rail for Atlas Bipod in McM A5
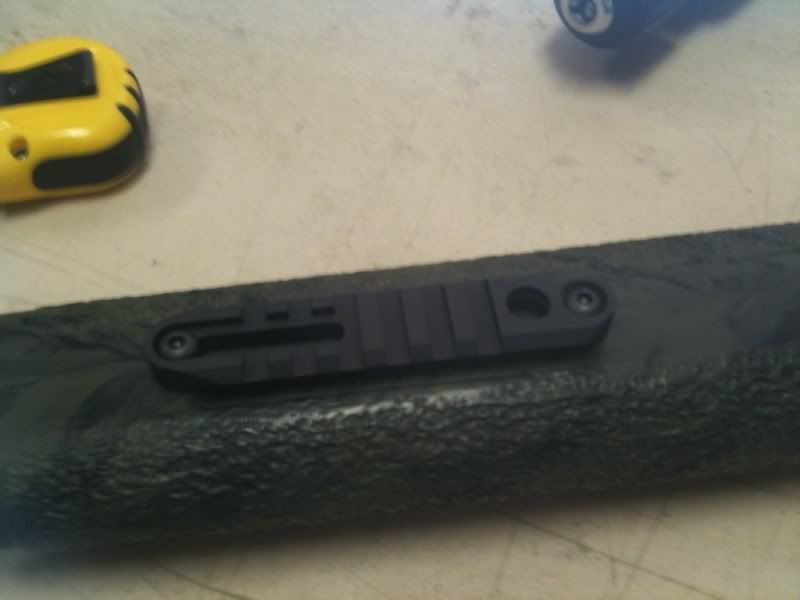
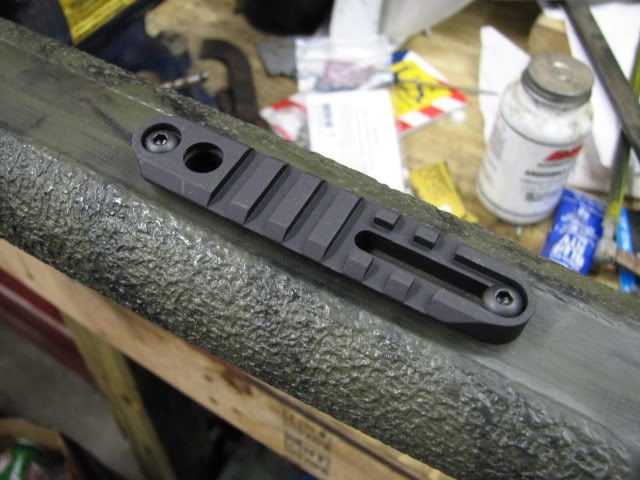
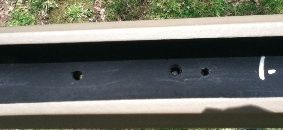
For those of you that have the stock used on the Remington 5R (a HS Precision stock with aluminum blocks) I will share with you the method I ended up using. I figured that 427Cobra's method would work, but as the first picture shows, I couldn't really use the forward most stud to anchor the rail as the length of the rail was about 3/8" off the forearm of the stock:
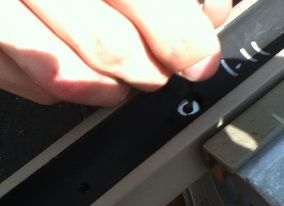
My friend Chris (aka nauta here on the Hide) and I realized that the design of the rail is such that we could anchor the rail with the forward stud and hold it into place with the rear stud in a manner that made it perfectly center:
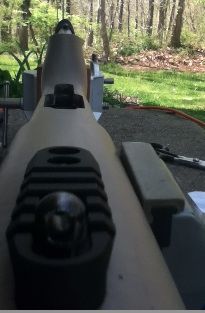
Also, as this picture shows, it still allows the forward swivel stud to be used to for a sling with the bipod mounted (there's enough room):
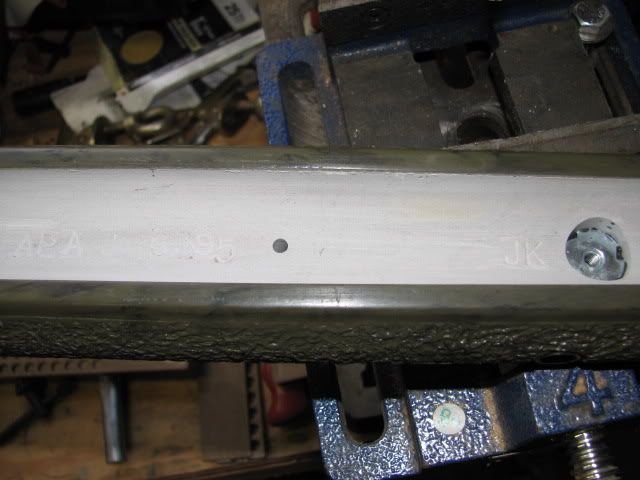
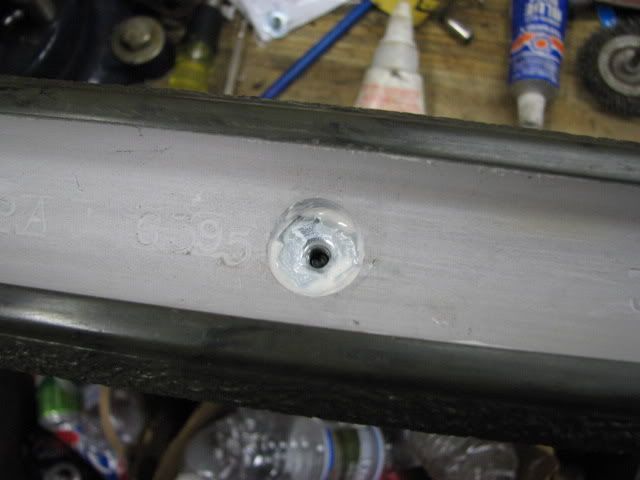
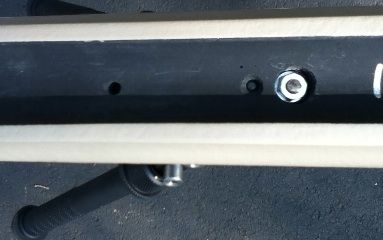
Additionally, the fasteners and hardware contained in the BT1517 kit isn't needed. From Home Depot you will need a 10/32 fastener that can be turned with a 1/8 allen wrench along with an accompanying nut and washer. The fastener will be needed to be cut to length with a dremel tool (I had to cut 5 threads with the length I chose). Also, a high strength steel or titanium bit is needed to cut through the stock. Here is the hole drilled into the stock using the rail as my pilot (take extreme care to make sure you are vertical and aligned):
As you can see, it's really close to the fastener used for the adjacent swivel stud. Because of this, I opted not to use the hardware provided in the BT1517 kit and instead decided to use a longer 10/32 fastener (same size as the one in the kit) with a washer and hex nut to compress the rail against the stock.
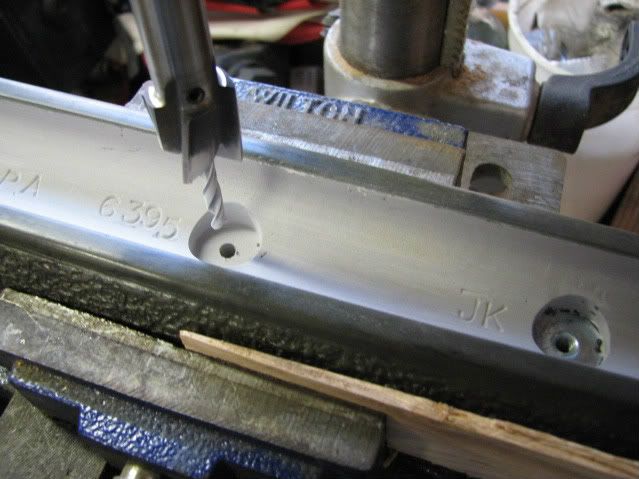
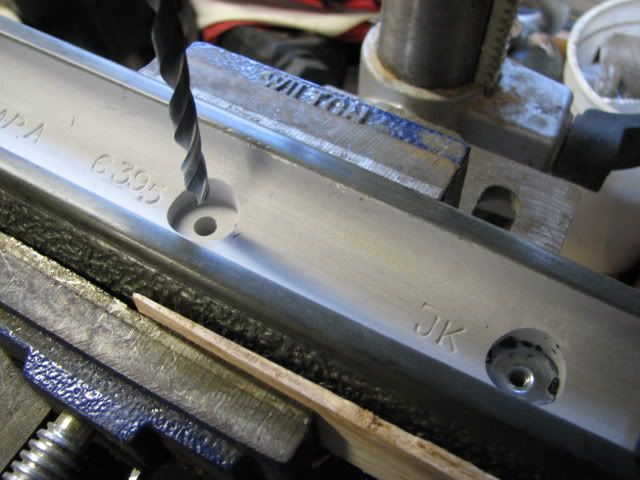
I put some tape over the new hole and then punched a hole in the tape with a 1/2" drill bit (this was just slightly larger than the washer I had, goal is so the washer just barely fits inside). I milled out just enough material to give me room to put in the washer with some super glue adhesive and the nut (maybe 3/8 - 1/2", or one quick push on the power drill). Before I put the glue and washer in, I used a 1/2" spade bit with my hand to ensure a smooth surface for the washer (take care not to get glue in the fastener hole):
Since I had to run to Home Depot to get the new fasteners and then cut them with a dremel, the glue had plenty of time to dry. Don't make the mistake of trying to use a drill to screw in the fasteners as you will likely just strip it beyond use. It should go in nice and smooth using a 1/8" allen wrench.
To get the fastener onto the nut, the fastener was screwed up and fastener was attached onto the nut by just by two or three threads from the top (do the best job you can do, you might need a set of pliers). Then, the fastener was backout slightly until the nut was flush against the washer. Afterwards, a screwdriver was held in place on the side to prevent the nut from turning while the fastener was driven in on the other end (having a second person helps on this step). When tight, I had ~ 2-3 threads of protrusion, which is about what you want:
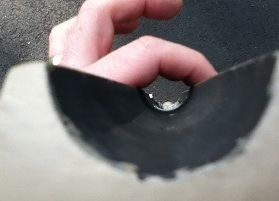
If you look close, you can see that the washer just fits. Use a hex key or screw driver to push it in nice and even.
Also important, no thread protrusion into the barrel channel:
The rail was nice and snug. I can assure you, no additional epoxy is needed to cover up the new fastener. Like Ratbert, Nauta and I do not see any real advantage of doing this. It takes up time and it makes this installation permanent. Although I can't think of a reason I would want to remove the rail now, perhaps I might want to remove the rail later on and I have a way of doing it (I could easily reinstall it too). Also, with the method I have used, I have minimized the amount of material removed from the stock or the weakening I have done on the stock's main axis.
Perhaps as a final step, if you can only find stainless steel colored fasteners, you could color over the top of the fastener's head with a black permanent marker. That's good enough for me because I'm not going to waste time painting a fastener.
Here is the finished result (I know my bench is messy and I apologize for not assembling the rifle back together, but the wife was out and I have two todlers running around):
Hope this helps anyone trying to do this on their 5R.


