I think it went well over all. Well except for the fact i could not get the skins to come off the aluminum frame at all. I think some nut glued them together at the grip. Since I wasn't about to force it and break the plastics i decided to just go through with it and use a dremel to remove enough aluminum to get the bedding block in and then slide it forward into place. Also needed to dremel off some areas to clear the Savage action. The bedding block came out pretty good, if i had it to do over again i would do it the same way but it would come out looking much cleaner. The Action is only touching the stock on the bottom of the three pillars. Savage in all it's quality control didn't make them equal height the front pillar is appox .040" higher than the rear two and the rear two were off from each other a few thousands (don't remember the number off hand) soo i had a choice of machining the bedding block to match the action exactly or making the bedding block flat and machining the action flat to match. I chose option number one and made the bedding block match the action as it was so each contact patch is touching it's prospective pillar with the same amount of force.
Here's some pics.
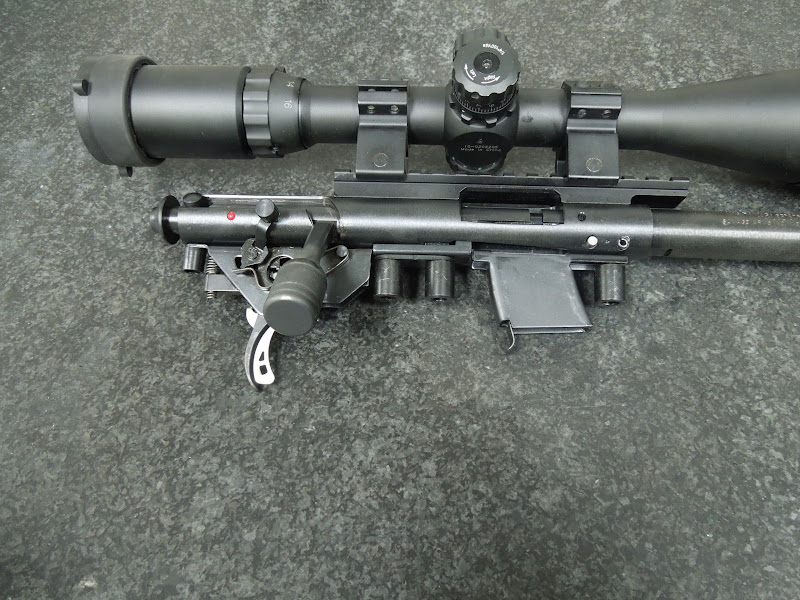
Here it is all put together with a cheap scope

The action out showing the three pillars.
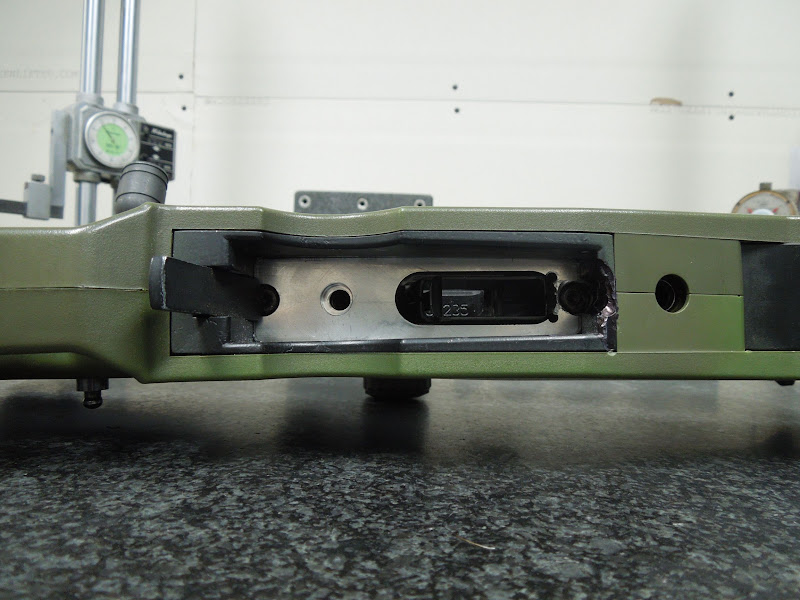
Here's the bottom with action installed. You can see terrible dremel work i didn't bother smoothing out and two extra little holes in the bedding block in front of the mag slot that didn't need to be there. I was going to make it a fairly rectangular slot and those were gonna be the corners then when i went to do a test fit it went right in, so i left it. purely cosmetic but i was in a hurry.
Here's the top with the bedding block installed and you can see the terrible dremel work The counter bores where the pillars slide into are approx .030" larger than the pillars so only the bottom of each pillar is touching. nothing else on the entire action/barrel is touching the stock.
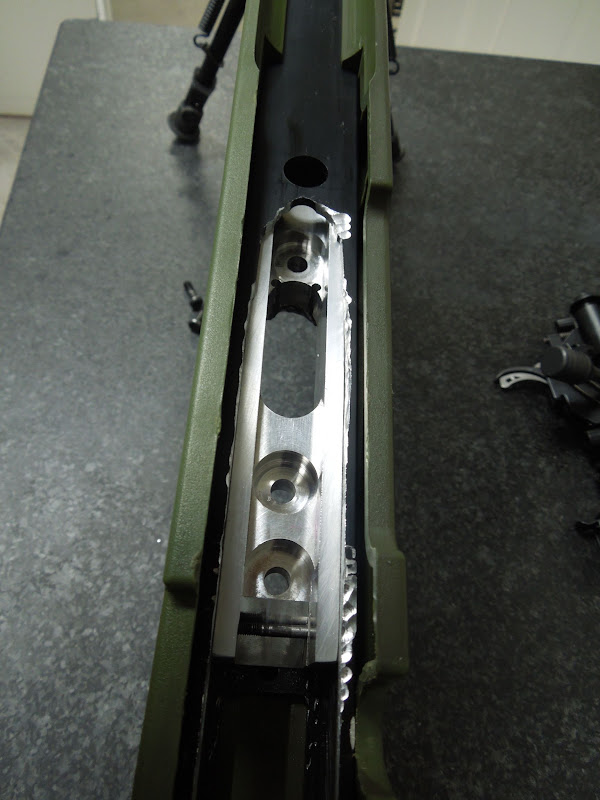
Nother pic
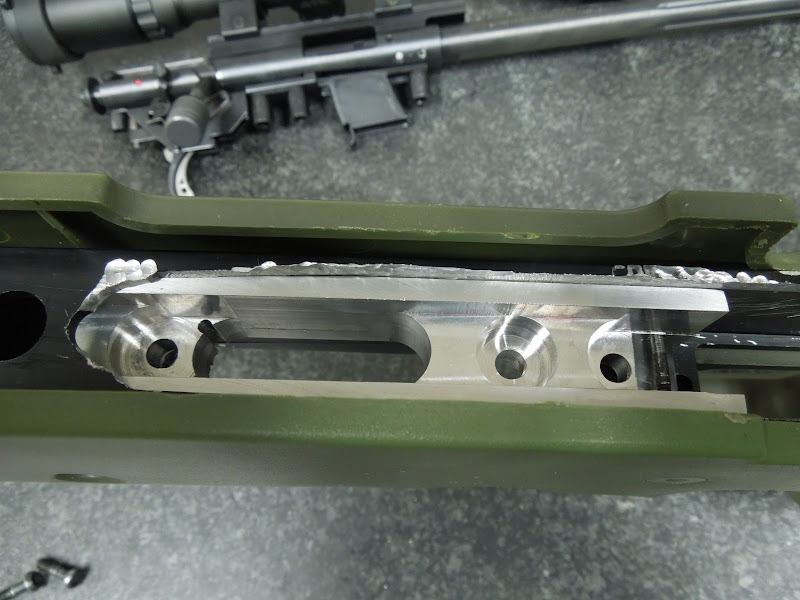
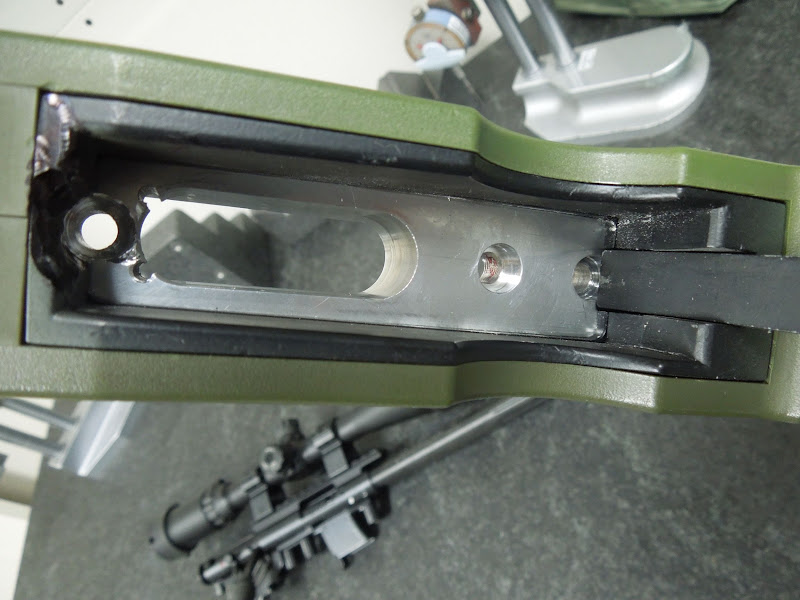
Here's a bottom pic with the action out. You can see the rush machining work (not my finest). I counter bored the bottom as well so i could use the stock Screws that were holding the action before.
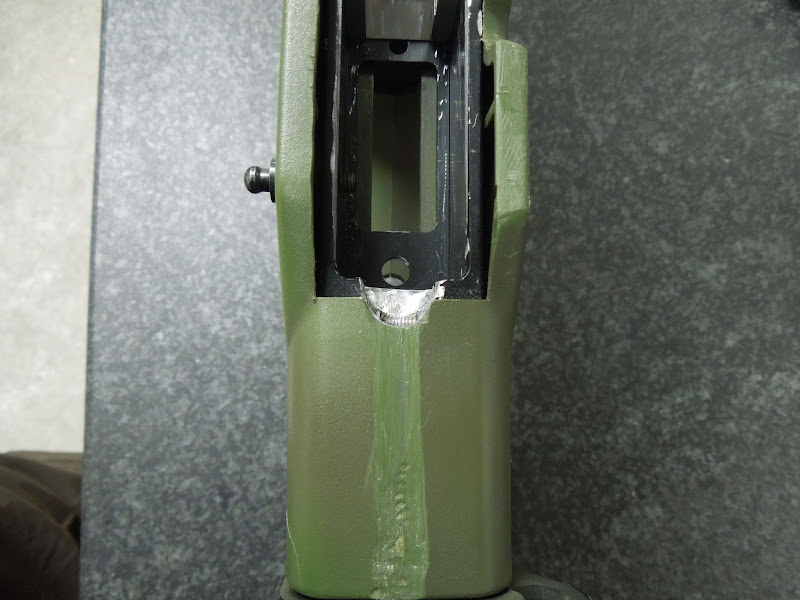
Here's the last pic. The dremel work on the aluminum was needed to clear the action but the plastic work there was due to the very bottom of bolt touching the top of the stock when it was being cycled. I was trying to mount the action as low into the stock as possible to make the trigger feel right and once it was done when the bolt was cycled it just barely scraped so off came a bit of plastic.
So that's basically it. I'll probably get back to it later and smooth out all the nasty dremel work, hit the top plastic with a bit of fine sandpaper and give the whole thing a paint job. but i just wanted to get it into shooting form.
How does it shoot? I have no idea. I barely had time to build it one day but one of these afternoons i'll find out.
Here's some pics.
Here it is all put together with a cheap scope

The action out showing the three pillars.

Here's the bottom with action installed. You can see terrible dremel work i didn't bother smoothing out and two extra little holes in the bedding block in front of the mag slot that didn't need to be there. I was going to make it a fairly rectangular slot and those were gonna be the corners then when i went to do a test fit it went right in, so i left it. purely cosmetic but i was in a hurry.

Here's the top with the bedding block installed and you can see the terrible dremel work

Nother pic

Here's a bottom pic with the action out. You can see the rush machining work (not my finest). I counter bored the bottom as well so i could use the stock Screws that were holding the action before.

Here's the last pic. The dremel work on the aluminum was needed to clear the action but the plastic work there was due to the very bottom of bolt touching the top of the stock when it was being cycled. I was trying to mount the action as low into the stock as possible to make the trigger feel right and once it was done when the bolt was cycled it just barely scraped so off came a bit of plastic.

So that's basically it. I'll probably get back to it later and smooth out all the nasty dremel work, hit the top plastic with a bit of fine sandpaper and give the whole thing a paint job. but i just wanted to get it into shooting form.
How does it shoot? I have no idea. I barely had time to build it one day but one of these afternoons i'll find out.


