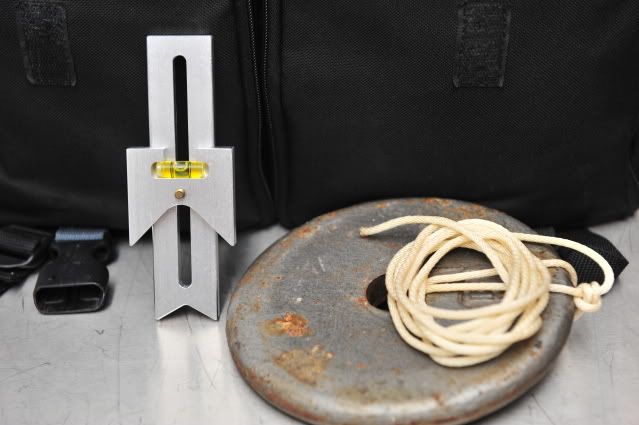
I recently had to re-mount & level my 1-4 vortex scope on my DPMS 3G1, so I figured I would share my technique for making sure your scope is 100% dead nuts level. I'm not saying this is what you should do, this is just what I do to make sure my scopes are tip top.
You will feel a little play when first mounting the scope mount base to the main picatinny rail and before you tighten the base screws, push the scope mount base forward before you tighten the base screws. This will help counteract recoil and improve accuracy.
I picked up 2 total inexpensive $1.25 each line levels from a local big box hardware store. The smaller the better & especially if they are in a nice aluminum housing as pictured. The home-made plumb bob I made with some string I had laying around the house with a heavy nut I didn't need & colored the end of the string with a black magic marker:
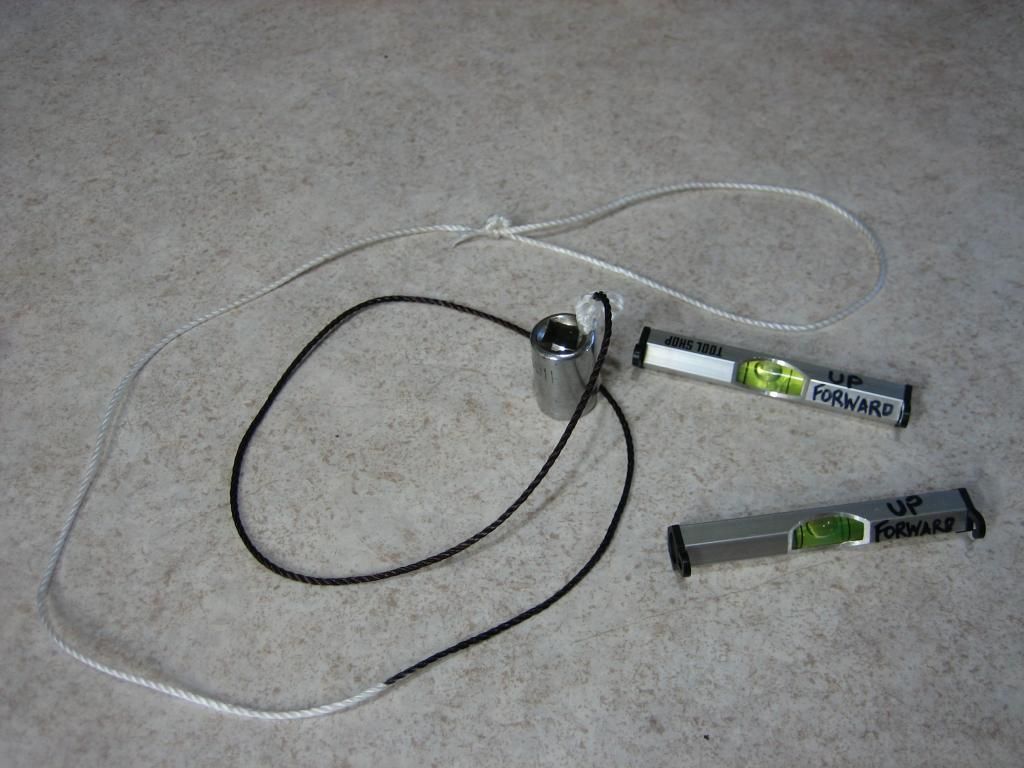
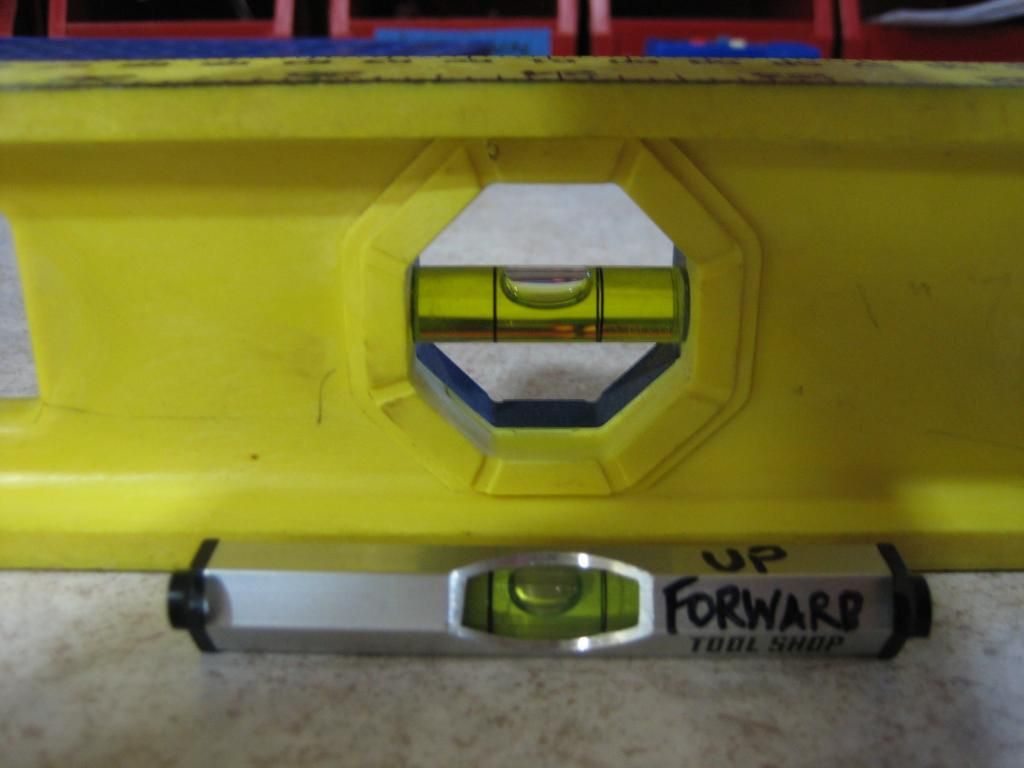
Doesn't hurt to verify your inexpensive mini-levels with a more expensive level before you do anything:
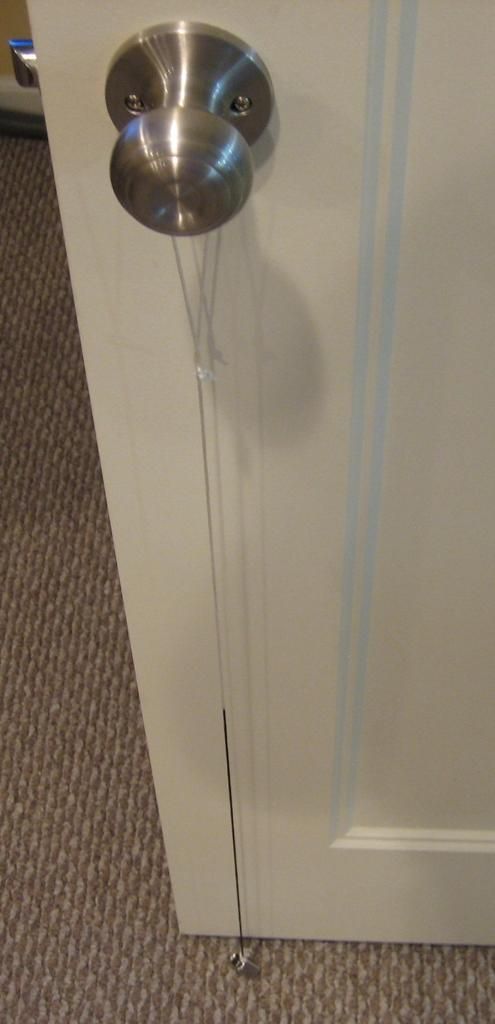
Put your home-made plumb bob on any door handle. Gravity will do the rest just like the bullet fired out of your rifle:
It helps big time to have a swivel style harris bipod to level your rifle left to right. Doesn't hurt to level the rifle front to back either while in your rear sandbag. The main key is to make sure the mini-level that sits on the main picatinny rail is 100% level, and to position the rifle 90degrees to the plumb bob as best as possible before you adjust the scope obviously as shown in these pics.
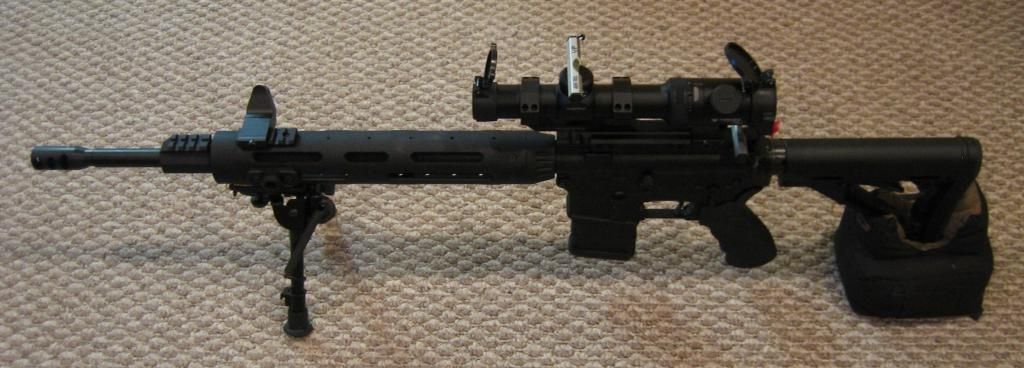
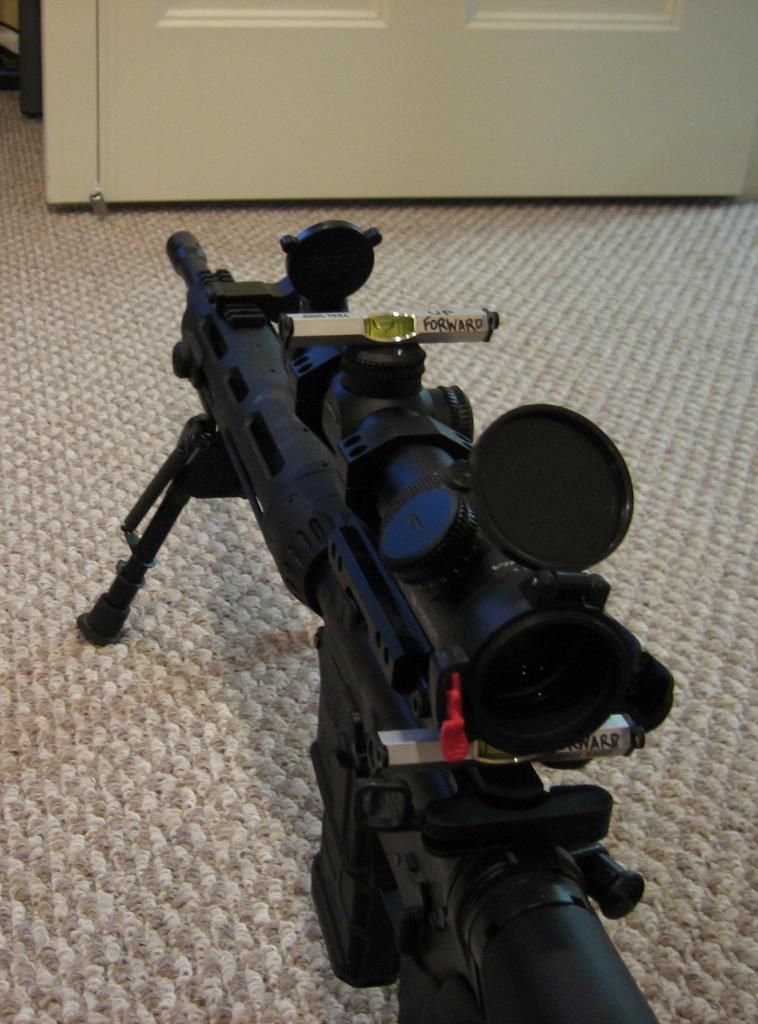
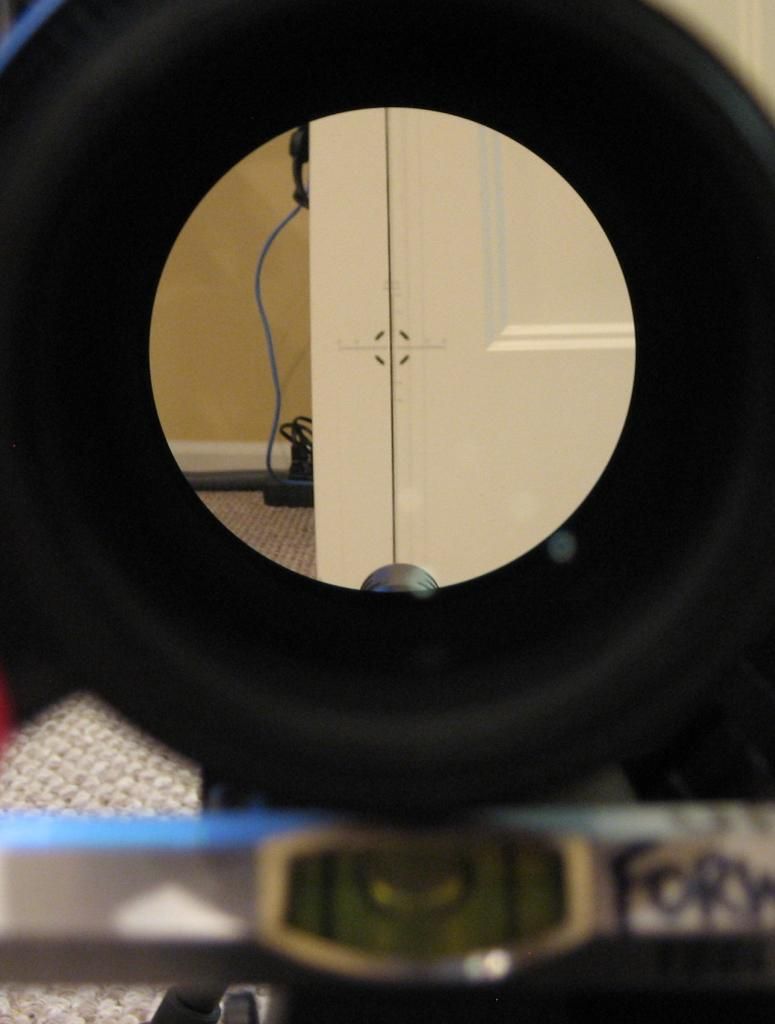
While the scope rings are still somewhat loose, adjust the crosshairs to match your plumb bob level line. Once they match perfectly, then tighten up your scope rings & you're ready to rock-n-roll. You might need to bring higher power scopes back further away from the plumb bob line than what is shown in this picture & might need to play around with your scope focus FYI:
You will feel a little play when first mounting the scope mount base to the main picatinny rail and before you tighten the base screws, push the scope mount base forward before you tighten the base screws. This will help counteract recoil and improve accuracy.
I picked up 2 total inexpensive $1.25 each line levels from a local big box hardware store. The smaller the better & especially if they are in a nice aluminum housing as pictured. The home-made plumb bob I made with some string I had laying around the house with a heavy nut I didn't need & colored the end of the string with a black magic marker:

Doesn't hurt to verify your inexpensive mini-levels with a more expensive level before you do anything:

Put your home-made plumb bob on any door handle. Gravity will do the rest just like the bullet fired out of your rifle:

It helps big time to have a swivel style harris bipod to level your rifle left to right. Doesn't hurt to level the rifle front to back either while in your rear sandbag. The main key is to make sure the mini-level that sits on the main picatinny rail is 100% level, and to position the rifle 90degrees to the plumb bob as best as possible before you adjust the scope obviously as shown in these pics.


While the scope rings are still somewhat loose, adjust the crosshairs to match your plumb bob level line. Once they match perfectly, then tighten up your scope rings & you're ready to rock-n-roll. You might need to bring higher power scopes back further away from the plumb bob line than what is shown in this picture & might need to play around with your scope focus FYI:

Exactly what I have done with many rifles. Just need to have a solid mount and straight rail with adequate cant in the rail or mount to get you to the distance you want to shoot, depending on your zero. This means selecting the right scope to start with and make sure your reticle is centered in the scope when you start! Make sure your mount is pushed forward in the grooves on your rail and when lined up appropriately (like in the pictures), then loosen mount nuts and scope scews one at a time, alternating sides and corners, add small amount of blue Locktite to all and torque to specifications that come with your mount. There should be slight gaps on each side of the rings when you're done! This will minimize ring marks,if you end up needing to swap or upgrade your scope. Really very easy and takes less tan 15 min. to accomplish. Remember you get what you pay for in scopes and mounts, so buy the best you can afford on your budget and can always easily upgrade later.
I would highly recommend reading the Optics Selection Sticky in the Scope Section here on the Hide many times before you buy, so you have a better chance to get the right scope for the distance and type of shooting you plan to do! Will save you a lot of hassle in the long run. Precision rifles need the appropriate optic to perform at their best.
Good Shooting
Last edited:

