Re: Rifle Painting Tutorial
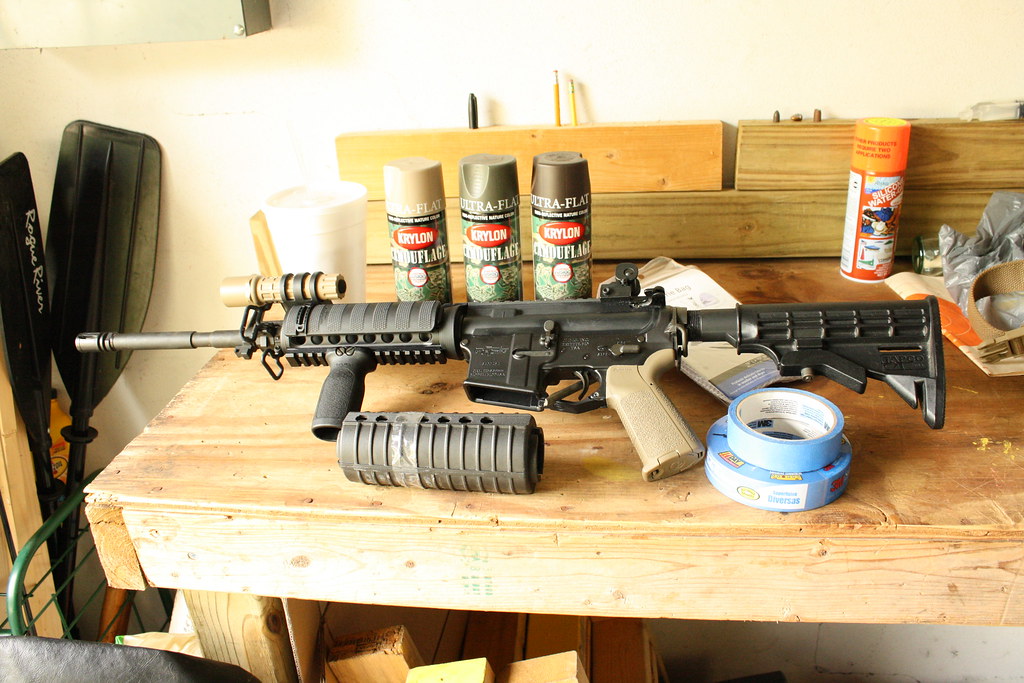
<span style="font-weight: bold">This is what my rifle started out looking like:</span>
<span style="font-weight: bold">I sprayed it with brake cleaner and hung it in front of a couple fans for about two hours to dry out. Wiped it down, made sure it was clean.
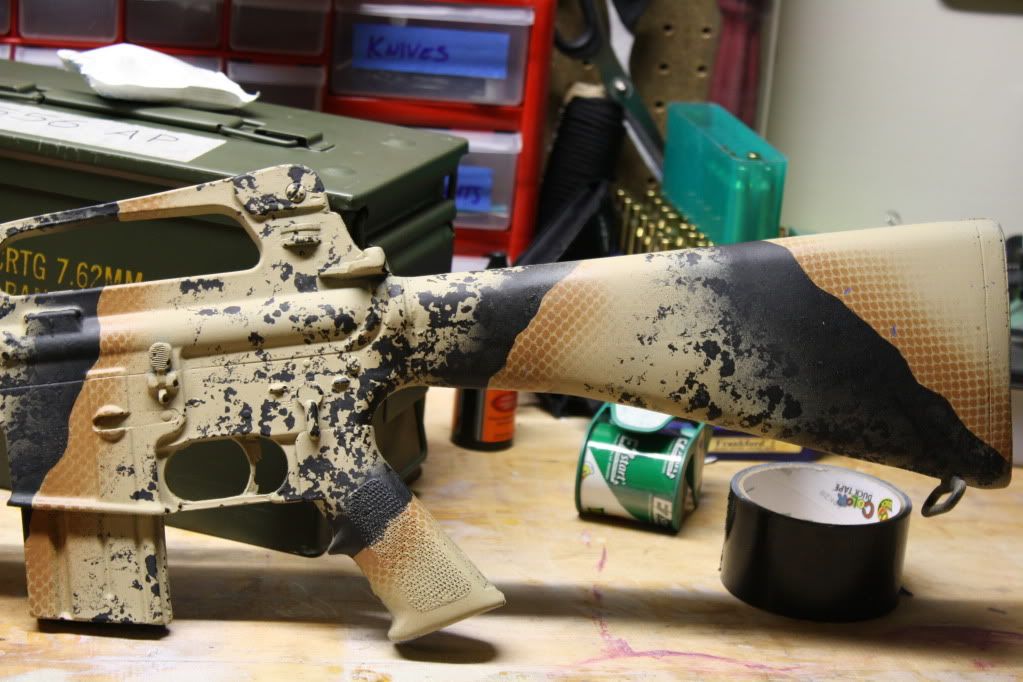
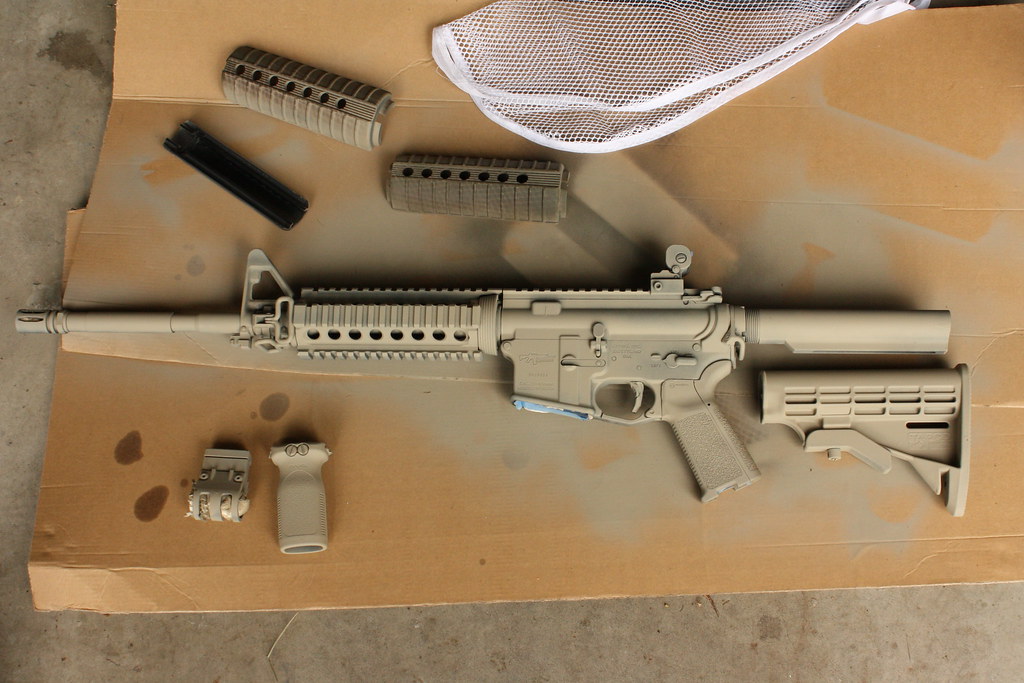
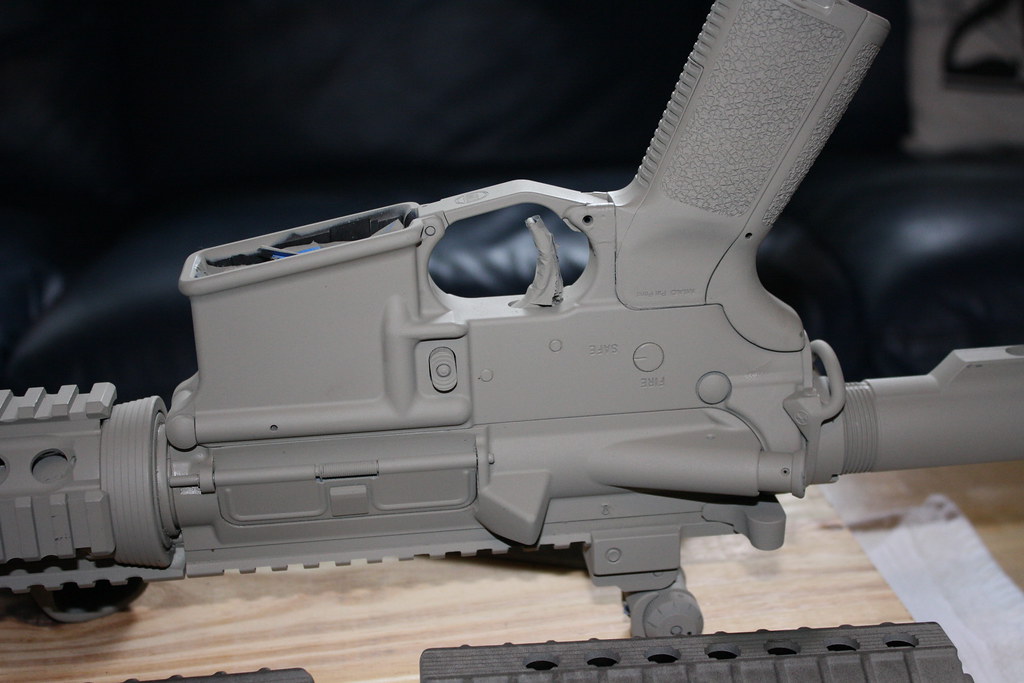
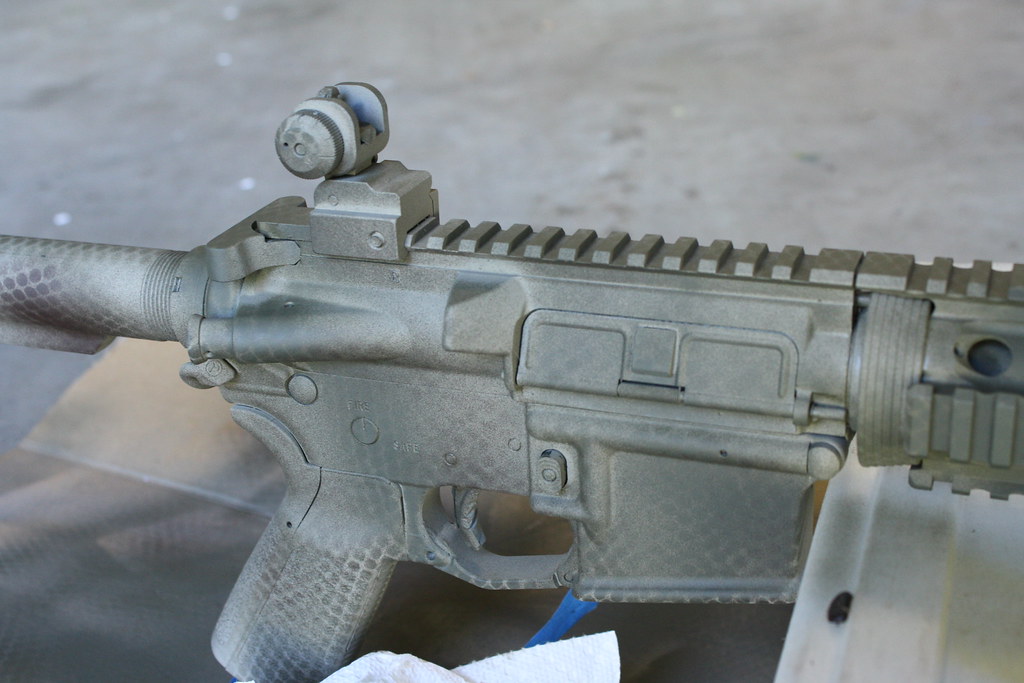
I taped off the front sight post, rear sight, trigger, and stuffed some paper towels in the flash hider, mag well, and lower/upper receivers just in case the paint seeped through somehow. First coat was base khaki:</span>
<span style="font-weight: bold">Let it dry overnight:</span>
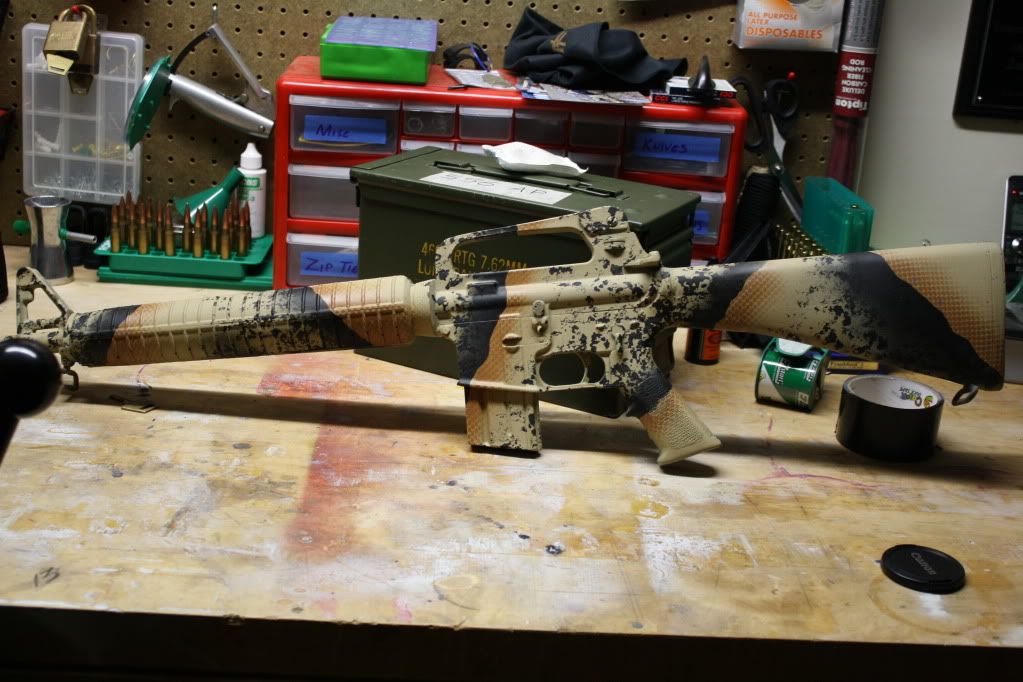
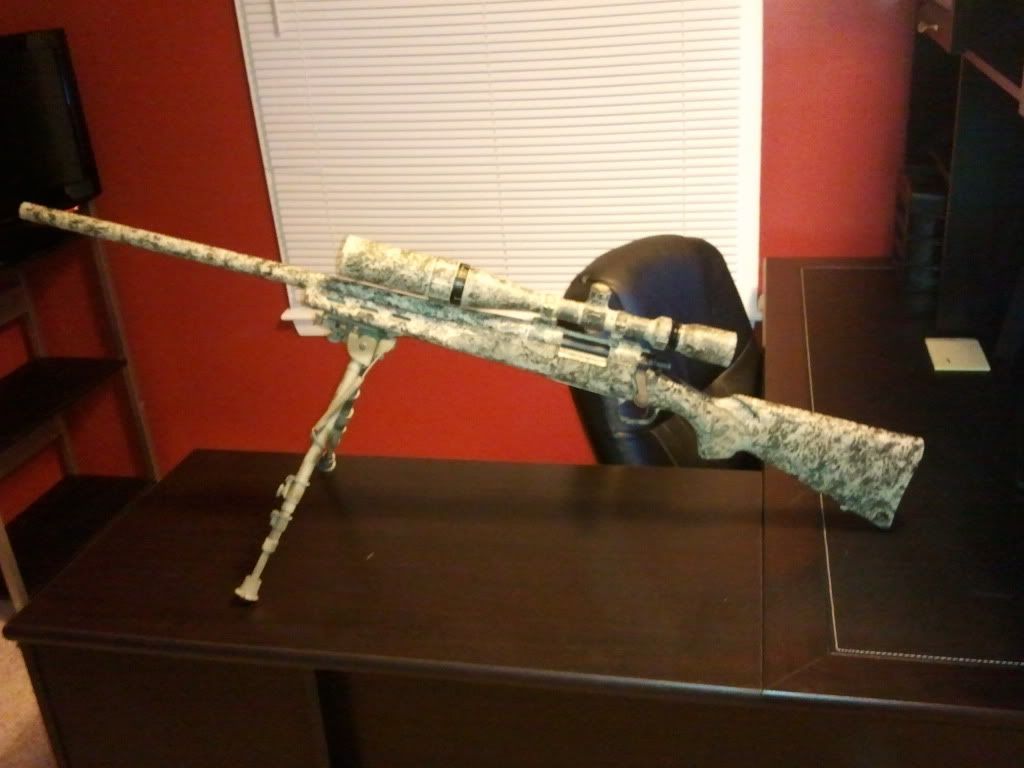
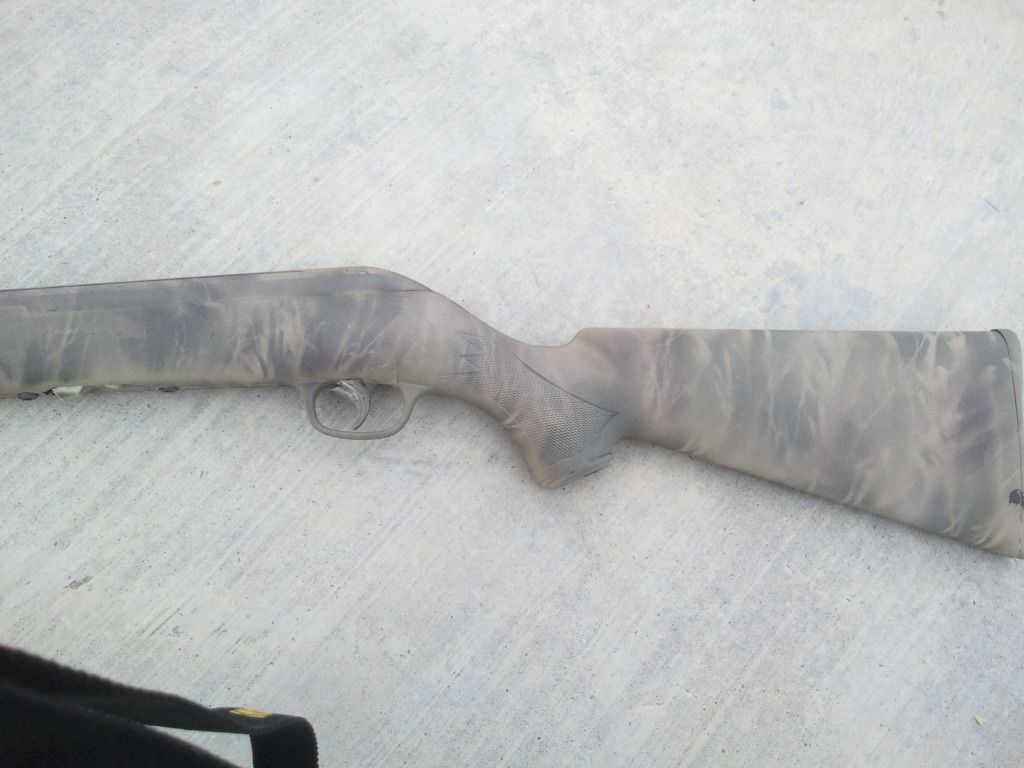
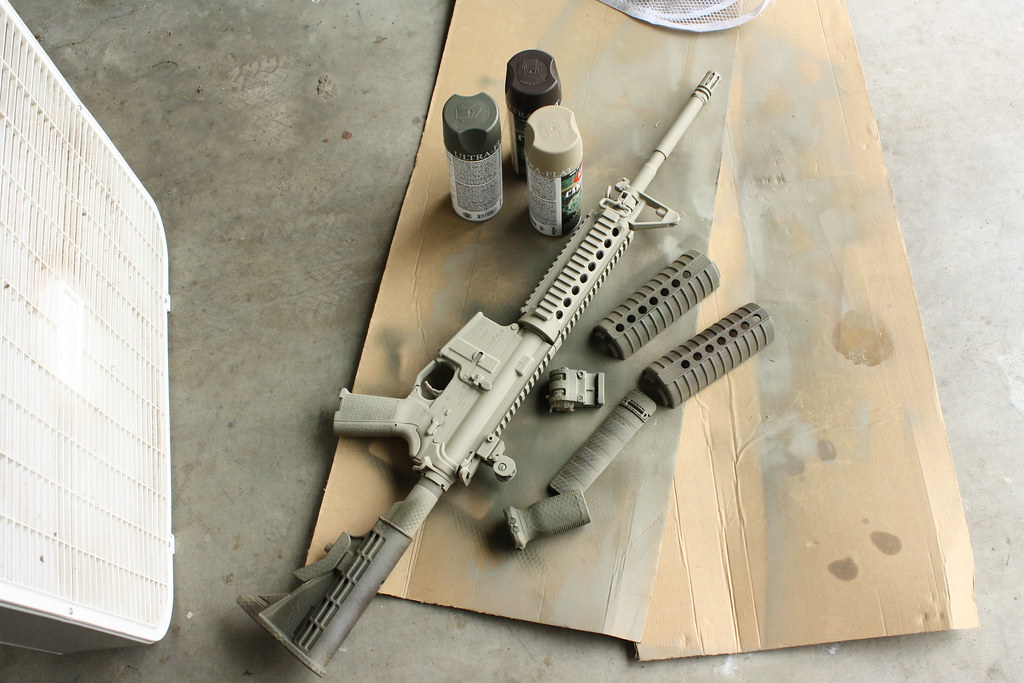
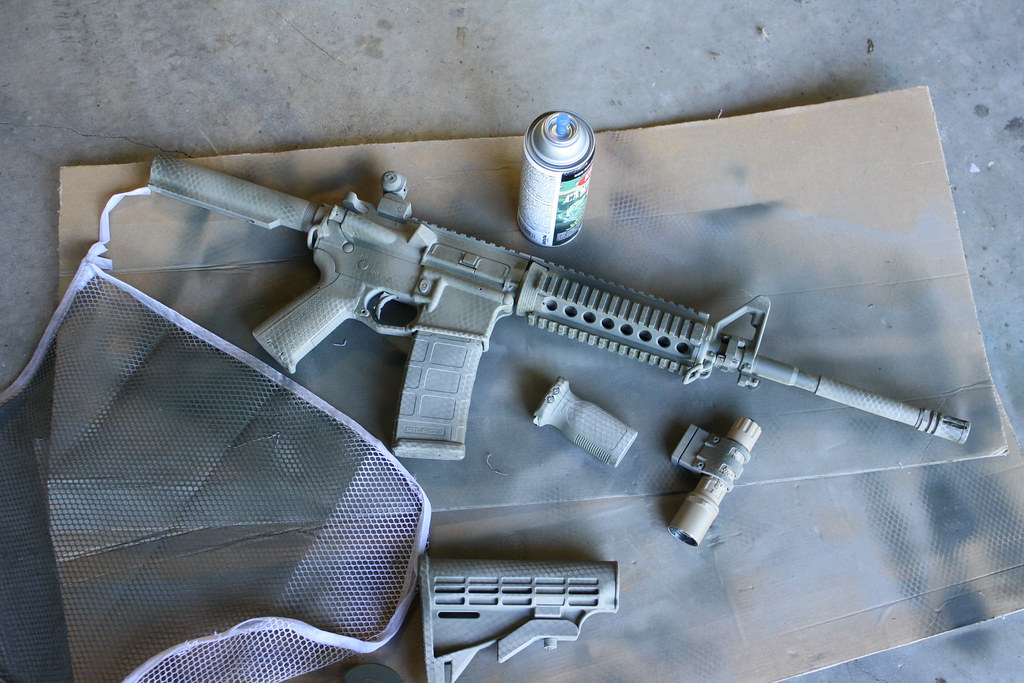
<span style="font-weight: bold">Next morning, came out and did the green and a light coat of brown over the entire rifle using the laundry bag netting seen in the last picture:</span>
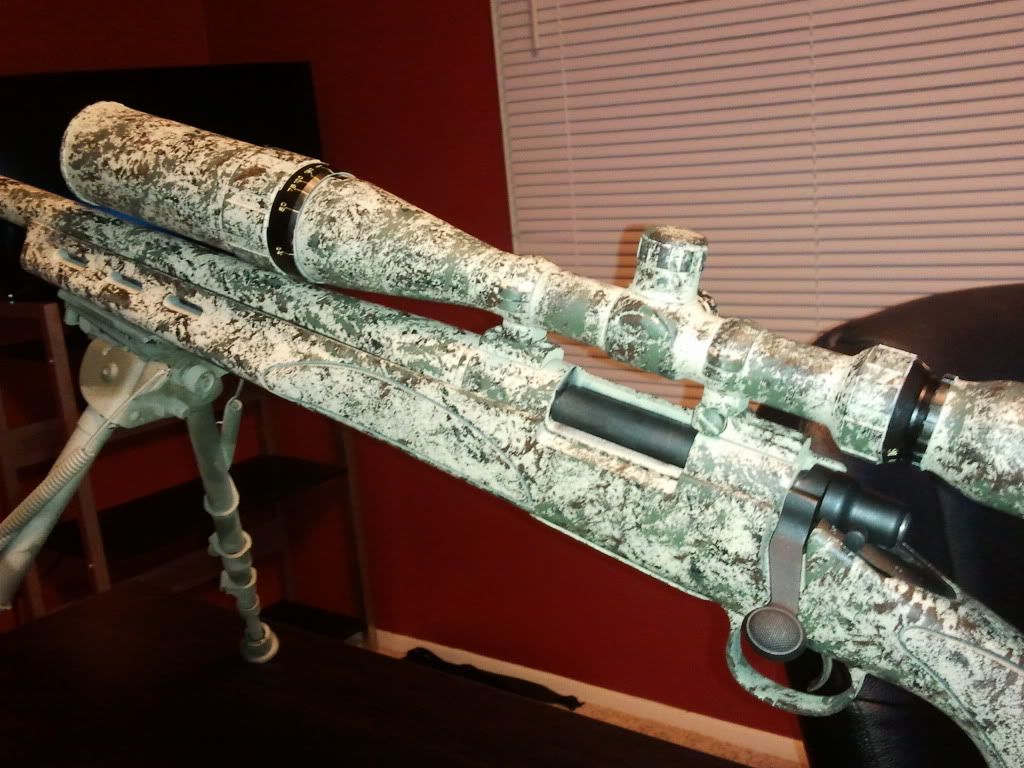
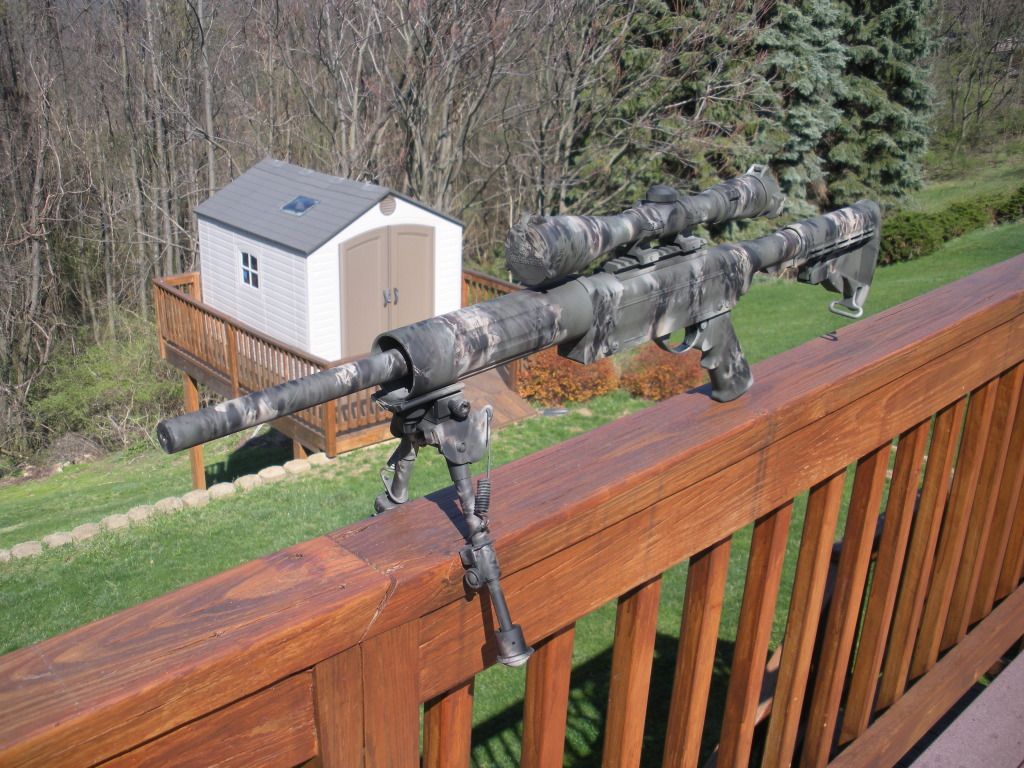
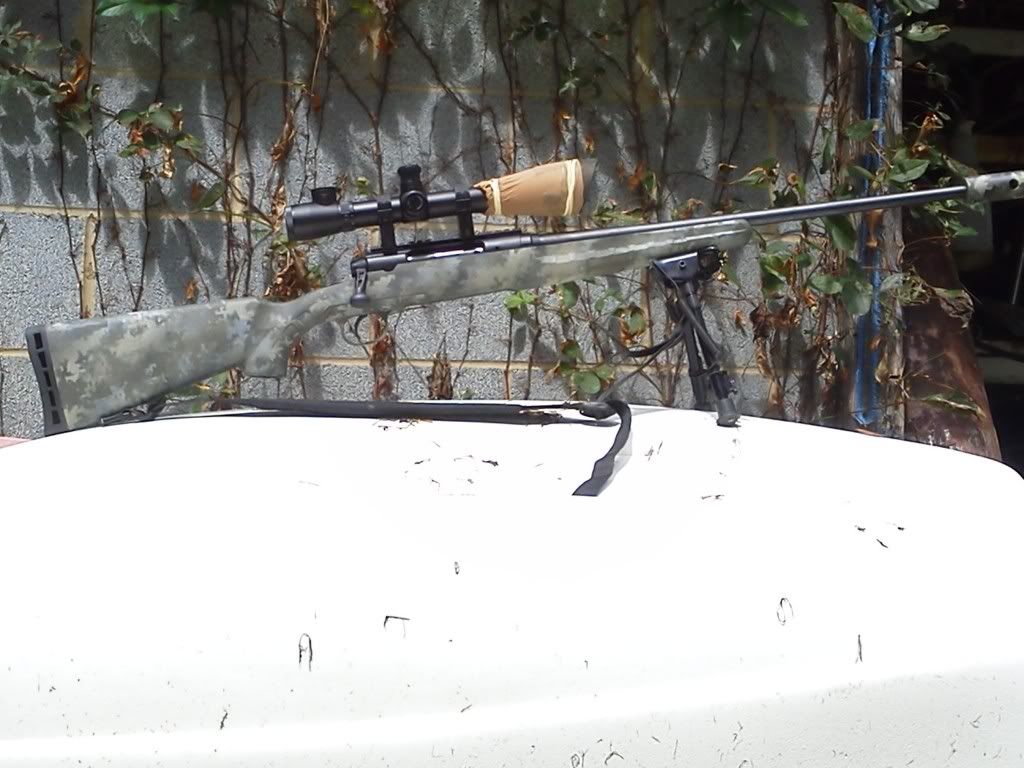
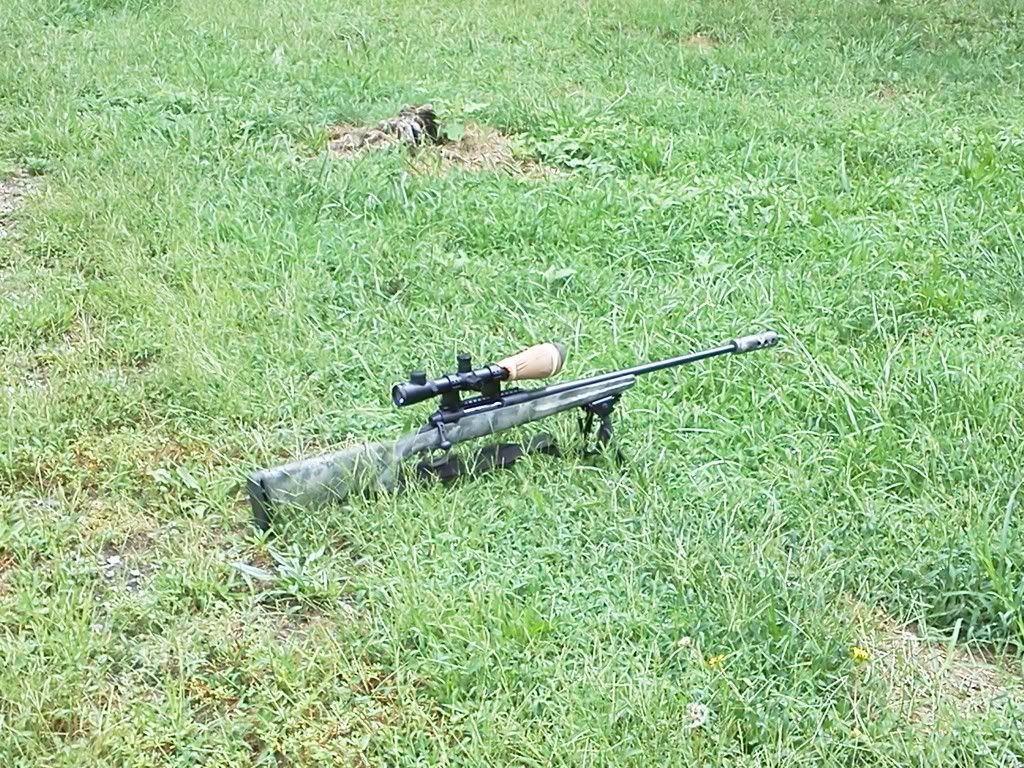
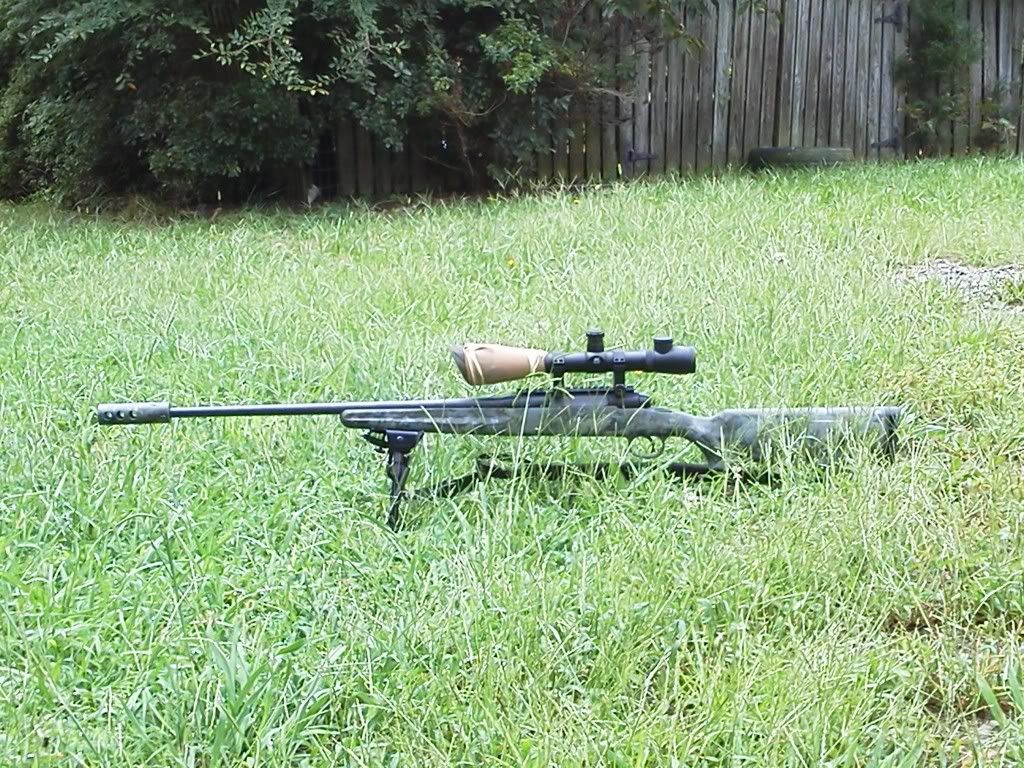
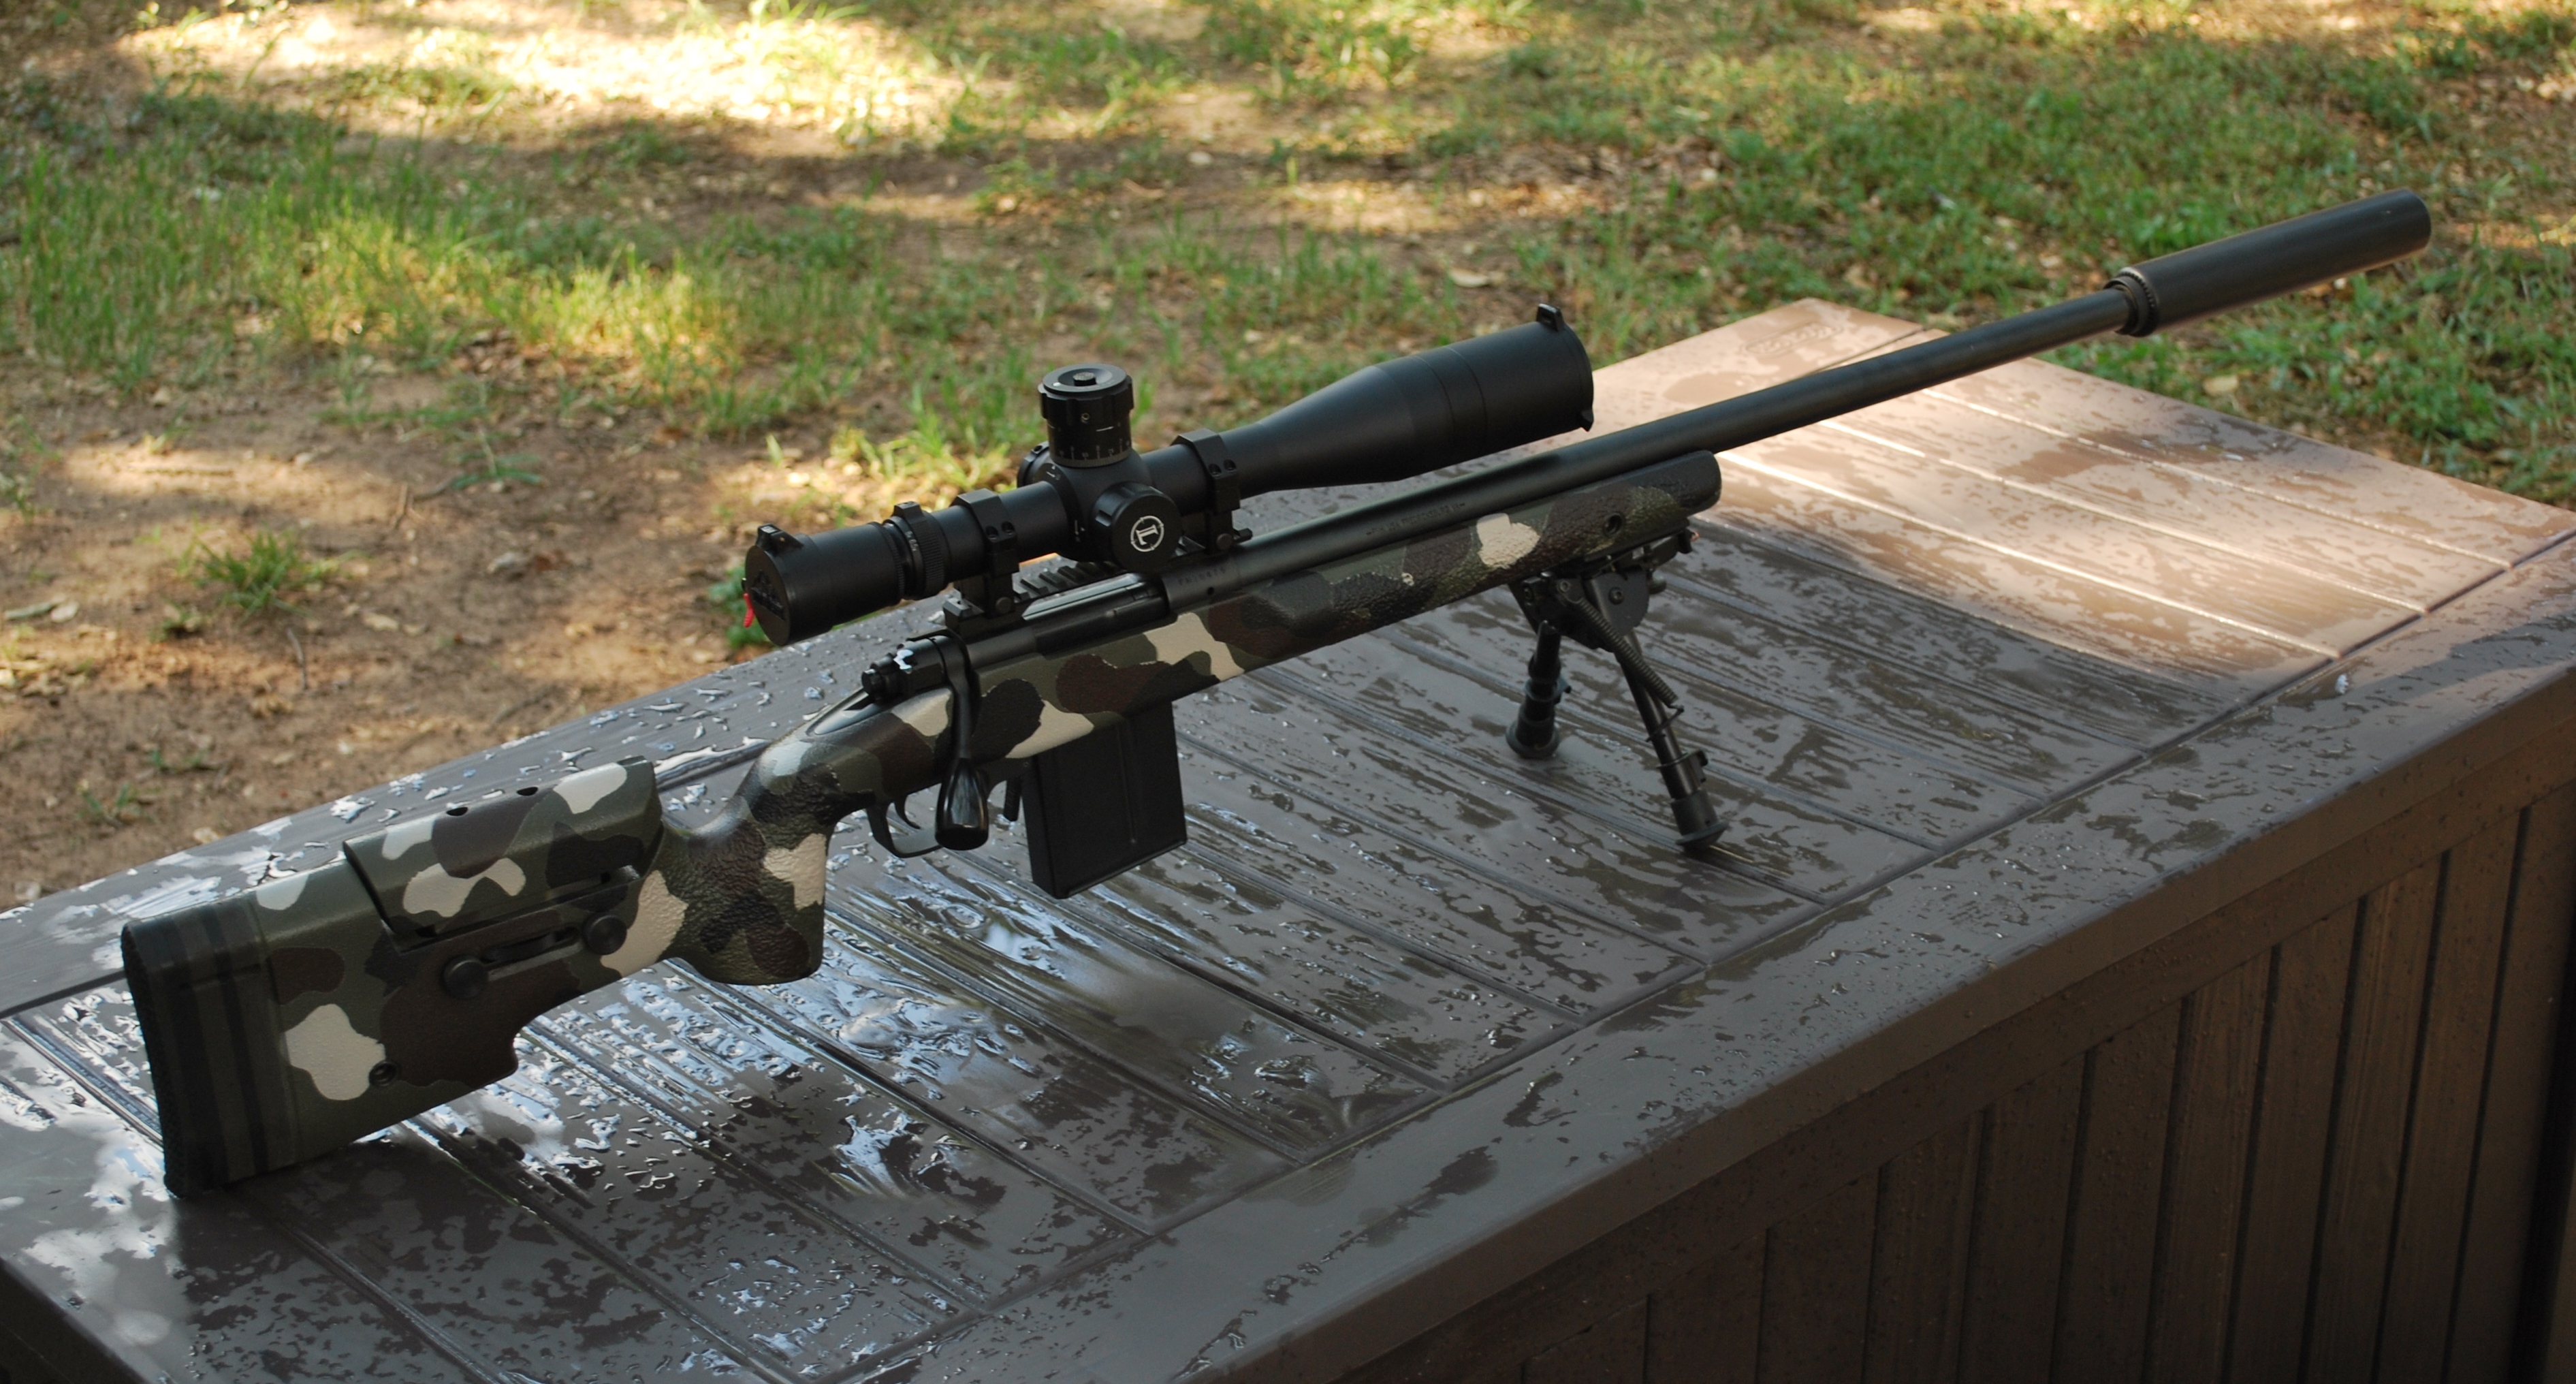
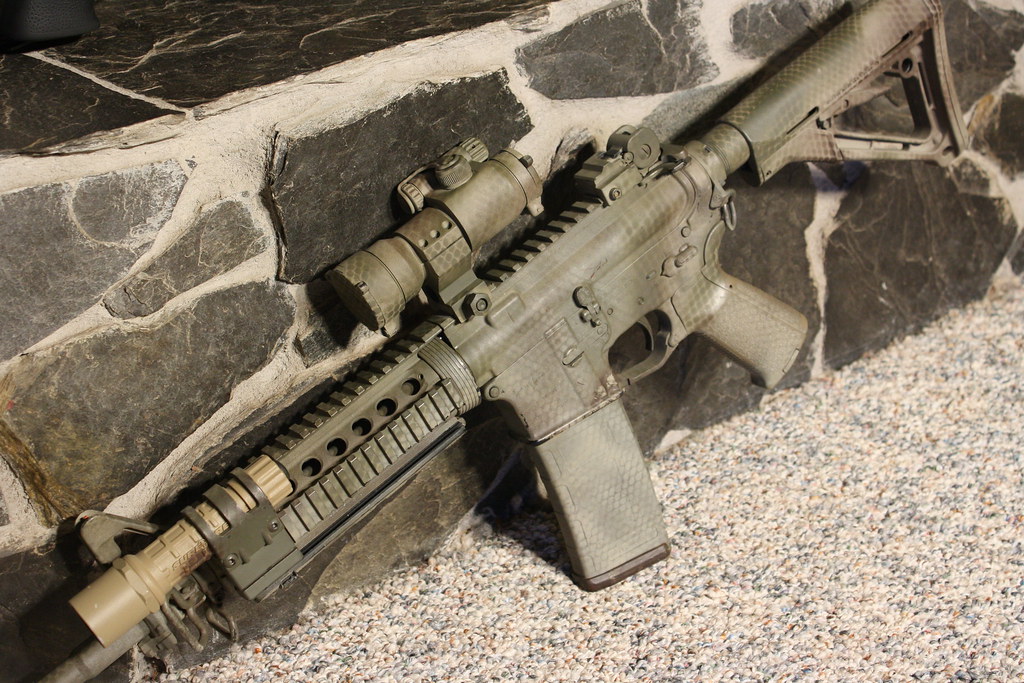
<span style="font-weight: bold">Added some more brown, got a new stock and Aimpoint so I painted them up as well. Finished product:</span>
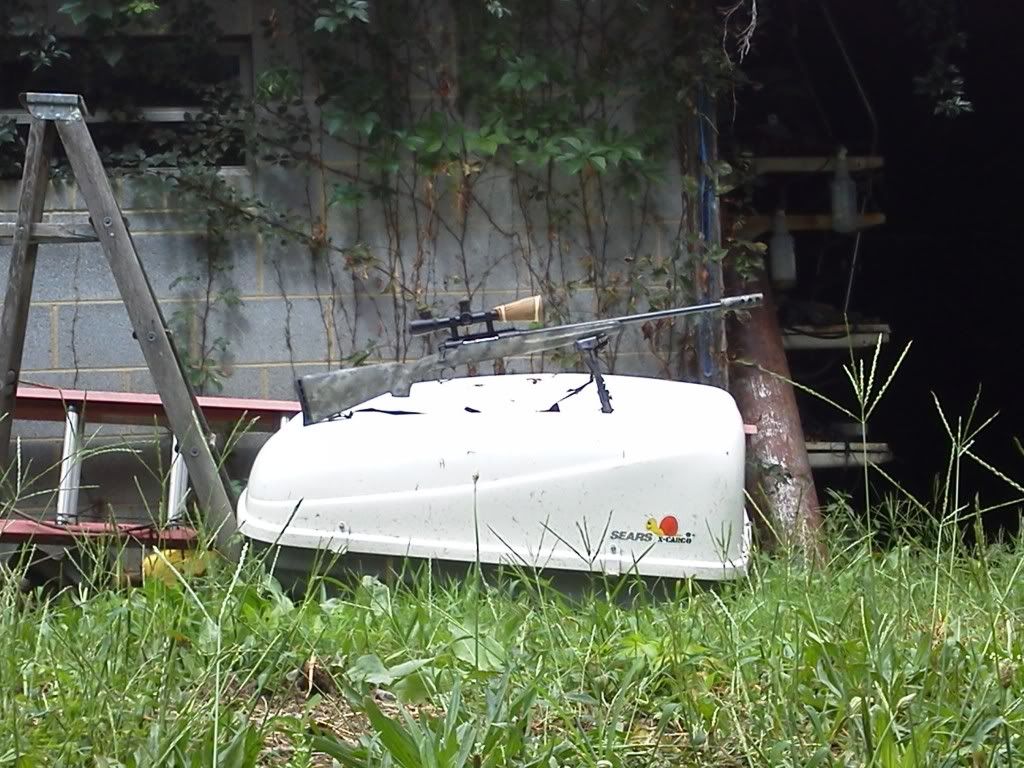
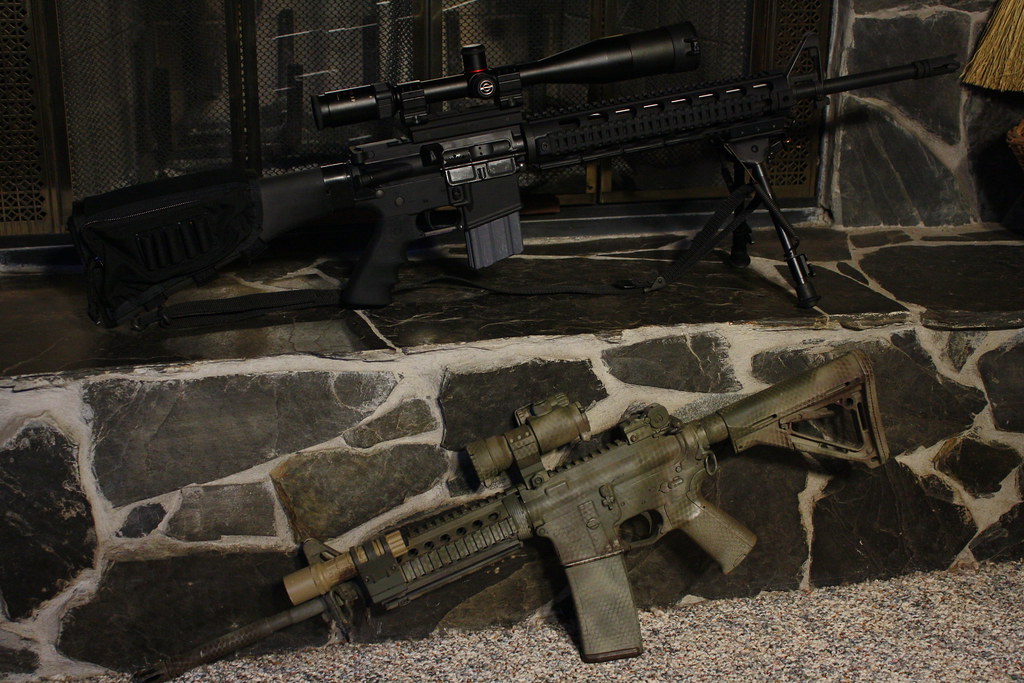
<span style="font-weight: bold">Now with less flash:</span>
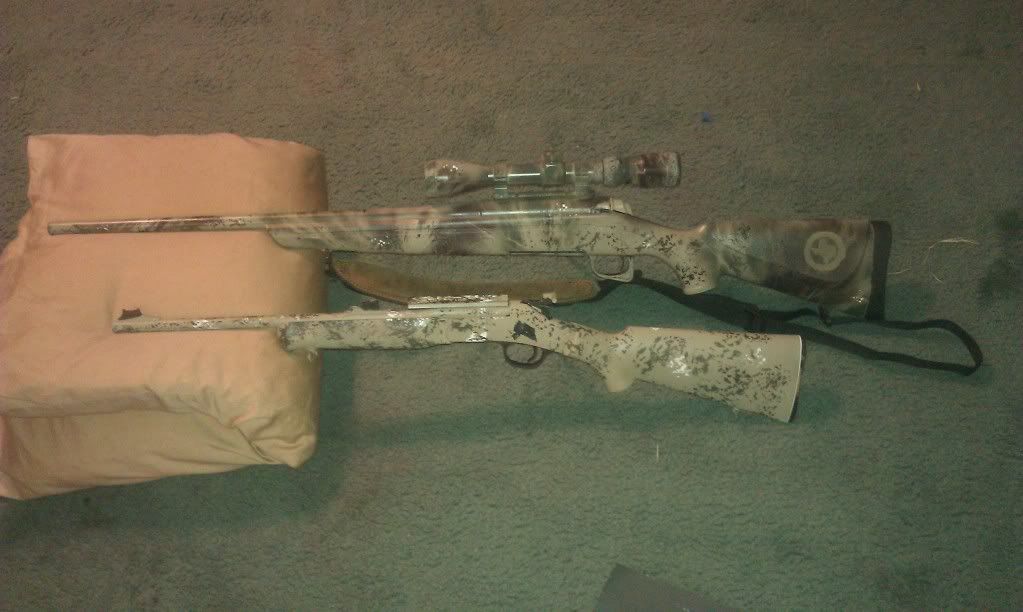
Depending on the lighting, the brightness of the paint job either increases or decreases. It didn't take very long (three days total, with drying time) because I left it in front of multiple fans after every coat of paint to help it dry faster and more evenly. The edges are starting to get worn and chipped a little as you can tell in the second to last picture, but it has held up great so far.
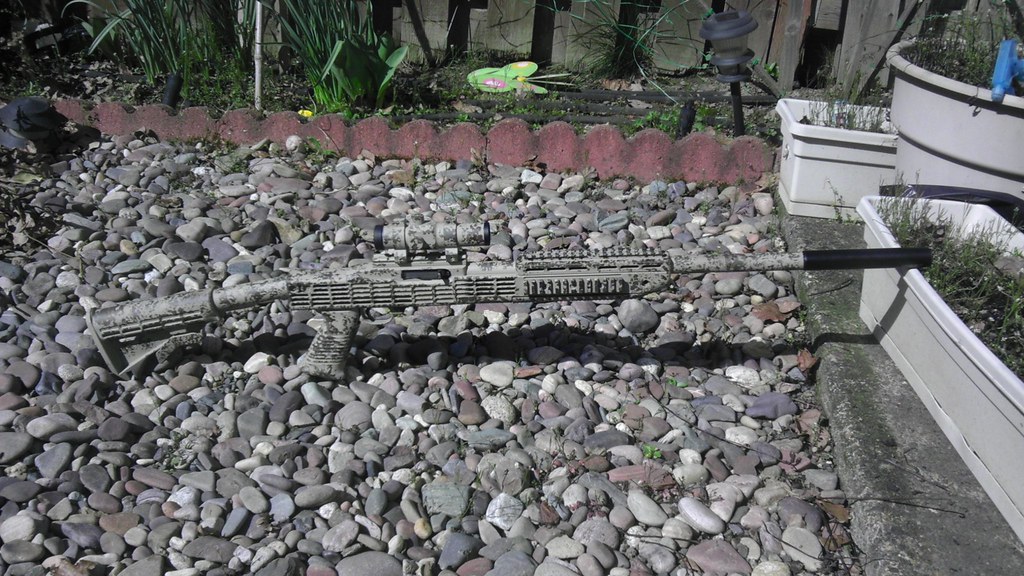
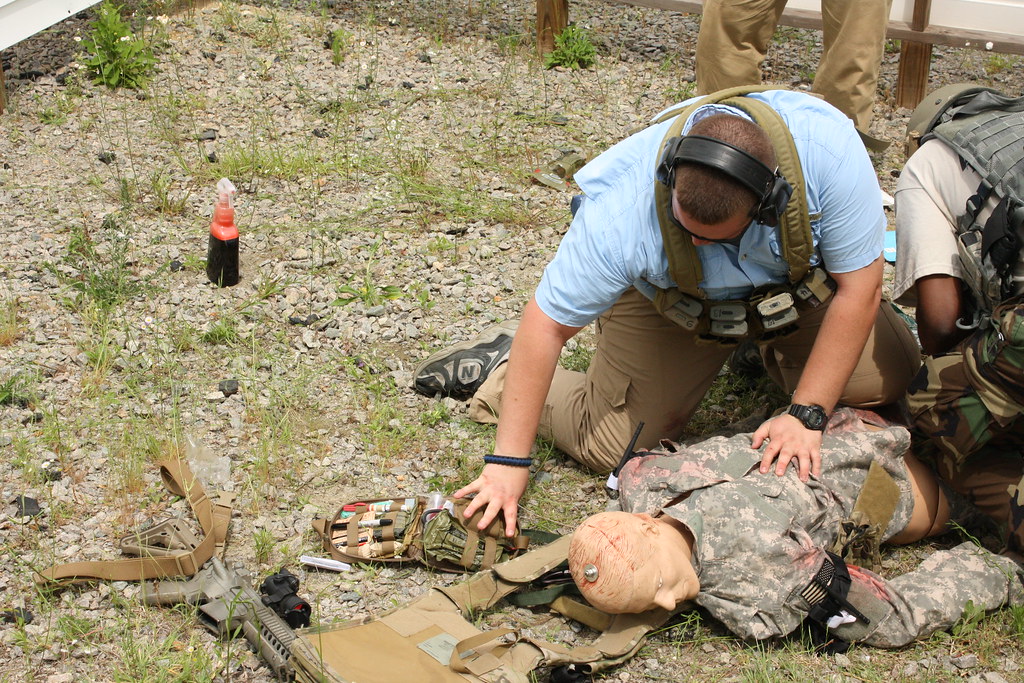
<span style="font-weight: bold">Before I painted the Aimpoint and the stock, this is how it looked compared to gravel on a range I took North American Rescue's 2-day medical class at (great class by the way):</span>


