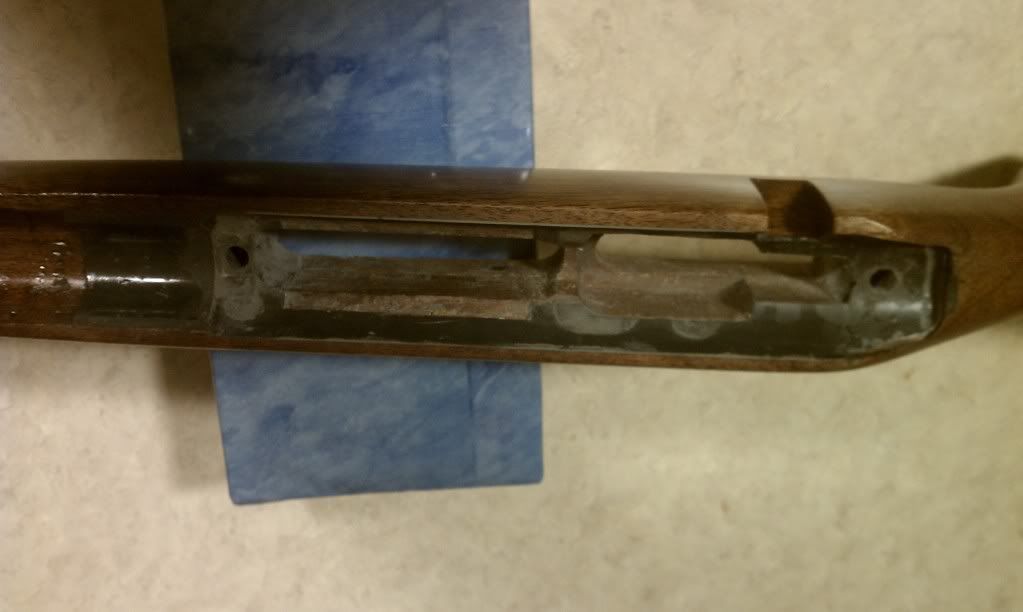
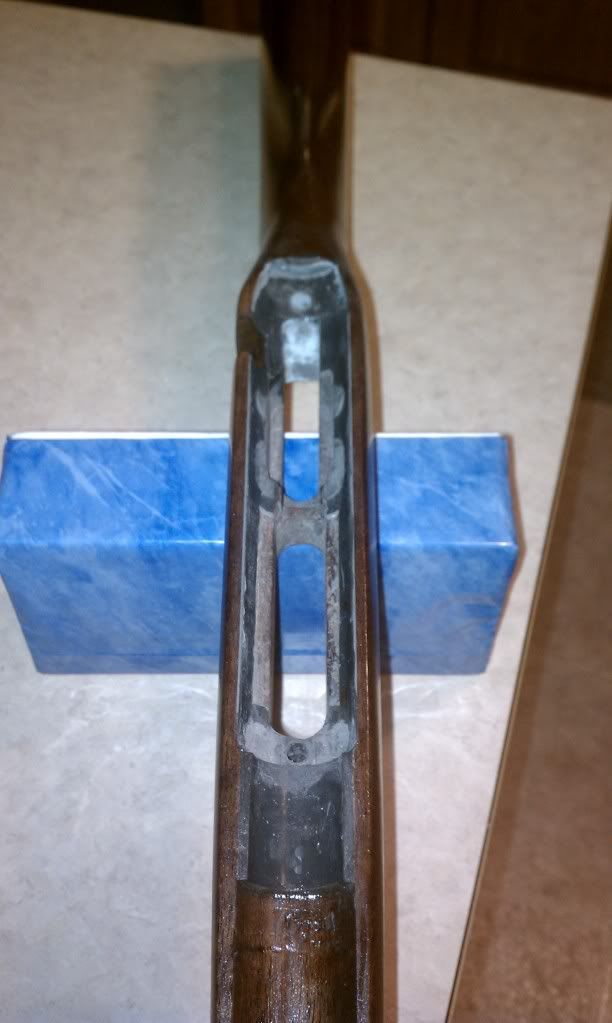
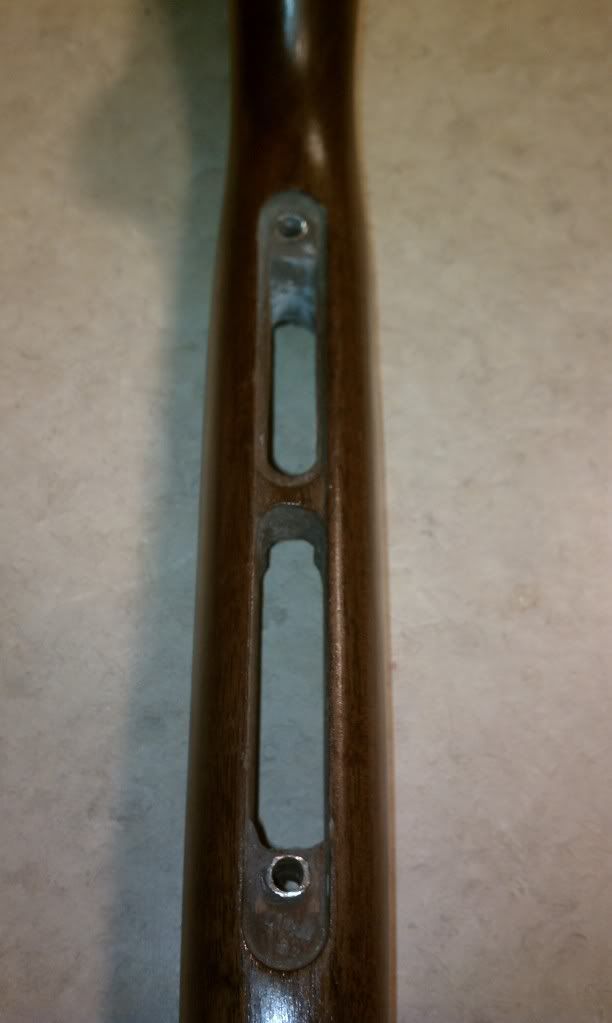
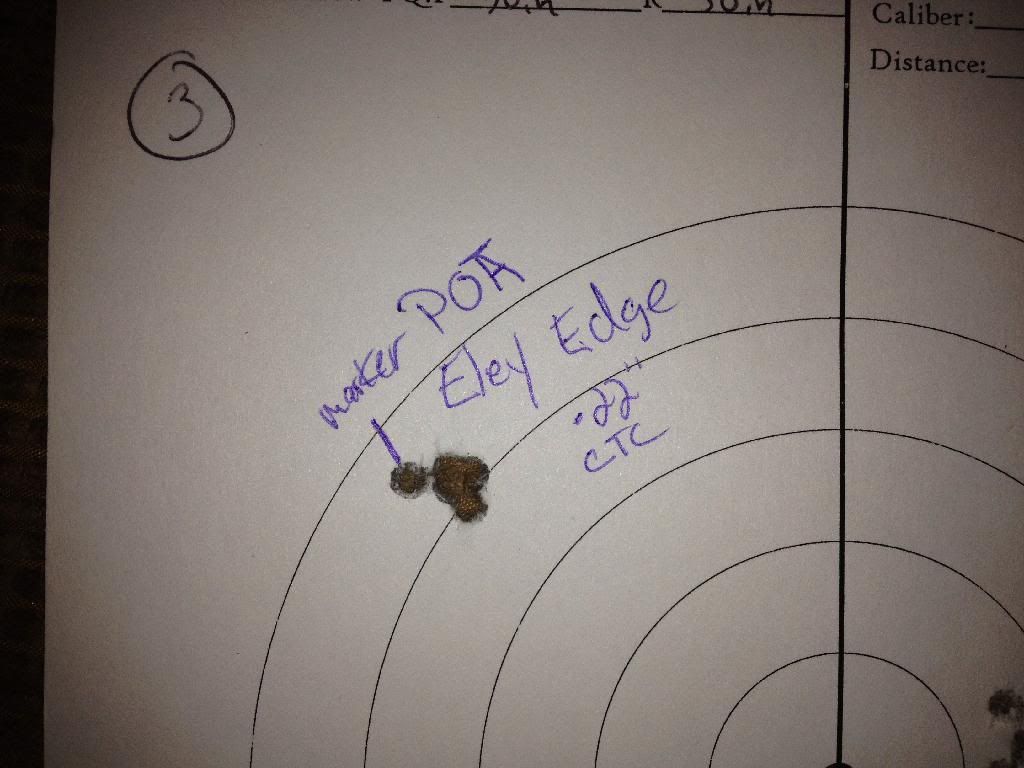
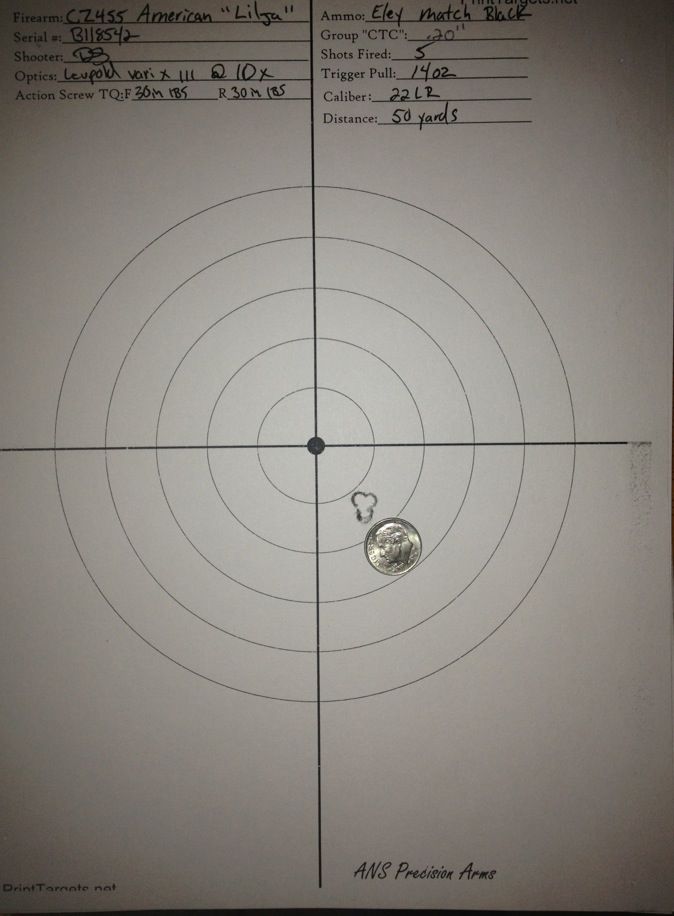
Just wanted to post this to help out those contemplating installing pillars in the 455.
I have seen the You Tube videos where lamp rod was used and the holes were enlarged. I decided to see if I could figure out a way to do pillars without the need for anything more than simple (cheap) hand tools although I do have access to a Mill and a lathe.
Here is what a trip to the local Ma & Pop hardware store yeilded.
Stared with 5/16x.028 Stainless tubing. The action screw drops right in and with one wrap of masking tape it will center within the pillar. Another benifit to this opposed to the lamp rod is that the tubing fits within the factory screw holes in the stock so there is no need to enlarge the holes. I felt the only way to accuratly enlarge the holes for the lamp rod would be with a drill press or mill and I realize not every home DIY guy has such equipment so this was the alternate solution.
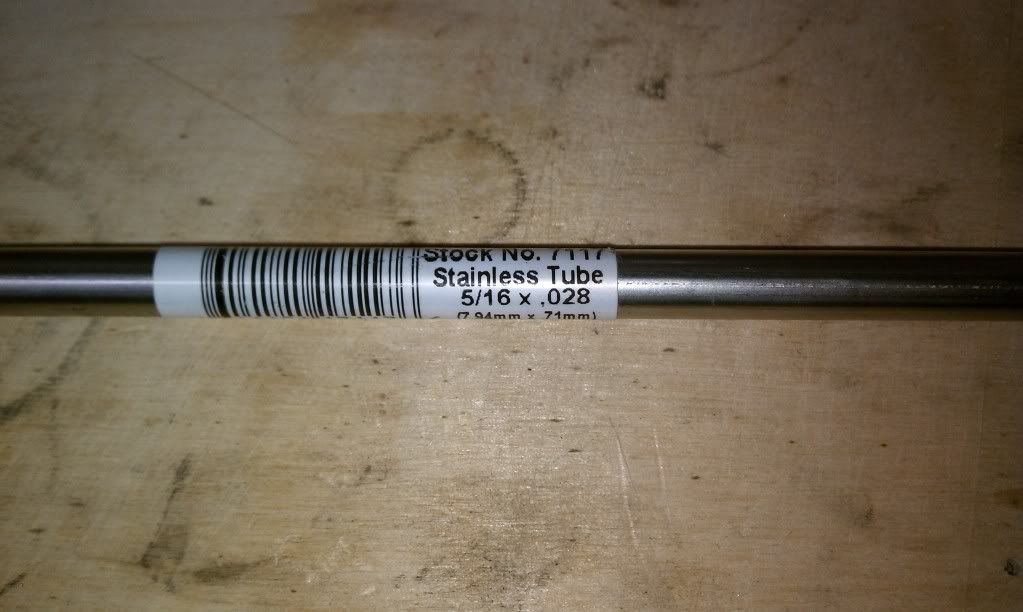
Using my bench mounted vice I had to crimp the end of the tubing to hold it for the next step.
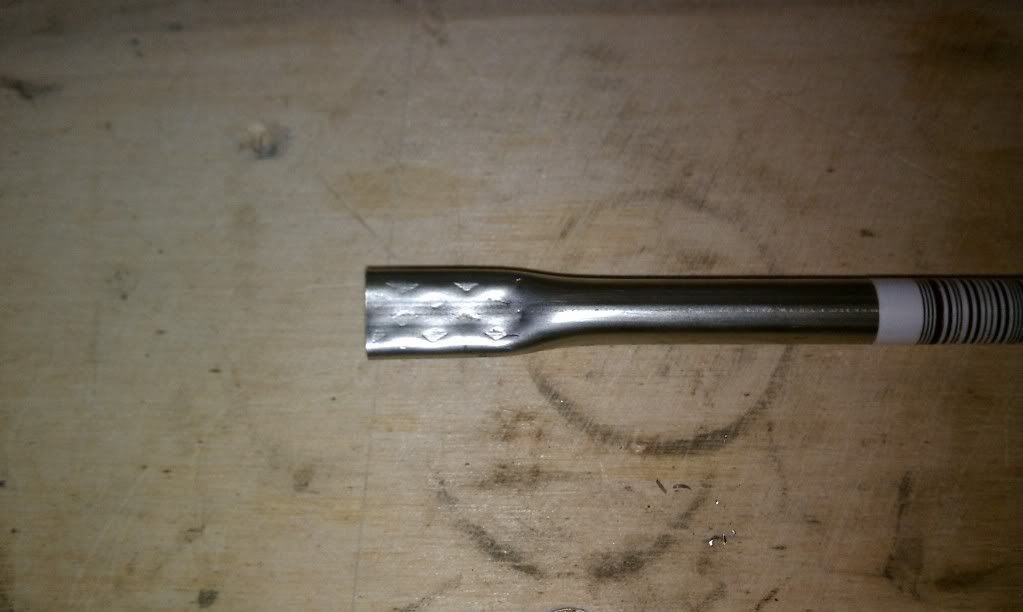
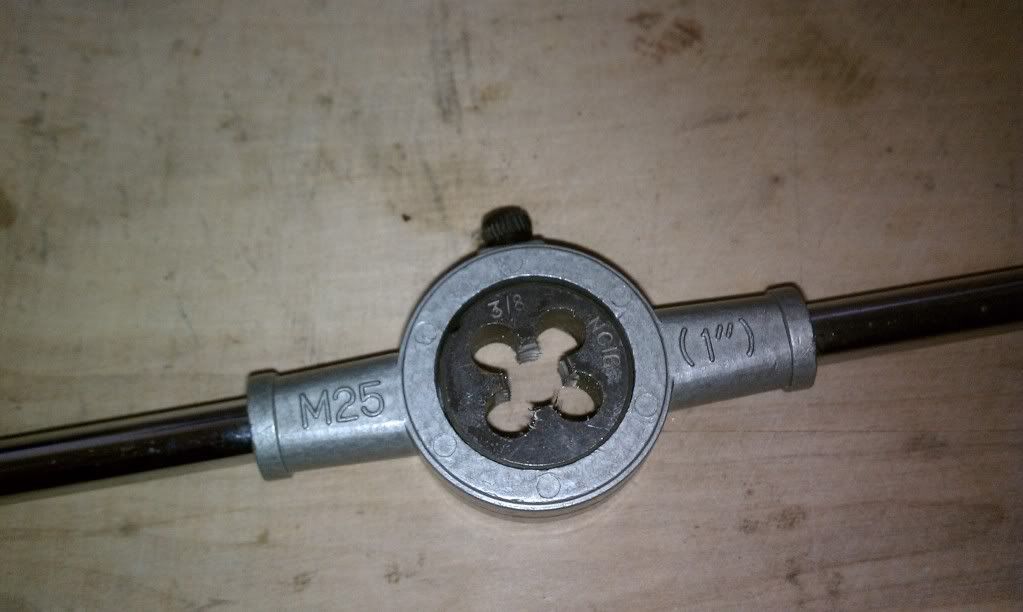
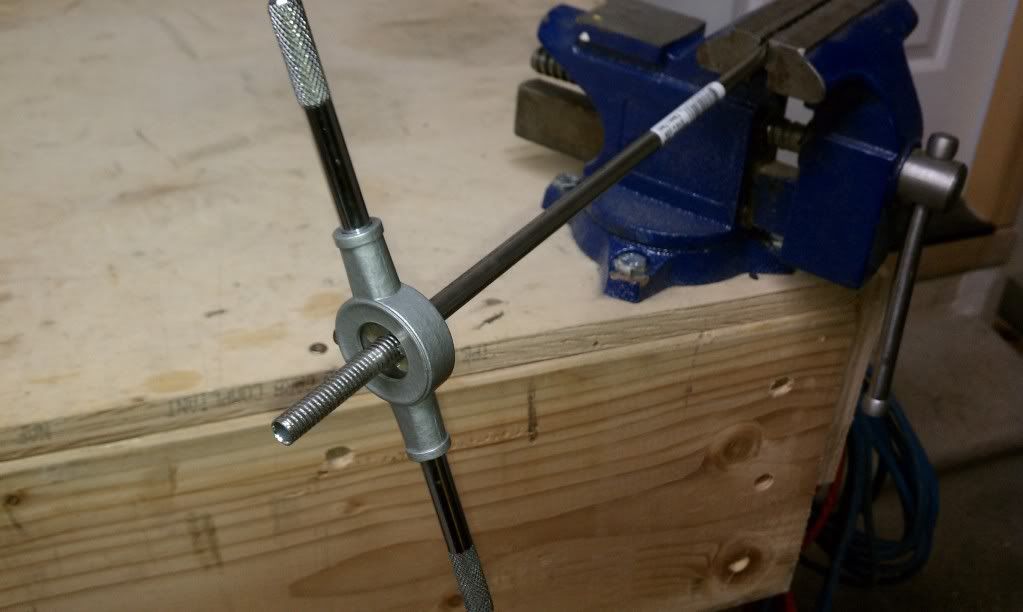
Now I had to figure out a way to get the bedding compound to adhere to the pillar. Again with a lathe this is an easy fix but what could be done without a lathe...run a die over it. I used a 3/8 x 16 NC die which worked very well.
And here we see the end result. Just need to cut to length with a tubing cutter.
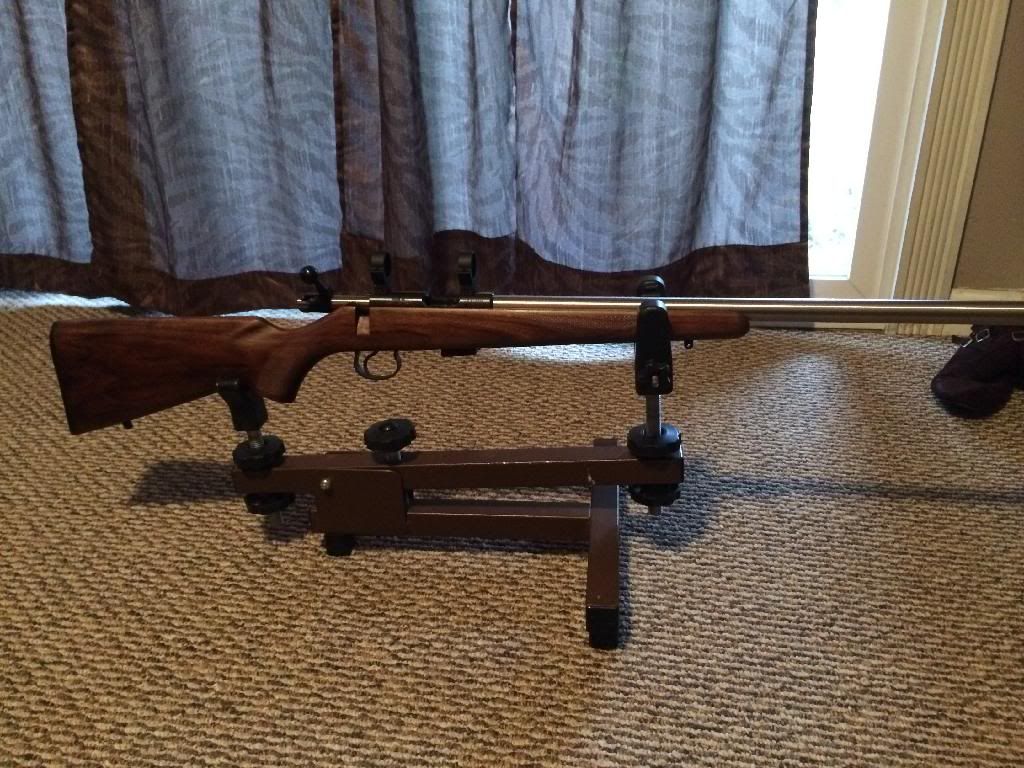
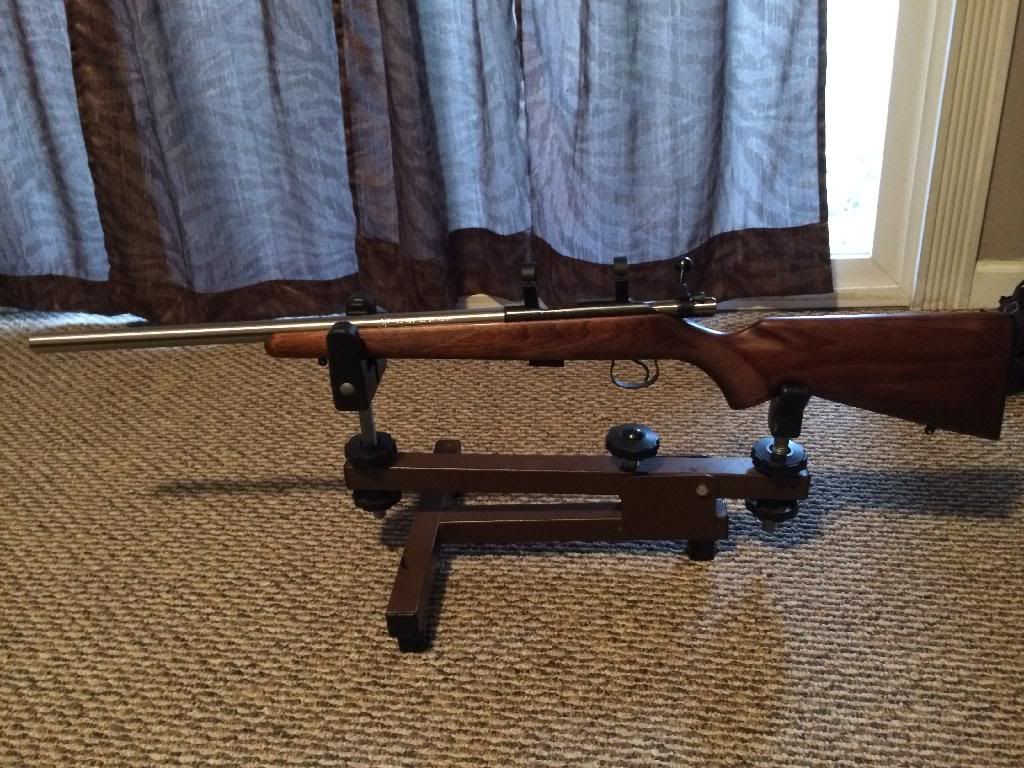
I'll post more as time permits but I was able to finish the install over the weekend. The only real power tool I used was a Dremel which as far as I'm concerned should be in every mans inventory along with Duct Tape lol.
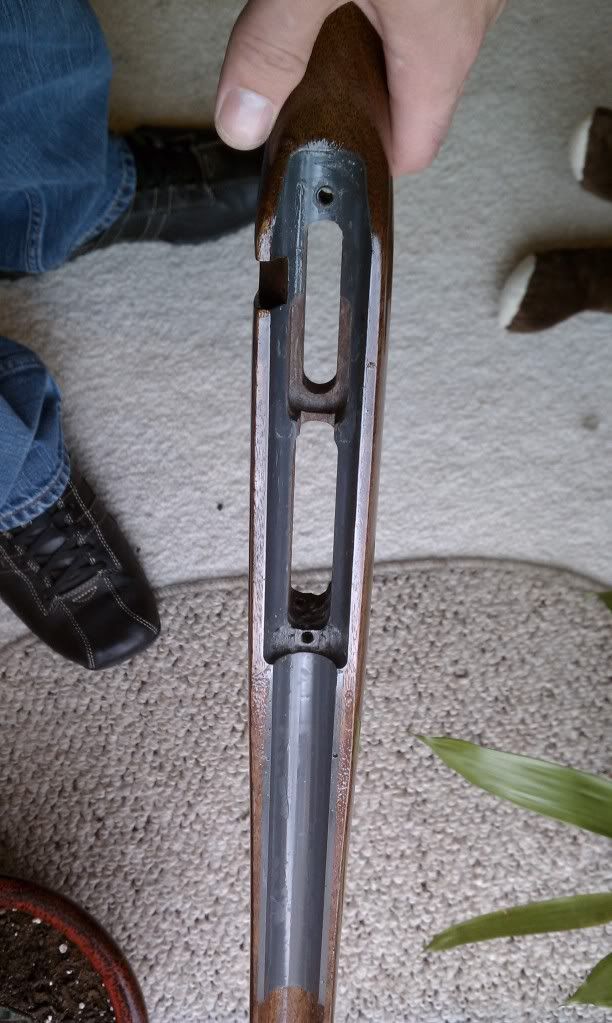
I used the Dremel to cut a relief for the front action screw and the magazine well. As I stated previously this will fit within the factory screw hole in the stock without the need to enlarge.
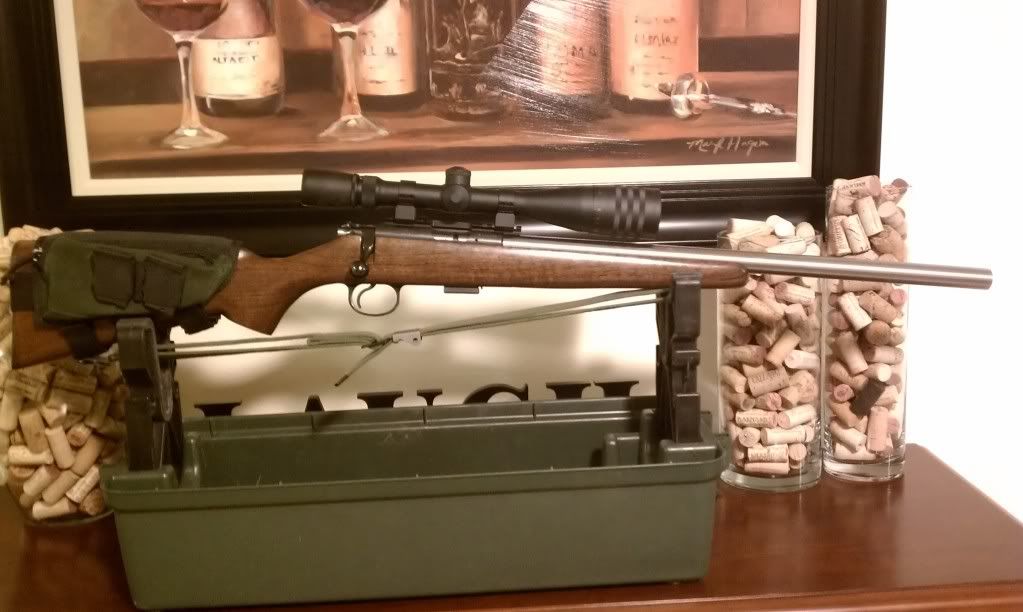
No CZ's were harmed durring the construction of this project.
A06
I have seen the You Tube videos where lamp rod was used and the holes were enlarged. I decided to see if I could figure out a way to do pillars without the need for anything more than simple (cheap) hand tools although I do have access to a Mill and a lathe.
Here is what a trip to the local Ma & Pop hardware store yeilded.
Stared with 5/16x.028 Stainless tubing. The action screw drops right in and with one wrap of masking tape it will center within the pillar. Another benifit to this opposed to the lamp rod is that the tubing fits within the factory screw holes in the stock so there is no need to enlarge the holes. I felt the only way to accuratly enlarge the holes for the lamp rod would be with a drill press or mill and I realize not every home DIY guy has such equipment so this was the alternate solution.

Using my bench mounted vice I had to crimp the end of the tubing to hold it for the next step.

Now I had to figure out a way to get the bedding compound to adhere to the pillar. Again with a lathe this is an easy fix but what could be done without a lathe...run a die over it. I used a 3/8 x 16 NC die which worked very well.

And here we see the end result. Just need to cut to length with a tubing cutter.

I'll post more as time permits but I was able to finish the install over the weekend. The only real power tool I used was a Dremel which as far as I'm concerned should be in every mans inventory along with Duct Tape lol.
I used the Dremel to cut a relief for the front action screw and the magazine well. As I stated previously this will fit within the factory screw hole in the stock without the need to enlarge.
No CZ's were harmed durring the construction of this project.
A06


