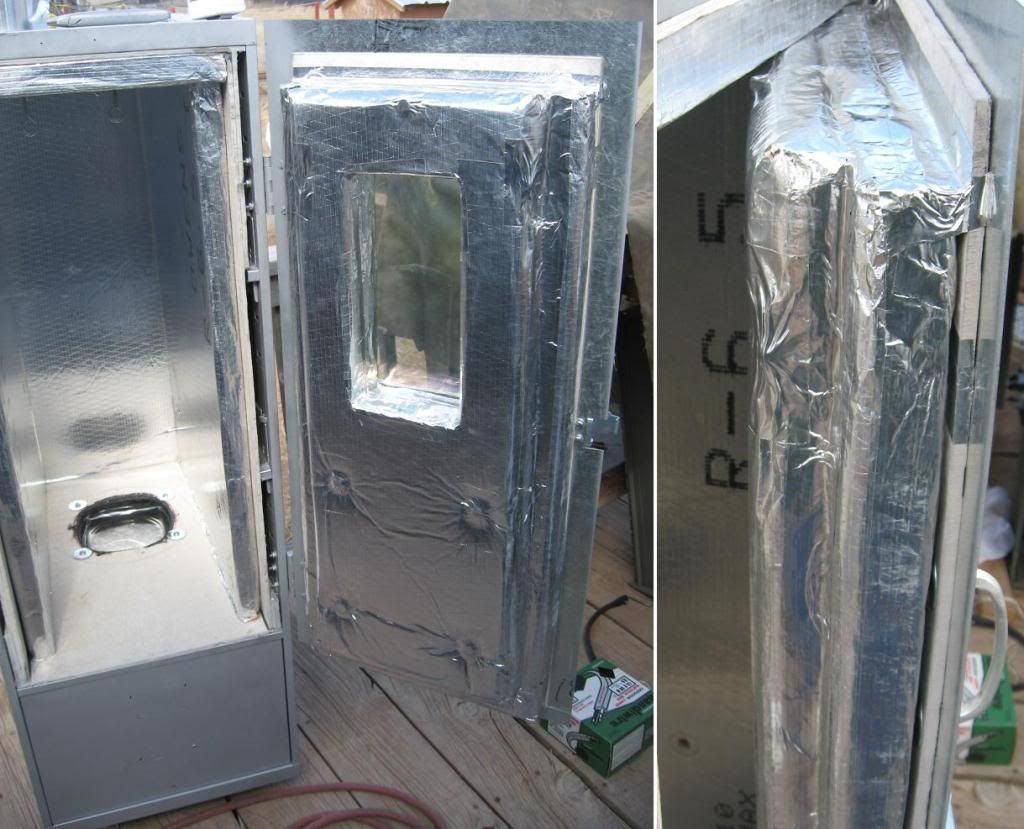
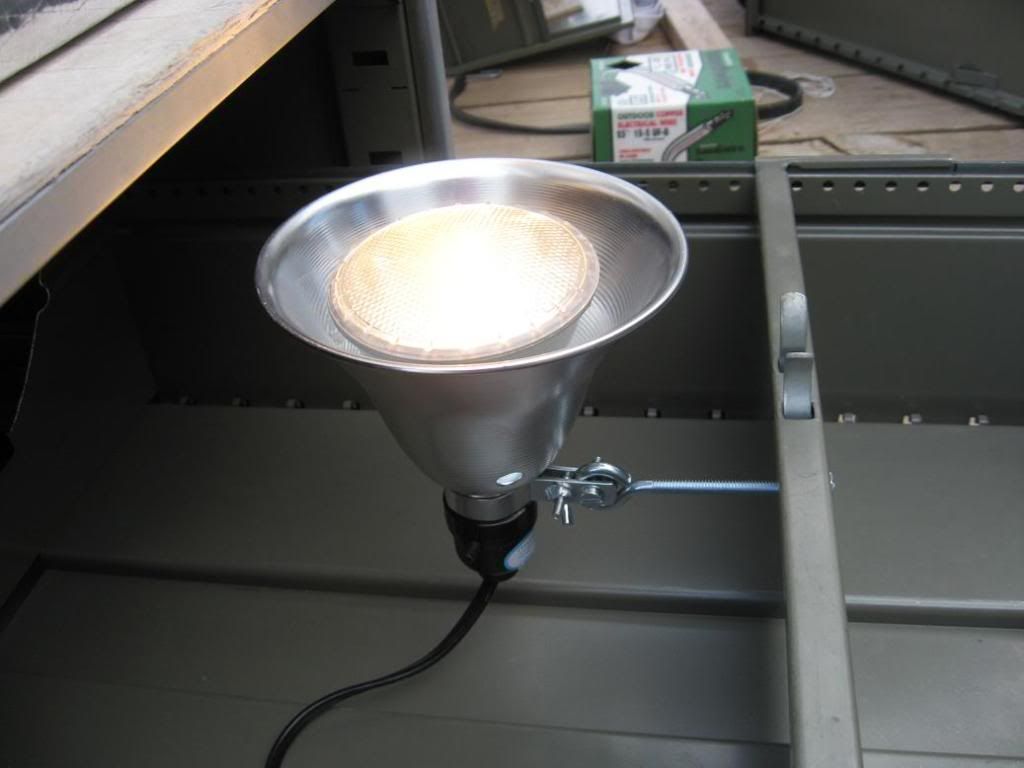
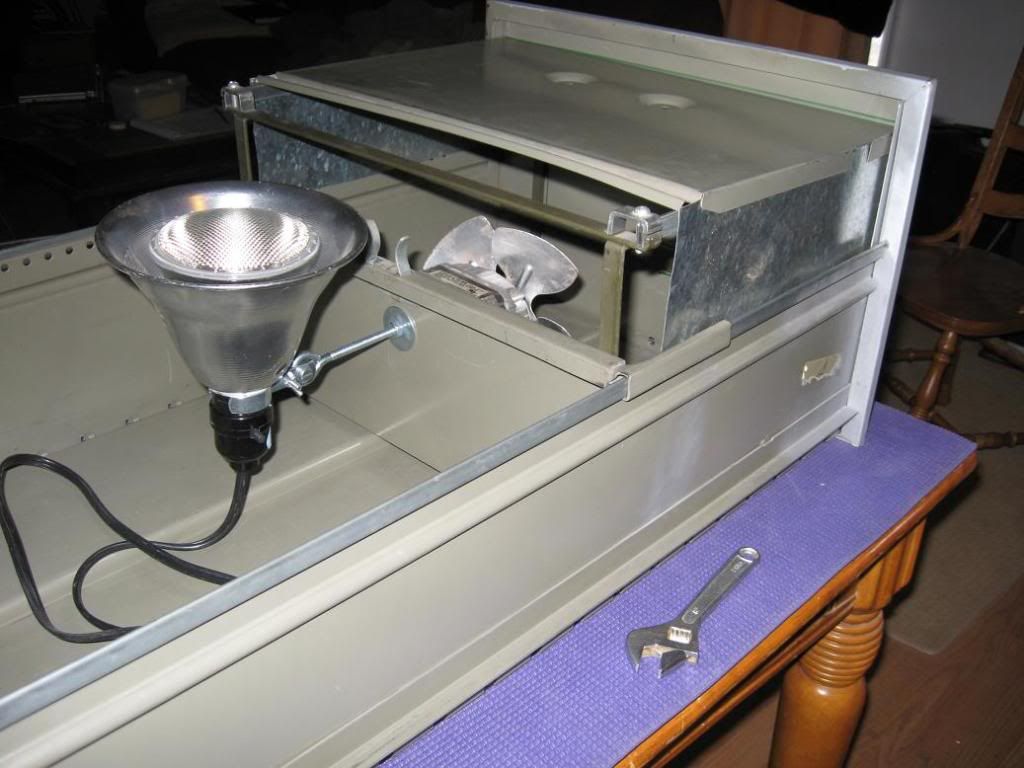
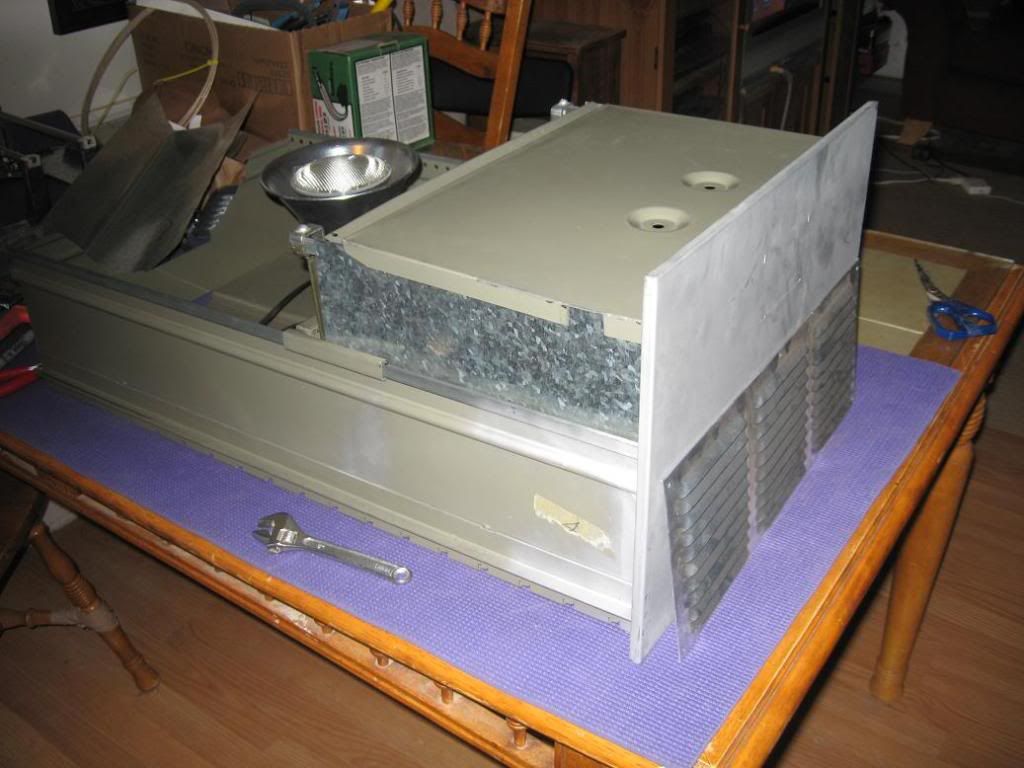
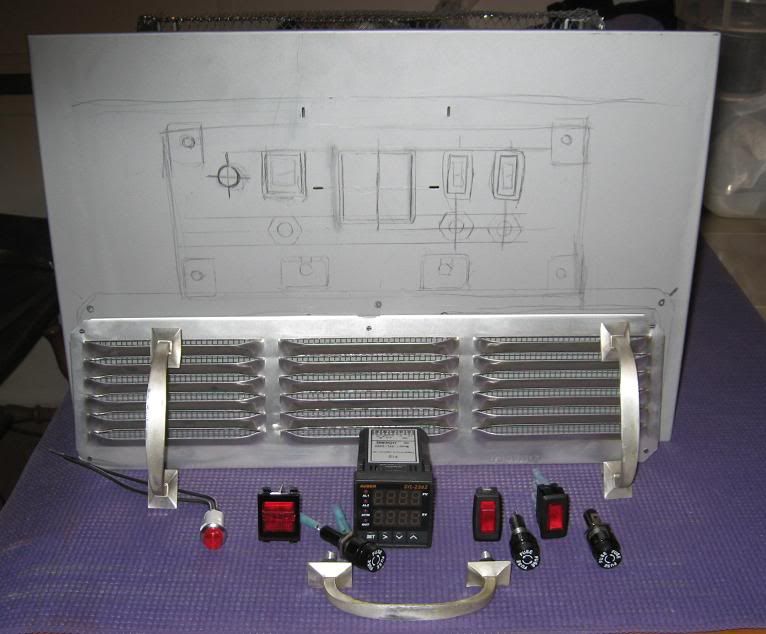
Re: homemade paint oven (more pics added)
Any suggestions made in this post are merely that suggestions. They are not intended to meet national or local electric codes. By reading this the end user acknowledges that they are completely responsible for the use of the information found in this post. I do not warranty or guarantee the accuracy of any information that I post here.
Please read my above post for a lot of good points, understanding of how this system works, and the components. Before the electrical engineers jump all over me, I am merely suggesting a way to do what the people building these home brew pieces of equipment require in a safe way the most economical way possible. I do not claim to be suggesting the best way, right way, or even way that I would do it.
Okay the short and sweet version of how to make this temperature controller doohickey work.
---------------------------------------------------------------
First get an ugly's electrical reference! It is really handy especially when you don't do this stuff everyday. It is short sweet to the point, tells you how to do things, and tells you what to do depending on a lot of cases. Probably the most important part is de-rating wire based on environmental temperature and correct insulation. The insulation list in there isn't complete, but I'll get to that in a second. You can look this stuff up on google, but it takes a while sometimes and information isn't necessarily correct.
Secondly. I think your budget for the controls is way way too low. Potentially to the point of being dangerous. I am not saying that what you have suggested previously won't monitor temperature and make the oven warmer if needed, but I would not be surprised if the thing burnt out frequently and eventually caused a fire or severe shock.
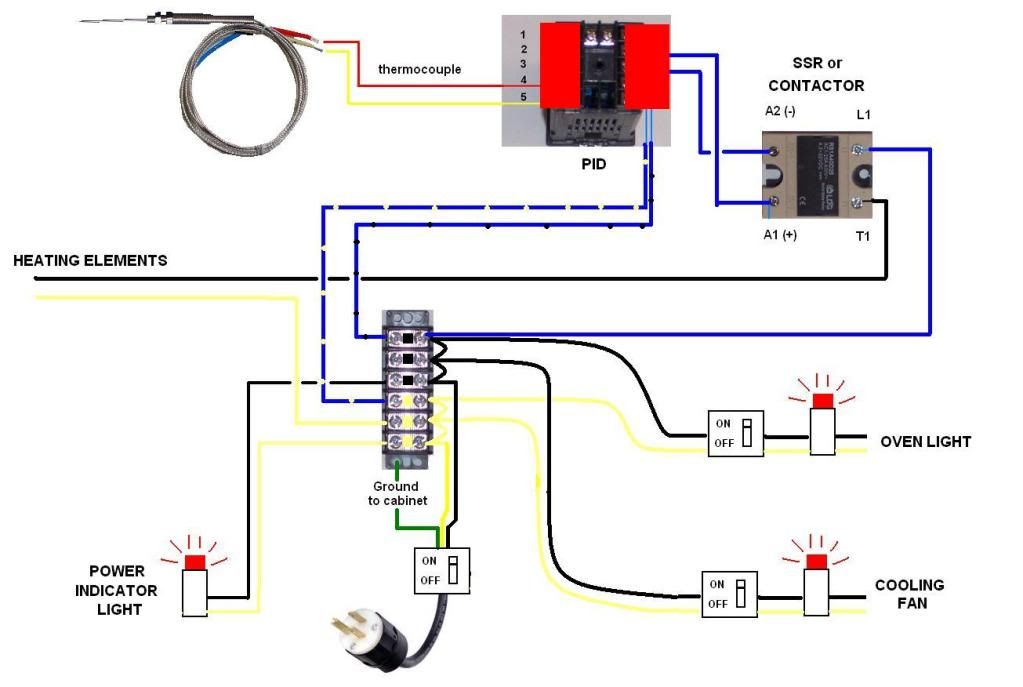
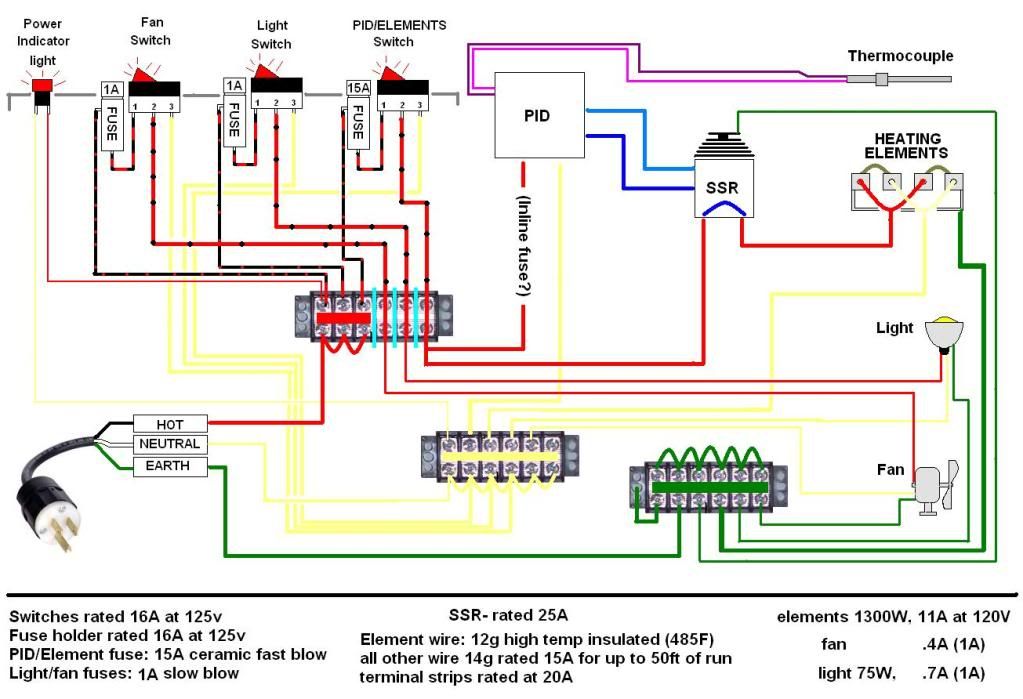
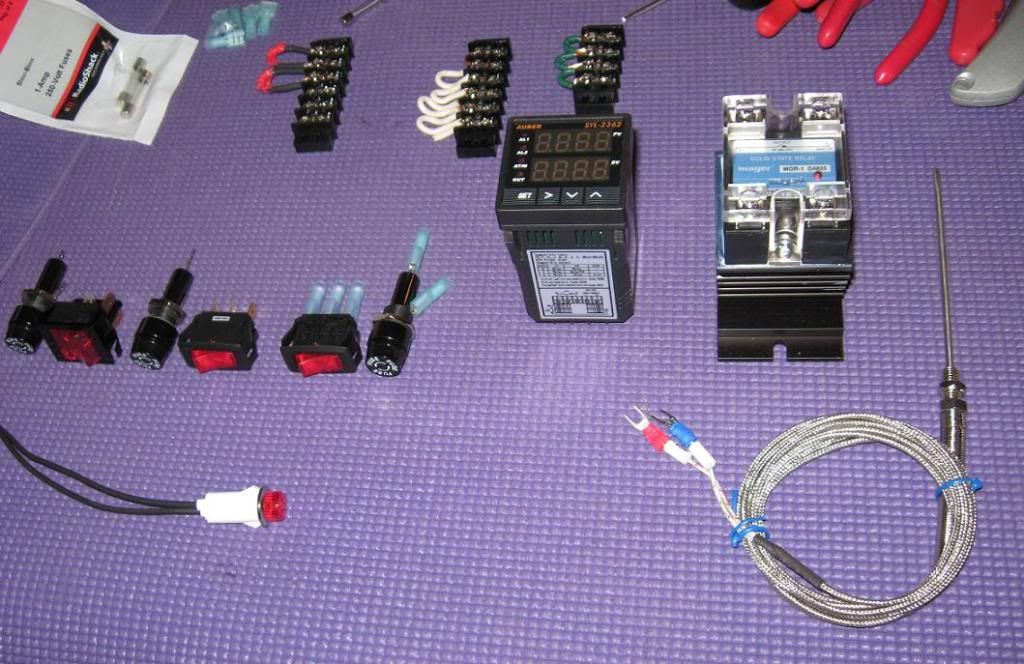
You should use a type K thermocouple with a PID temp. controller. The controller should activate a solid state relay, mounted on a heat sink, to give power to the heaters.
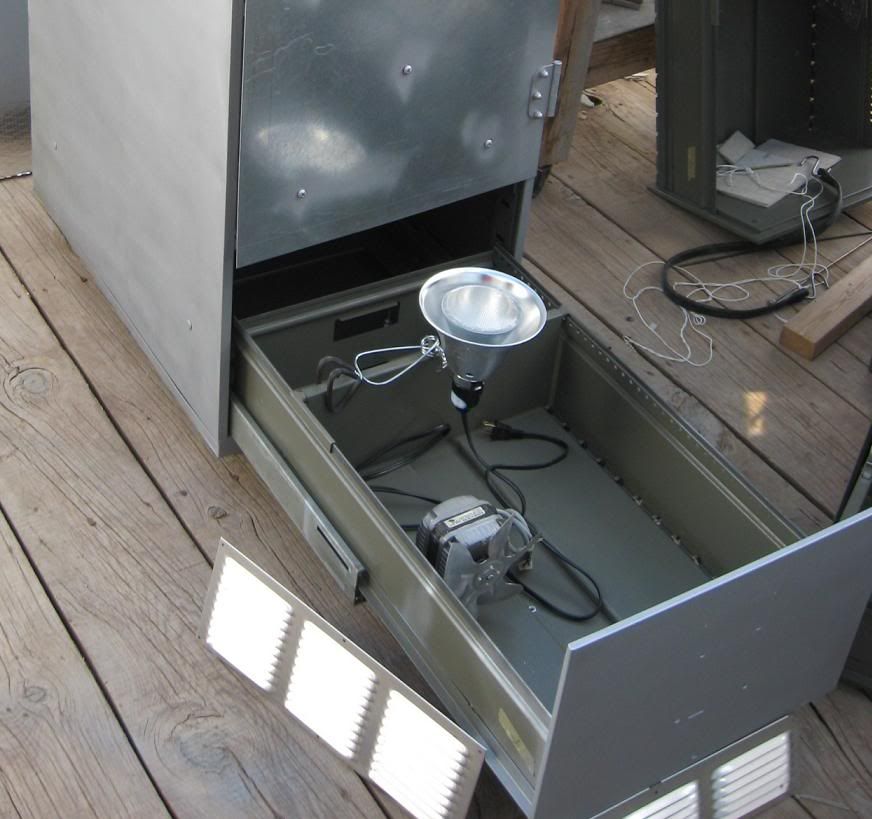
If you insist on putting the controls in the bottom cabinet like you have planned you need a blower to intake fresh air to this area, and this NEEDS to be interlocked (I'll get to this later) to the heater control to kill power if the fan fails. Whether or not this works depends on how well insulated the bottom is.
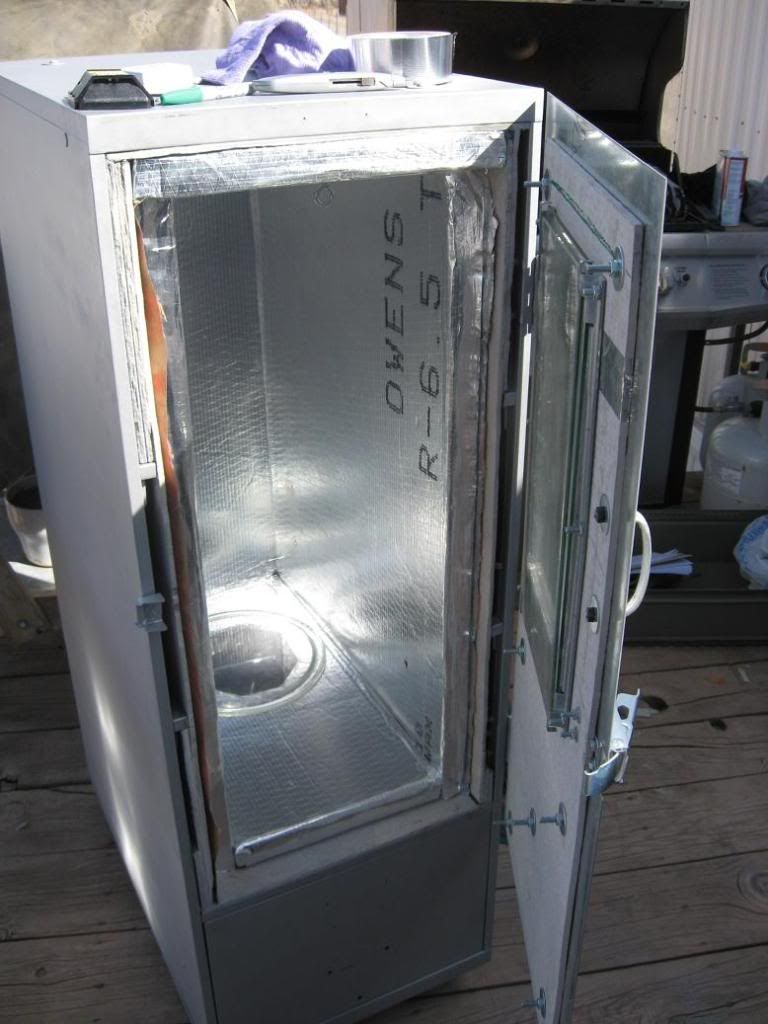
Probably the best option is to get an external box, either type1 (keeps fingers out, think back of your computer monitor) or type3 (resistant to dust), in either fiberglass or mild steel. Mounting this to the side, or even better using standoffs (i.e. washers between the box and side of oven). Downside of this is you have to buy one and the back panel to go with it. Upside is you only have to buy heater wire (heavy insulated wire) to go to the heater, not the whole circuit. This would also stay cooler so you can use whatever blower you have to circulate the hot air inside the oven. This is probably best because you will have hot and cold pockets without air circulation and you thermocouple would not read accurately.
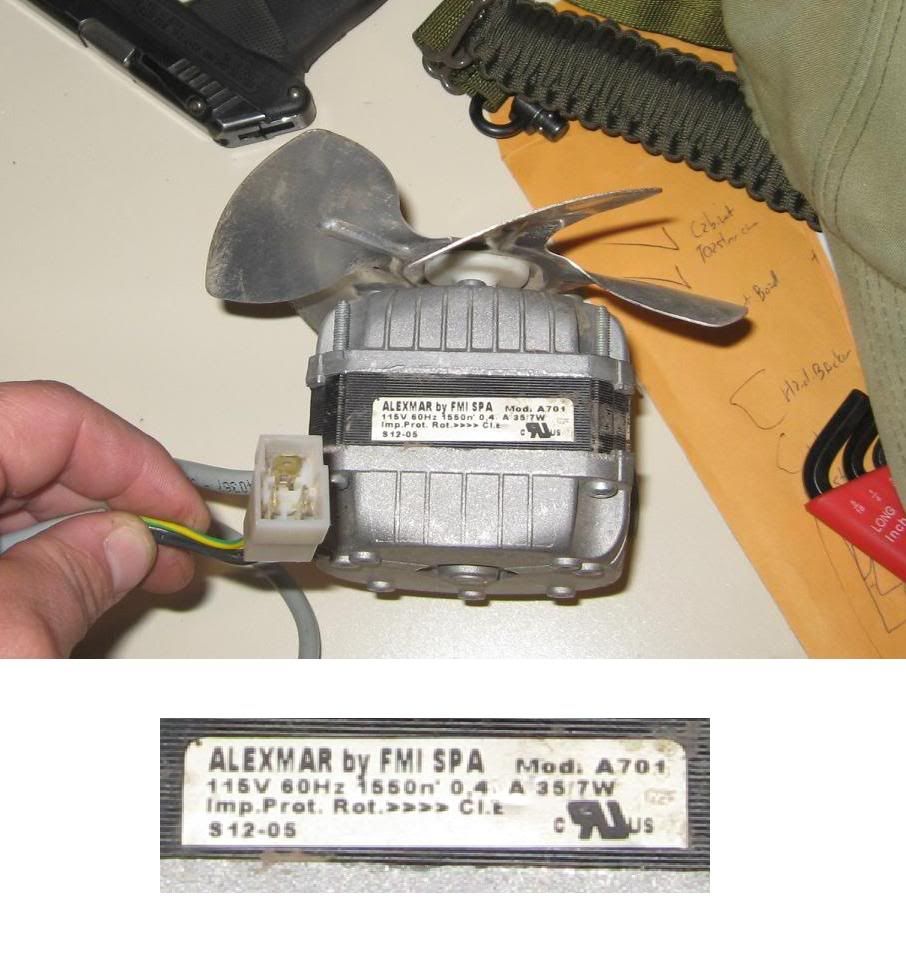
msahlm, based on 1600w load you would be within spec to run off a 15A breaker, but a 20A rated circuit dedicated to the oven would be recommended. Also, the cooling fan, power to the ssr, the light, and power to the pid should all have seperate fuses. 1/4" slow blow fuse holders are 5-10 bucks a piece, the fuses are cheap, and each fuse should be sized for the maximum current draw of the device. The motor should have a label on it, amp draw would be noted by FLA (full load amps) on the motor tag.
Where to get this stuff
---------------------------------------------------------------
The auberins.com website you posted looked reputable there is also automationdirect.com which I know for a fact has some stuff that is good and I would prefer since I know of their stuff. Don't overlook grainger or mcmaster carr either. You can order mcmaster online as an individual and many times the grainger store will let walk-ins order, if you're pretty sure about what to get. Both their catalogs are online.
Also look at home depot and lowes, you can buy wire by the foot at these places since you don't need a whole roll. Go in and ask for something like 12ga heater wire or something with high temp insulation. Reference what they have back to your ugly's book and see if the insulation class will work, if its not in ugly's google it. You could potentially score the fuses, fuse holders, and enclosure at these places too.
Look at industrial electric suppliers (i.e. Elliott Electrical Supply). They typically deal with contractors and industrial customers, but most of the time will sell to walk ins too. Their shops aren't really there to browse around though. Walk up to the counter and say something like I need a PID temp. controller with relay outputs for 110v. You could probably also ask if they had any wire with a fiberglass jacket that would be suitable to run a heater in XXX*F temperatures, something maybe suitable for a kiln. You might ask if they sell it by the foot, they will probably look at you funny or they might sell it to you by the foot.
Make you list of particulars go in and see how much it will cost. A lot of times they have this kind of stuff on the shelf. If you get the cheapest thing they have on the shelf, meaning you don't have to order it, then you will probably be getting what most of the industrial places around the area use. That will be plenty good enough.
What stuff to get
---------------------------------------------------------------
The enclosure. Get more space than you need. Something like
this box would do. A Nema 3R rated fiberglass box would be better. You could get it from Elliott for a little over 20 bucks plus the back panel.
Fuse holders. You need one for the light, temp. controller output, heater, and fan.
Switches. I would say getting switches with enough load rating to handle the stuff in the system would be the cheapest route on something simple like this. Otherwise you would have to have a bunch of relays at 10-15 dollars a pop plus a 5-10 dollar terminal block to plug them into. Take a look at
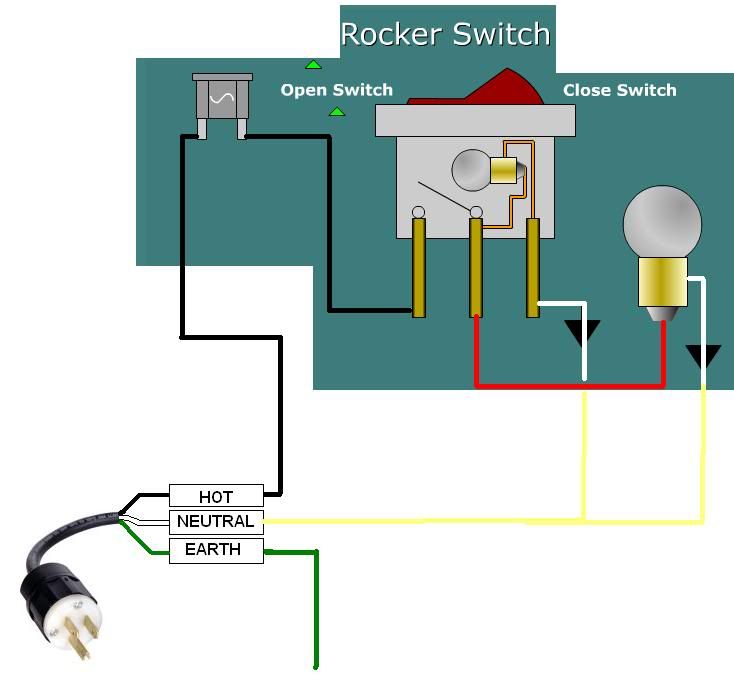
this switch. I would go from the fuse to the switch to the load. The only thing I wouldn't switch is the line power to the SSR and the power to the temp. controller (but I would switch the power for the outputs to the temp controller, again right after the fuse).
A solid state relay. I use a lot of idec stuff at my work. I couldn't find anything online similar, but the one you picked out looks just like it with the heat sink too.
This relay is an alternative. Be sure to oversize this as it will be de-rated as it heats up and the hot air in the garage will affect its rating too. You should be able to get this locally at the industrial electric supply. I like the style you picked. Be sure to look for the ratings of 110-120VAC control power (if the control voltage rating is too high it won't be activated by 110v) and 110-120VAC load rating at least (the higher the better on the load side, although you don't gain anything past 120v).
The PID controller.
The one from automation direct looks good. The one you found wasn't bad either. Things to look for are 110-120VAC control power and relay outs. If the outputs are triac or transistor normally they are DC from the controller which of course puts a load on the controller to switch the SSR.
And of course a
thermocouple like this. It doesn't have to be just like that. There are ones that have threaded fittings, handy for screwing into the side of a file cabinet. A lot of the stuff on automation direct, like thermocouples, are designed to be used in food grade washdown areas so are more expensive. They are reasonable for what you are buying, but you could probably get this cheaper elsewhere.
Couple of odds and ends would be
terminal blocks (make sure you look at the load ratings!!!).
Fuse holders of course. These could be open type or din rail mount or panel mount.
Romex clamps or cord grips to keep from pulling the wires out of the box. And of course wire, but we've been over that already. Just make sure that you size the wire for the load!
For the power input I would probably go to home depot and buy a decent 10ft 14ga extension cord, with grounding terminal!! Cut the female end off strip back the insulation and you have a cord ready to power your box. You could buy the wire and field attachable plug, but this is probably cheaper.
How do you wire this stuff together????
---------------------------------------------------------------
First lay out where you want everything mounted, obviously temp. controller and switches on front. Then cut all holes and mount everything before you even pull the first wire. Drill the holes for mounting the box during this stage.
Well like I said come into the box with the cut-off end of your extension cord and terminate all three wires on the terminal block of your choosing. Most importantly take a wire from the ground this this terminal block, but a crimp connector on it, and put it under a bolt attached to the box. Likewise anything that has a ground terminal, like a temperature controller or blower motor or light, need to have their grounding wires attached to this same point.
Run a wire from the hot in, typically black, to the first fuse block. The fuse blocks should all be mounted together. This wire should be the same size as the incoming power wire. Make small jumper wires and go from the top side of each to the one next to it. Now you have power to all your fuses.
__________HOT WIRE________
_|_ _|_ _|_ _|_ _|_
|F | | | | | | | | |
|U | | | | | | | | |
|S | | | | | | | | |
|E | | | | | | | | |
|__| |__| |__| |__| |__|
Come from the first fuse to the 120VAC L1 terminal of the temperature controller. Then come from the L2 or N terminal back to the next open spot on the terminal block.
Now come from the second fuse to the to your first switch. From the other side of the switch to relay common for output 1 on the temperature controller. Then another wire from the relay output to the A1 terminal of the ssr. Then from the A2 terminal of the SSR back to the next open spot on the terminal block. This switch will allow you turn off the heater even though the controller is calling for heat, allowing you to monitor the temp. of the oven. If you unplug, or plug the unit with the heater try to go it will probably trip the breaker.
From the third fuse run a wire to the L1 terminal of the SSR. The another from the L2 or N of the SSR to the heater, this would be done with you heater wire or fiberglass wrapped wire or whatever you decide is suitable for the load and temperatures (OBVIOUSLY MEANING PICK A WIRE THAT IS INSULATED AS SUCH THAT IT WON'T CAUSE A FIRE). From the other side of the heater come back to the next open terminal on the terminal strip, still using heater wire at this point.
Now come from the second to last fuse with a wire to the second switch. From the other side of the switch go the the positive terminal of the fan. Then from the negative (neutral) back to the next open terminal on the strip. Can you see where we're going with this? With the light the same way.
Now to tie the neutrals together. Just like we ran the positives go from one neutral terminal to another with short jumper wires, then bring one back to the neutral of the incoming power, typically white.
Almost there.
Check all connections. Make sure that you can follow the L1 or "hot" wire power flow. It should go from one point to the next basically going through one or more switches then to the "load" and from the load directly back to the terminal strip to terminate at the neutral.
Now make sure again that you have the properly sized fuses based upon the maximum rated amps for the equipment you are using. This does not mean rated amps plus half an amp, it means the rated amps! If something keeps blowing the fuse try to troubleshoot it or pm me and I will help if I can.
Last but not least check grounding again! (See how much fuss I made about this!!) Make sure everything with a metal case or ground terminal comes back to the common ground.
FUN Time
---------------------------------------------------------------
Turn all the switches to the off position and plug the thing in. Get the book for the PID controller and set it up. You are going to be using a thermocouple, not rtd, so there is one thing to make sure of. The thermocouple will probably be for 4-20mA signal so you will have to set this in the controller. And there will be some other things to set. Every brand does it differently. If you have questions pm me.
Once you are sure that everything is programed right unplug the thing. Install the thermocouple on the signal input terminals.
Okay. Plug it back in and flip the heater control switch. The light on the SSR should come on. It will probably take a little while to get heat from the heating elements and a couple of minutes to actually raise the temp. in the oven. Once that is gtg then flip the switch back off.
Now test the switch on the fan and light. If everything is good do a test run. Bring the oven up to temp for a prolonged period while babysitting it. This would be a good point to calibrate the temp sensor and run the auto-tune feature if it came equipped. If you smell burnt plastic or anything really unusual shut it down and find out where it is coming from.
If you have questions feel free to post back here.
Caveats
---------------------------------------------------------------
Thermocouples are meant to be hooked up one way. Don't worry if you hook it up backwards. The temperature on your controller will probably just start out high and count down.
Always ensure good grounding.
Jumping from one terminal to the next is an electrician no no, but not necessarily a violation of NEC. The wire has to be rated high enough for the cumulative load of the entire circuit. But say you determined 14ga would be good enough for your input power then if you use 14ga throughout the system you should be good as long as the terminals are rated for wire that big.
Be safe, do research, double check, and ask questions if you are unsure. And it never pays to skimp out and buy small wire with cheap insulation. Upsize if your terminals can accommodate it.


