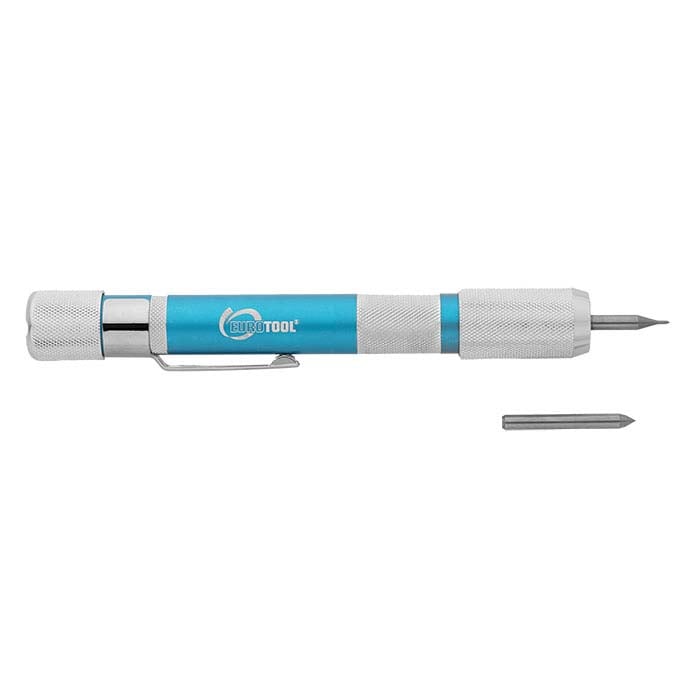
These are my horn scratchin’ tools, showing a little rust, they havent been used in a while
The middle is a scraper the othe two for doing fine work

The middle is a scraper the othe two for doing fine work

Follow along with the video below to see how to install our site as a web app on your home screen.
Note: This feature may not be available in some browsers.
Awesome work!!!Finished one horn today...
Got three more ready for scrimshaw.
This one is 'attributed' to a Revolutionary War soldier named Samuel Partridge. Lake Champlain and Ticonderoga... Came out pretty neat!
View attachment 7765083View attachment 7765084View attachment 7765085
Thanks… the scrimshaw is pretty crude. Nothing like your fine work in post 42!!Awesome work!!!
Sorry for the late reply, I haven’t checked this post in a while!!Thanks… the scrimshaw is pretty crude. Nothing like your fine work in post 42!!
Interesting tool you use? Offset? Can you share more details? Mine are carbide engraving tips I machined into aluminum handles.
Maybe I am not using fine enough tool?
Sirhr
That's really cool work! I've done a couple for knives, never thought about an axe handle, very nice!!Not sure if this is technically for 'Guns' but since I love tomahawks... Am making my first one this weekend.
The pewter pouring on the shaft is something I've always wanted to try! Wow, how cool are the results when you see them in person.
Started with a head from The Log Cabin Shop in Oh and a hickory handle. I'll finish it next weekend.
Cool thing about pewter is it melts at temps less than paper burns... so you can make your 'molds' from cardboard stock!
View attachment 7786095View attachment 7786096View attachment 7786097View attachment 7786098View attachment 7786099View attachment 7786100View attachment 7786101View attachment 7786102View attachment 7786103View attachment 7786104View attachment 7786105
Really having fun with this!
Sirhr
What bedding compound do you use?Well the bedding is finally done. The first time it had some bubbles in it so I redid it . Much better this time.View attachment 7273824View attachment 7273824
Now I need a trigger guard to finish out the bottom of the stock. I kinda took the long way around. Milled a piece of 3/4 stock down to 5/8 then cut the hole out of the middleView attachment 7273826
With the hole the right size I stood it upright and narrowed the loop to .400 with a ball mill stopping just short of the part that is inletted into the stock. Just enough to final finish when it's installed.View attachment 7273831
There is no back part on the trigger guard because of the rear action screw access. There is two screws in the front and the rest just hangs there.View attachment 7273836
It still needs some more trimmed off the back, contoured to the stock and kinda round everything off a little but it's almost done.View attachment 7273842
Mostly JB weld the kwik stuff.What bedding compound do you use?
Nothing like a good war clubMy Hawk project has turned into a set including Hawk, a pair of knives and a Mohawk war club…. Fun project to do. Spalted maple head, fiddleback scales. Doing some interesting things with pins.
View attachment 7791126View attachment 7791127View attachment 7791128
Spalted maple isn’t really a great head choice because it it punky and fragile… but I’ll epoxy stabilize and it will be gorgeous!
Sirhr
That is just sexy right there!Nothing like a good war clubView attachment 7791361
I got it the Dixon gunmakers fai in Pa. i cant remember the makers name. It’ll come to meThat is just sexy right there!
Mine is totally not authentic... sort of a modern interpretation. Yours... wow! Where did you get the wood?
Sirhr
You back doing grip projects??? I have a Turnbull-restored, Adams-Engraved and rare New Service .45 LC... that I'd love to have you stock!This is why most anyone making Single action grips will want your gun or at least the grip frame:View attachment 7791810
That is a pretty damn perfect 90 degree corner on that piece of maple. However, sho’ isn’t a 90 degree on the gun, lol.
This is the most important part of fitting single action grips.
This becomes the reference point for everything else. You have to put in the effort to get as close perfect of a mated fit as possible.
Gaps here are gross.
I’m going to focus on grips this year. It’s been a hot minute since I’ve made any so this is my re-familiarization set, lol.You back doing grip projects??? I have a Turnbull-restored, Adams-Engraved and rare New Service .45 LC... that I'd love to have you stock!
It's got really boring grips. And it needs a masters' touch!
Sirhr
We'll talk!I’m going to focus on grips this year. It’s been a hot minute since I’ve made any so this is my re-familiarization set, lol.
The gun?Another reason to have the gun is you run into issues like this where the frame isn’t flat:View attachment 7792699
Which leads to this:
View attachment 7792697
Damn Eye-talians got me good. Only real options are to file the frame flat or fix the wood. Long time wisdom is to remove material from the least expensive part, lol.
Perhaps!The gun?
What is the spacer for?Fitting the spacer for one piece grips. Not a super critical fitting part, but you want at least 75% contact with the frame. You can use clear epoxy to bed it to the grip frame for 100% contact, but that’ll come later. Pretty much the same concept as bedding a rifle stock.
View attachment 7795178
View attachment 7795180
View attachment 7795181
View attachment 7795179
One piece (actually 3 pieces) grips. Gun on the left uses escutcheons and a screw, along with a pin through the frame for mounting.What is the spacer for?
It depends on the gun and how many work arounds I have to do to accommodate the frame. Believe it or not, to get this part is only about 4 continuous hours. The most spent so far was fitting the grip frame junction and the spacer.How many hours do you have in a grip like this?
That is very nice!!Just tried aqua fortis for the first time today on this Hawk handle. Hickory, so not much flame. But the photo does not do justice to the color.
Great work BFC!!
Sirhr
View attachment 7801006
