New Custom Build #4
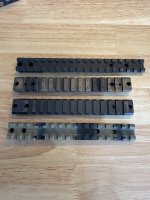
(1) New Ridgeline RD15 FDE Build kit.
(2) Geissele 18" Cut Rifled SPR Barrel.
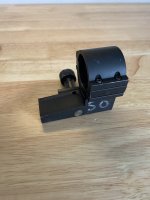
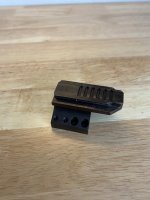
(3) Superlative Arms .750 AGB
(4) VLTOR A5 H2 Buffer System with JP Rifle Length Polshed Spring.
(5) Geissele Enhanced BCG
(6) Geissele FDE Ambi Charging Handle.
(7) Tuned Geissele SSA-E X Trigger.
(8) B5 Precision Stock.
(9) B5 Grip.
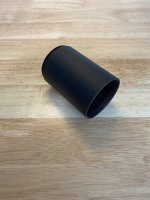
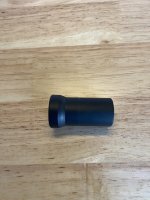
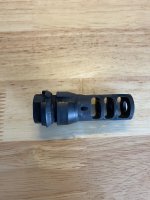
(10) Dead Air Xeno Muzzle Brake and Suppressor mounting system.
(11) Atlas BT65-LW17 GEN. 2 CAL BIPOD with Arca adapter.
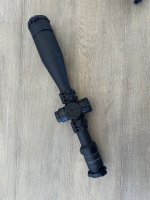
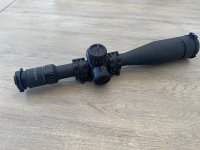
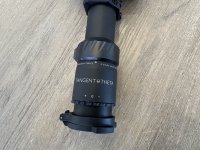
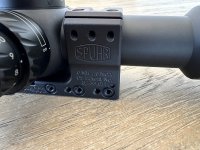
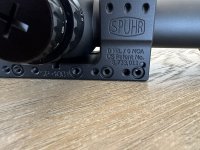
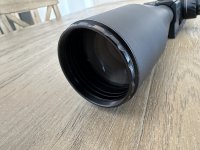
(12) Vortex HD Gen 3 Razor with Bobro QD Mount.
Surprilitive Arms .750 Set Screw AGB has plenty of clearance.
Assembly was basic and straight forward. make sure to think ahead on what and how you'd like to assemble the RD15 Builders kit.
Both the Barrel and Handguard are mandatory thermofit's, just remember that when you Torque the Barrel Nut down it will expand the Handguard Mounting Area of the Upper receiver requiring heat to expand the handguard for proper installation.
Anti- Rotation Pin Instalation.
Extra Gas Vent Ports.
Looking Forward to sharing the initial Range Report.
More to come.
Jake