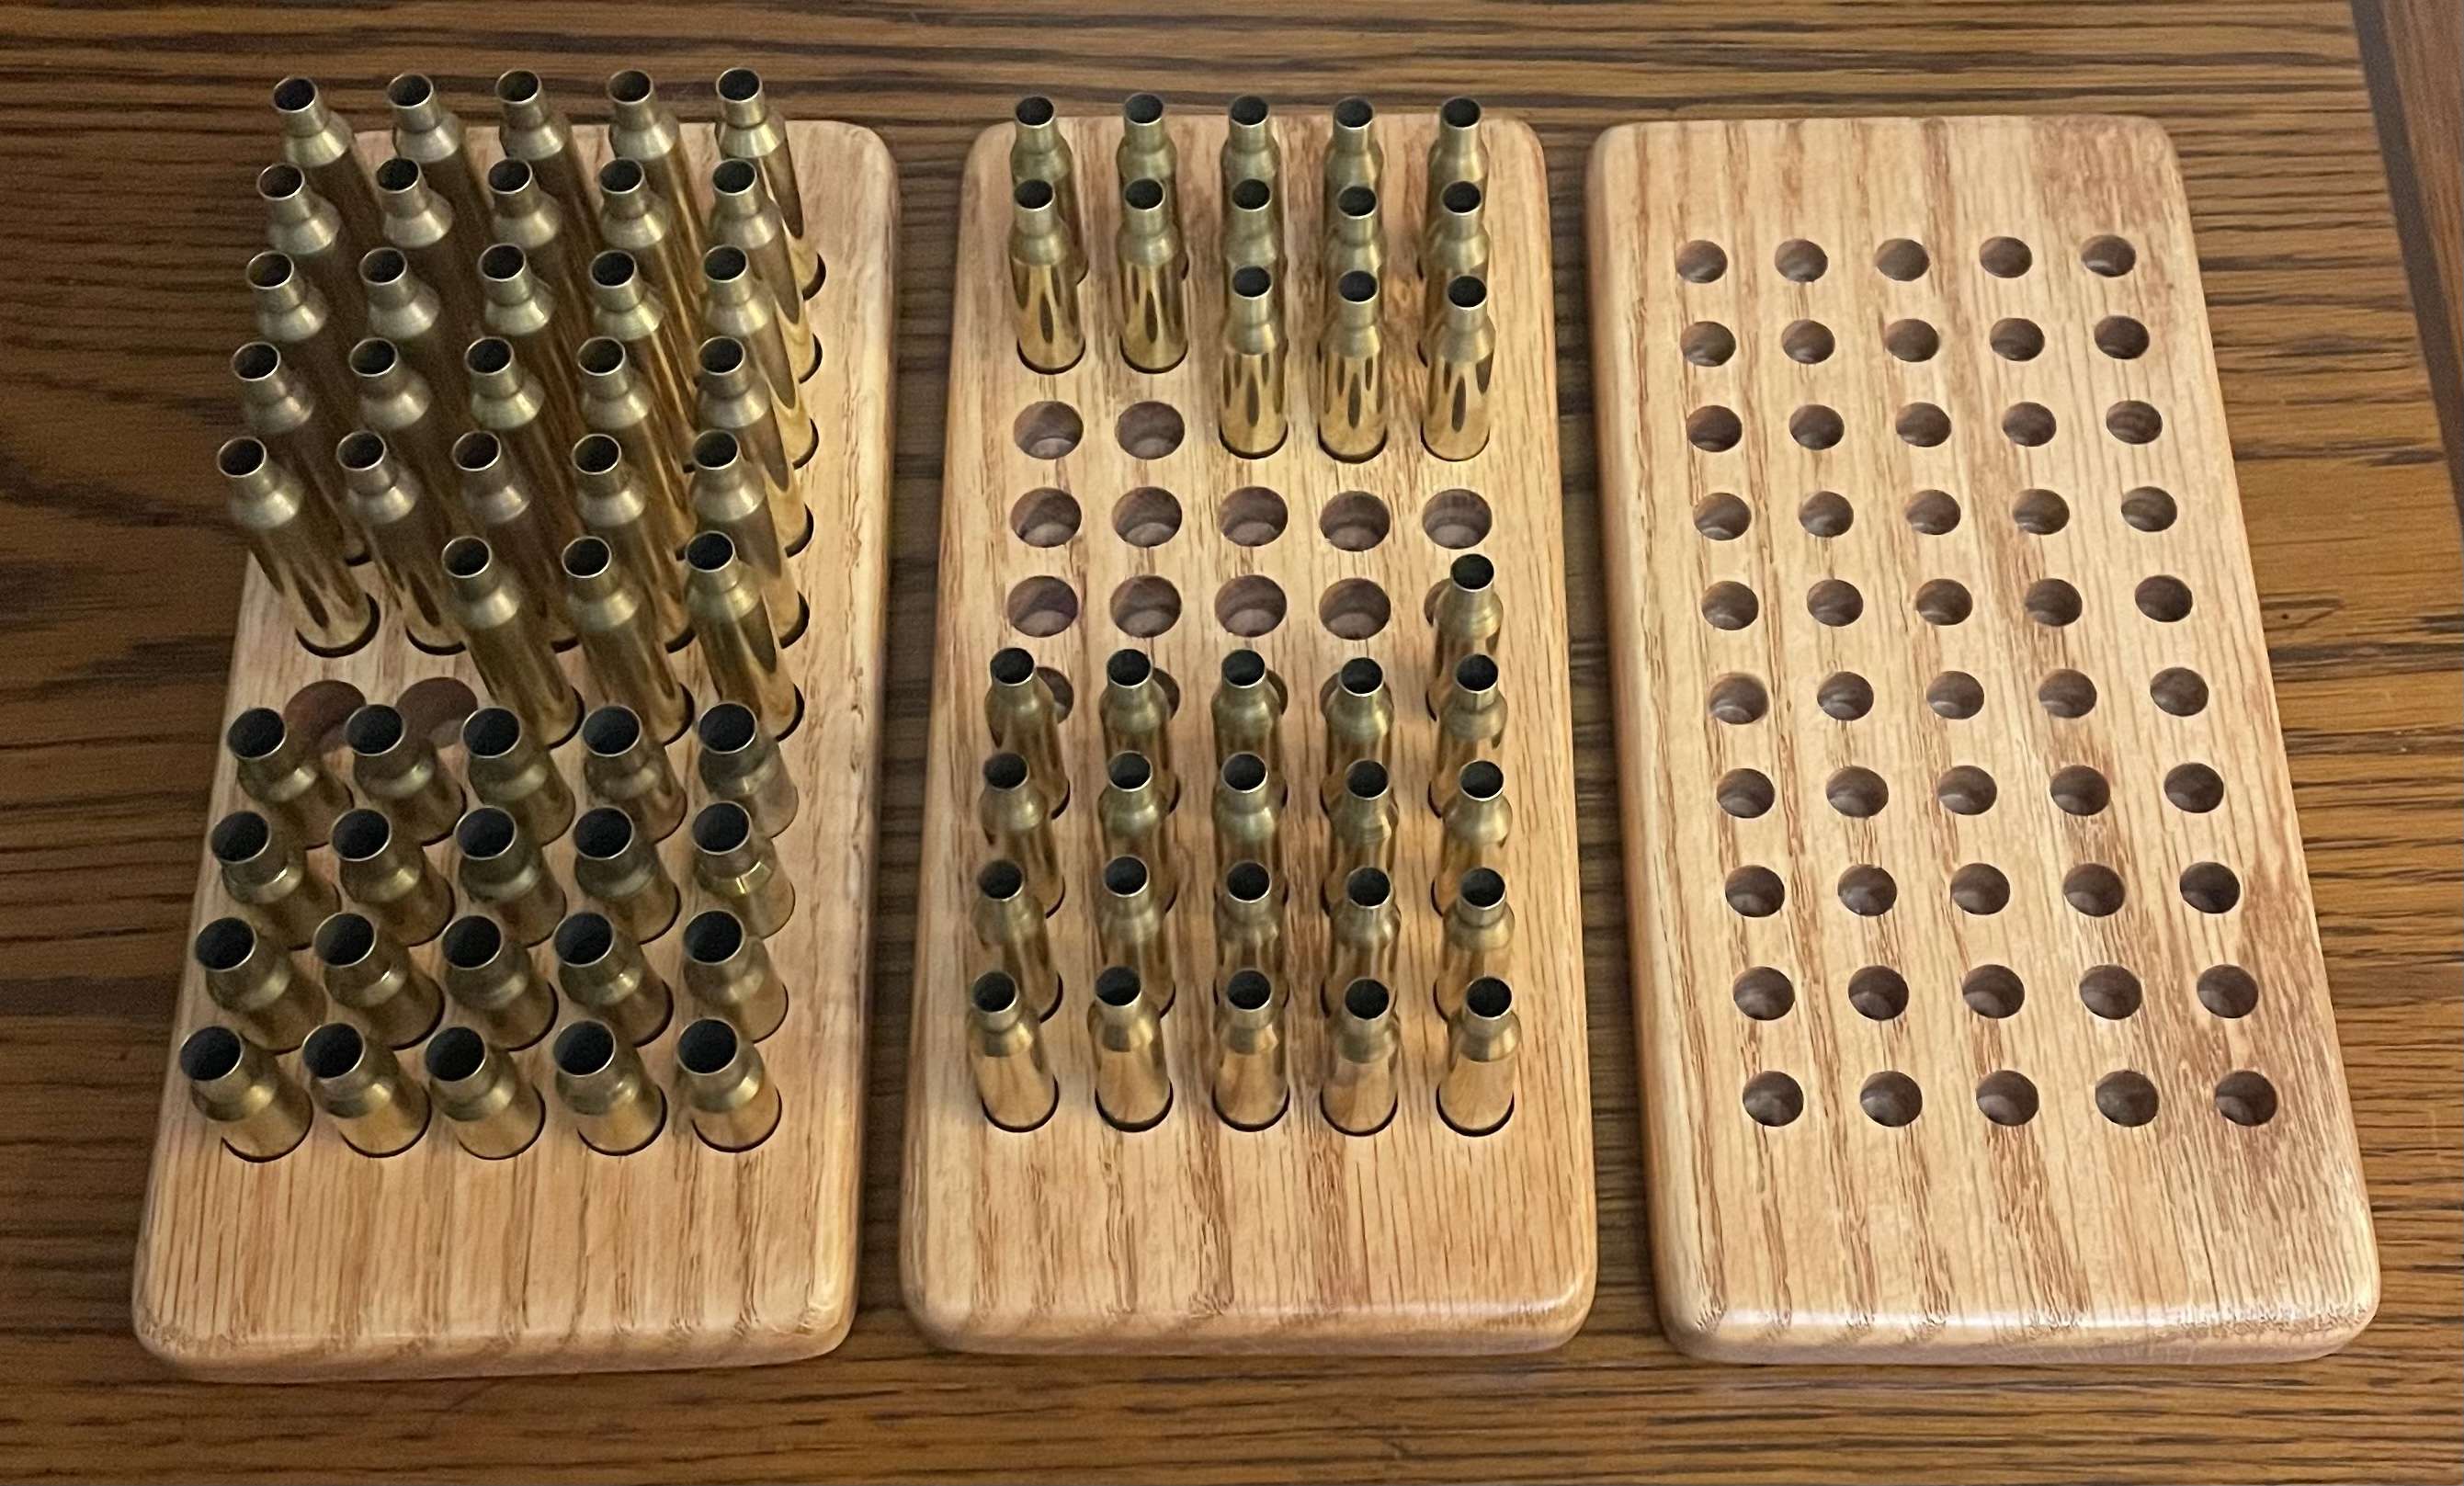
Thing hole drilled:
View attachment 8018997
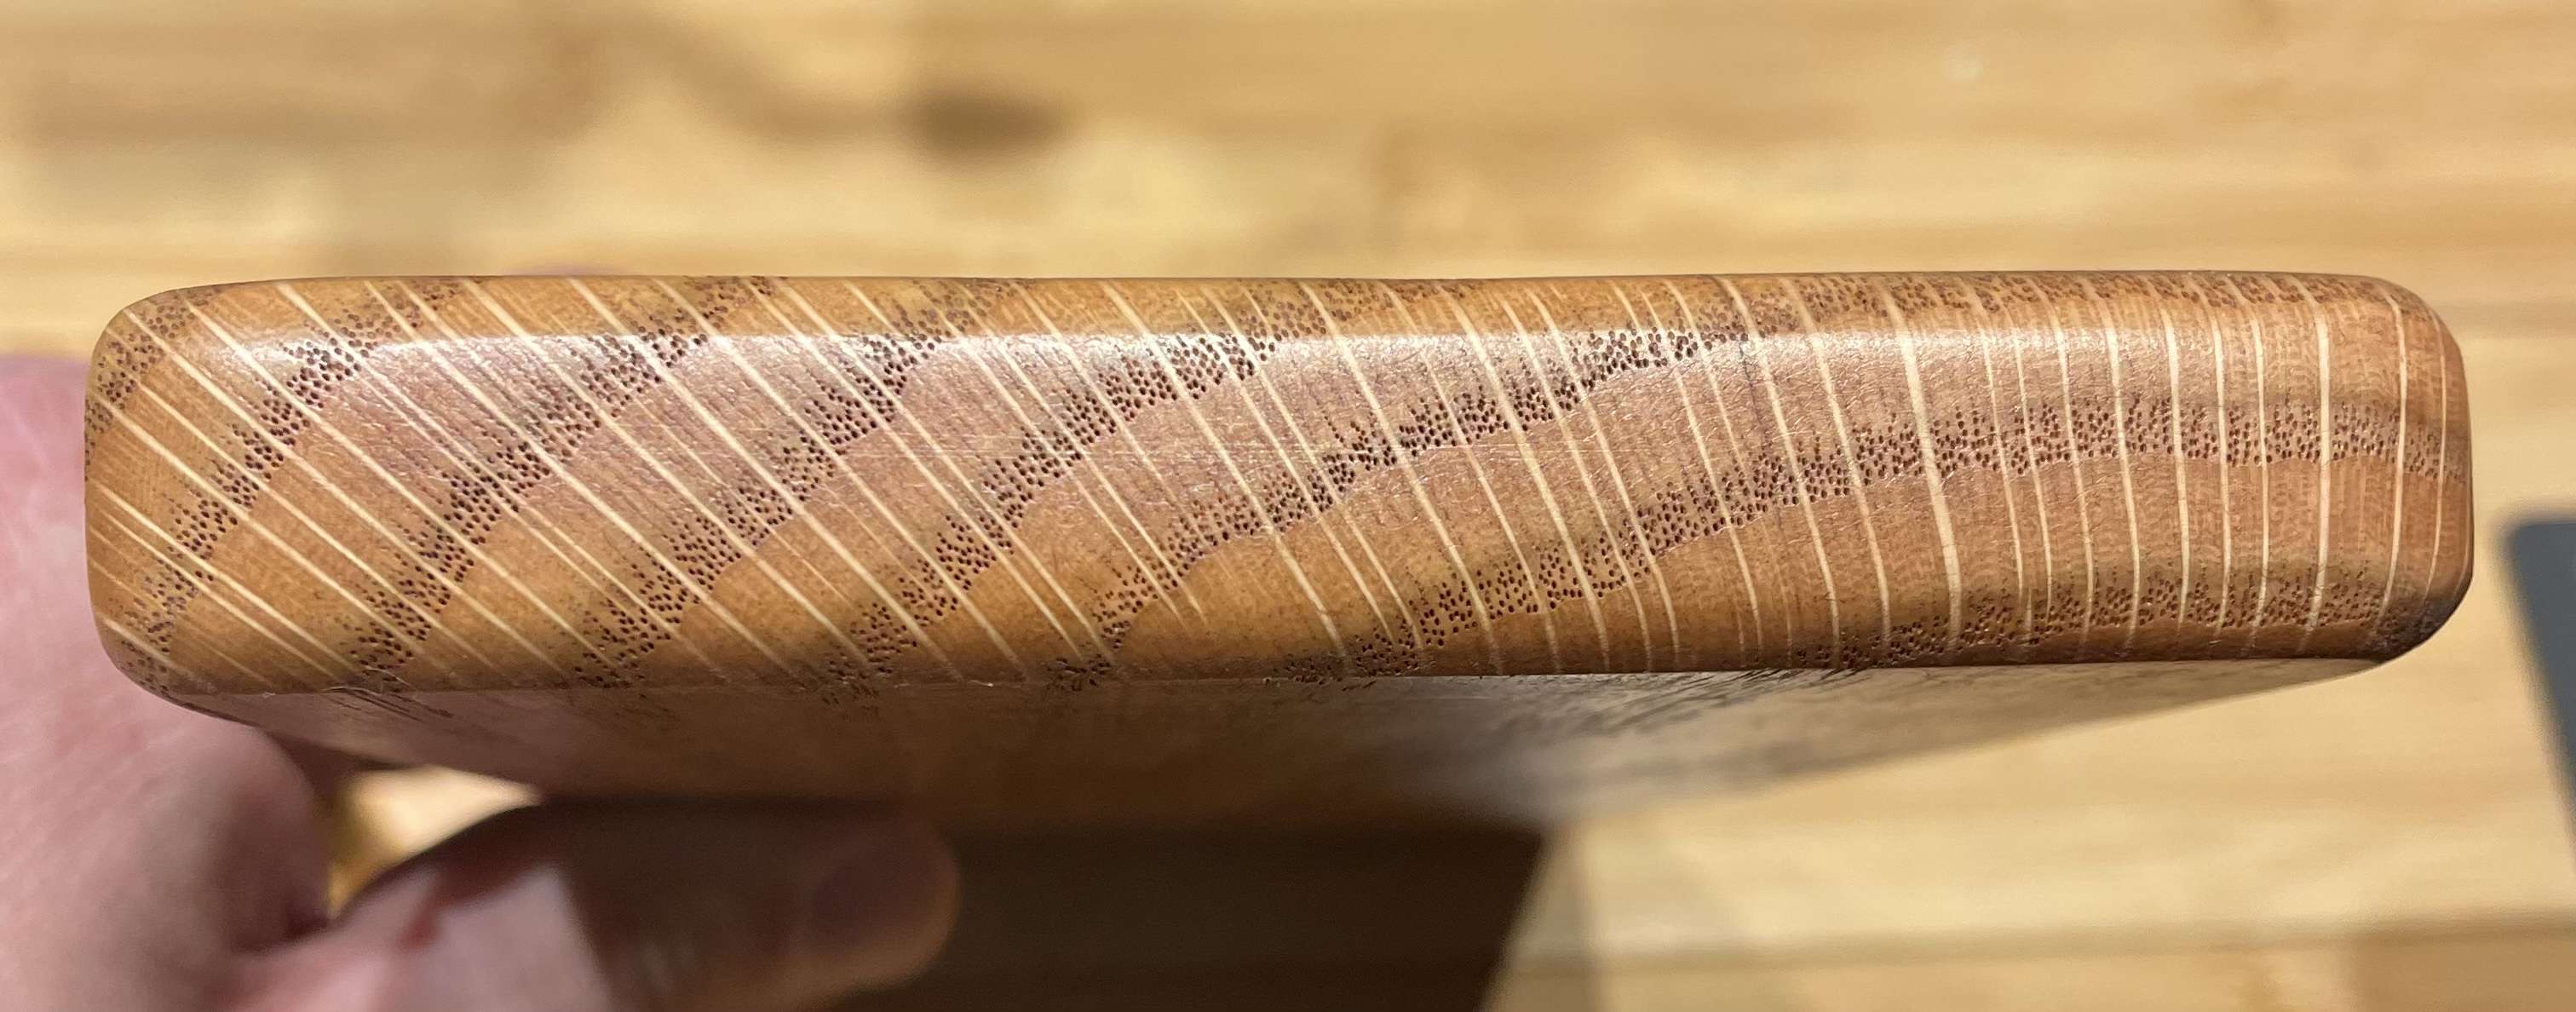
Stained with Varathane gunstock.
View attachment 8018996
It's a "thong".
You of all people....

Follow along with the video below to see how to install our site as a web app on your home screen.
Note: This feature may not be available in some browsers.
Thing hole drilled:
View attachment 8018997
Stained with Varathane gunstock.
View attachment 8018996
Damn autocorrect. At least I didn’t say dick yokes.
Nope, spray painted wood “blades”. This is going to an 8 year old. Hope he eats his vegetables.Obsidian Heart Removal Knives next?
Nope, spray painted wood “blades”. This is going to an 8 year old. Hope he eats his vegetables.
Teachers are probably too fucking dumb to know what it is.Tell him not to bring it to school.....probably be a lock down.
Teachers are probably too fucking dumb to know what it is.
I thought that the “Aunt Jemima Treatment” was an Army thing, not a USMC thing?Testing my rouge on some abused walnut. I've basically been doing to this spatula what the stock is getting. It had the 3F treatment already....
View attachment 8023413
Hoping the red pigment stays in the grain...
View attachment 8023414
Rouge is that shit once on stuff never goes away...
View attachment 8023415
Nice finish...
View attachment 8023416
I'm pretty certain that once I wipe the oil off for days and weeks after I will be rubbing rouge off the stock or seeing red staining on my hands. Still going to do it.
As it looks now after letting the 3F dry a week......
View attachment 8023418
Beautiful!! How much does the war club weigh?
Beautiful!A little off the normal track, but I promised a buddy I would do his Beret flash… and another that I would make him a Dark Side of the Moon panel (making two of those because I want one).
power was off most of yesterday… but don’t need power to run a glass cutter!
View attachment 8029448
The prism rays were a bitch! Very thin.
View attachment 8029451
Out of black glass and almost out of solder. So will hit a brick wall tomorrow. But I’ll get the “image” done.
Merry Christmas!
Sirhr
Damn gorgeous
I would love to learn knapping!Obsidian Heart Removal Knives next?
Jealous.A whole new world of possibilities opened up for me when I bought this old 12x36 lathe earlier this year. It was an old one at work that was too small for any sort of production work, and it was in the way, so I managed to buy it for scrap, and it weighs a lot more than their estimate said. Best $100 I ever spent.
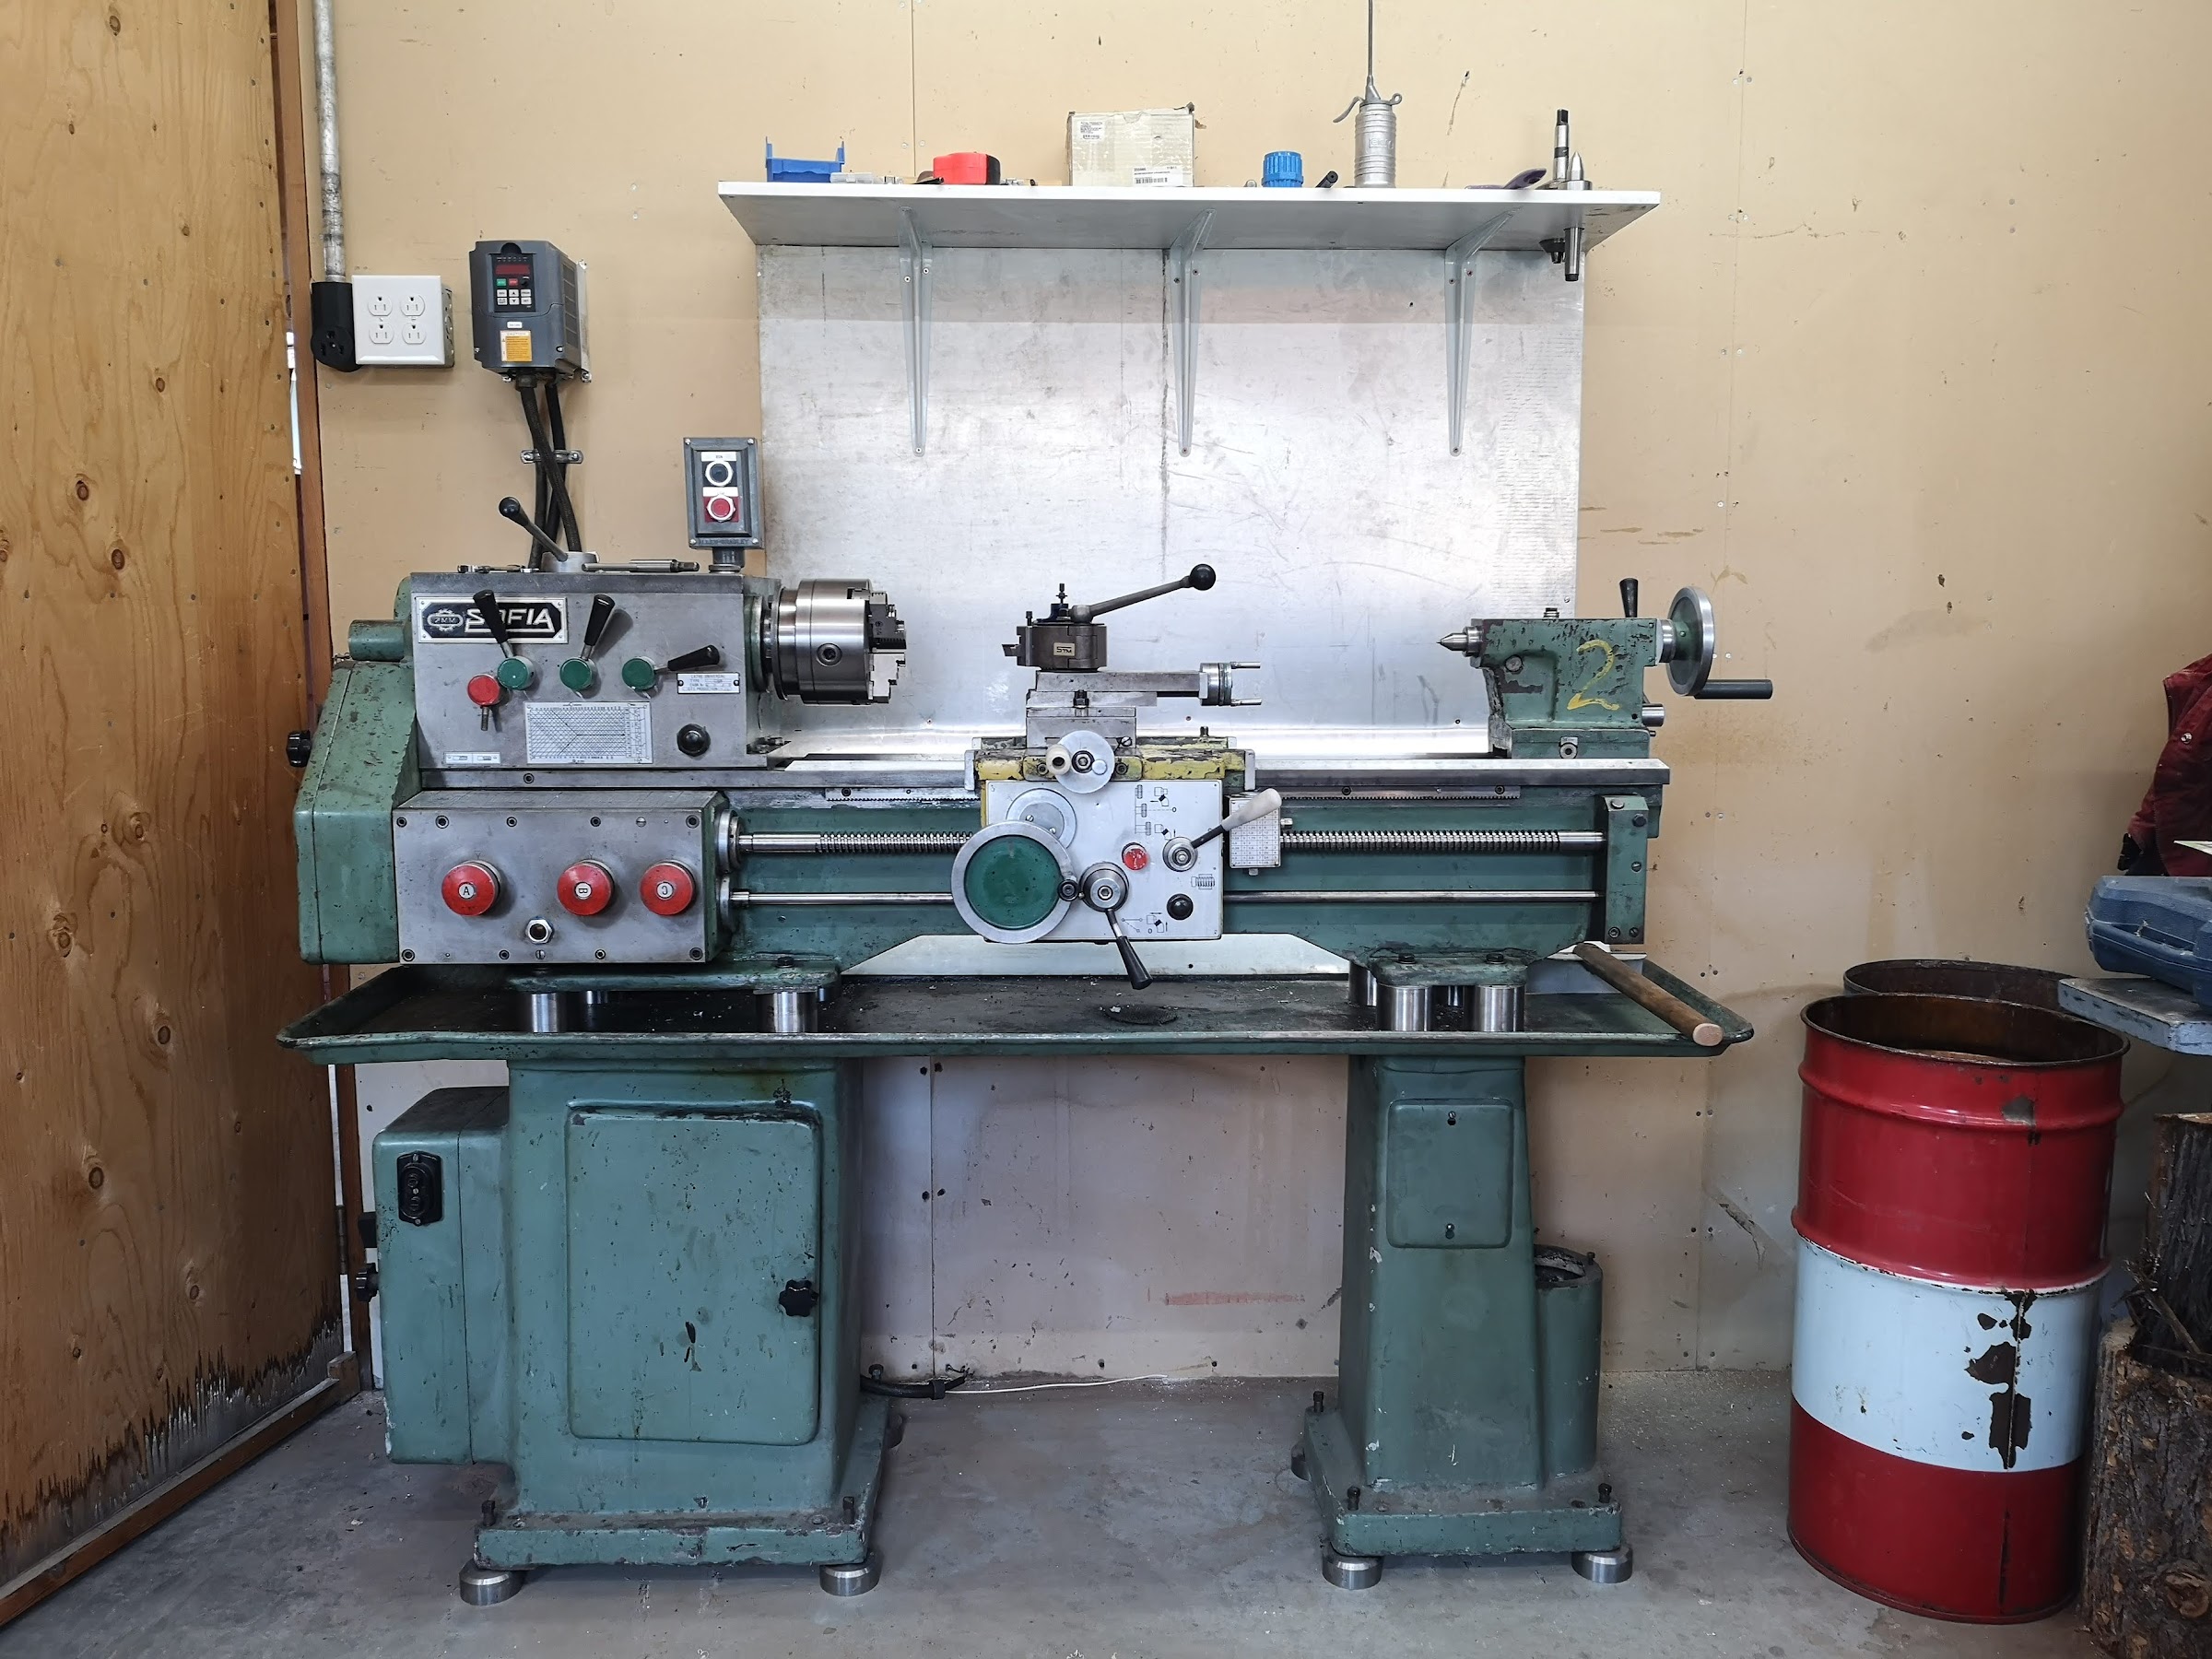
I haven't built much gun related stuff with it yet though, just a little muzzle brake for my PRS 22, trying to get a little more weight towards the muzzle. It was going to be a barrel tuner, but I screwed up the thread on the end and had to cut it off. The first project was to make a chuck adapter for it, seeing how it's got a proprietary quick change mechanism, and the original chuck was missing. Used a an old blind flange out of the scrap yard at work, and one of the bigger lathes there to make something round that I could bolt onto the lathe spindle, then finished it off on my lathe to make sure it's as concentric as possible.


The chuck is a brand new $1000 Bison that was surplus at work, and I was told to make it disappear with the rest.
Kristian
Well done!A whole new world of possibilities opened up for me when I bought this old 12x36 lathe earlier this year. It was an old one at work that was too small for any sort of production work, and it was in the way, so I managed to buy it for scrap, and it weighs a lot more than their estimate said. Best $100 I ever spent.

I haven't built much gun related stuff with it yet though, just a little muzzle brake for my PRS 22, trying to get a little more weight towards the muzzle. It was going to be a barrel tuner, but I screwed up the thread on the end and had to cut it off. The first project was to make a chuck adapter for it, seeing how it's got a proprietary quick change mechanism, and the original chuck was missing. Used a an old blind flange out of the scrap yard at work, and one of the bigger lathes there to make something round that I could bolt onto the lathe spindle, then finished it off on my lathe to make sure it's as concentric as possible.


The chuck is a brand new $1000 Bison that was surplus at work, and I was told to make it disappear with the rest.
Kristian
Unfortunately for them it's a union shop, and I'm not a machinist, so they won't get to take advantage of any skills I learn on the lathe. I'm hoping they'll put me through a machinist apprenticeship, but they don't take guys from the more electrical trades over to the more mechanical trades, probably something to do with them being totally different departments and not quite as inter-related as instrumentation to electrician or HVAC. Luckily for me though, my dad was a machinist for many years, and I grew up building stuff on his big old pre-war lathe at home, so I've got a reasonable grasp on the basics already. I was just in the right place at the right time for getting the extra lathe from work, and the machinist had some extra goodies stashed away to make it more worth my while to pursue. There's probably not too many guys that would be interested in a 45 year old lathe missing it's chuck and requiring 3 phase power for their home shop, but I was pretty careful not to let the cat out of the bag until it was safely back at my house. I did all the cleanup and modification work on night shift, away from potentially prying eyes.Well done!
What “work” may not realize is that over the next year, you are going to ‘bring back to work’ skills worth tens of thousands to them… learned on your own time as you make cool stuff!
Lathes open up worlds…. And when you know how to use the manual stuff, you will understand everything in the shop.
Well done!!
Sirhr
I’m not really sure what it means, lol. I’ll work these cutters for a bit and then buy Steve Earl cutters as replacementsWhat, exactly, is an "absorbent, rear-view handle"?
And exactly how concerned should we, or for that matter, you, be about it?
Is the bird feeder still available?Finished the 'Floyd yesterday! Two of them. The opaque glass for me, the slightly see-through dark blue for a friend who wanted it to show some light in the sun.
Shine on you Crazy Diamonds!
View attachment 8035026
FYI, both are about 20" on a side. So about album-cover-and-a-half. Nice size! Ready for framing!
Cheers!
Sirhr
Nice work, I thought the one on the left was the album cover for reference until I read your post at the bottom.Finished the 'Floyd yesterday! Two of them. The opaque glass for me, the slightly see-through dark blue for a friend who wanted it to show some light in the sun.
Shine on you Crazy Diamonds!
View attachment 8035026
FYI, both are about 20" on a side. So about album-cover-and-a-half. Nice size! Ready for framing!
Cheers!
Sirhr
My wife has been making glass art for the last two dang days. I got panels all over the house!Finished the 'Floyd yesterday! Two of them. The opaque glass for me, the slightly see-through dark blue for a friend who wanted it to show some light in the sun.
Shine on you Crazy Diamonds!
View attachment 8035026
FYI, both are about 20" on a side. So about album-cover-and-a-half. Nice size! Ready for framing!
Cheers!
Sirhr
My wife has been making glass art for the last two dang days. I got panels all over the house!
That could be problematic if there's any New Year's Eve shenanigans in your house tonight.My wife has been making glass art for the last two dang days. I got panels all over the house!
Those are pretty cool, she’s not that wild into it…………..yet. Still doing simple line drawing single piece projects. Will get a few pics when I get back to the house from getting skunked in the deer woodsIt is a very fun (and productive) hobby! I like the simplicity of the cutting and shaping... and the challenge of designing the pieces. It's damn hard to come up with the right 'connections' to bring together pieces!
Here is one I did about 10 years ago. This one hangs in the state F&W HQ now. This was when it was almost finished. It's huge... almost 40" tall.
View attachment 8035039
This one I did for my garage... copied it from an original I saw on Rt. 66.
View attachment 8035038
I don’t even know how to shenanigan anymoreThat could be problematic if there's any New Year's Eve shenanigans in your house tonight. View attachment 8035048
I don’t even know how to shenanigan anymore
Here are some the wiff has been doing. Just small ones, but she enjoys itIt is a very fun (and productive) hobby! I like the simplicity of the cutting and shaping... and the challenge of designing the pieces. It's damn hard to come up with the right 'connections' to bring together pieces!
Here is one I did about 10 years ago. This one hangs in the state F&W HQ now. This was when it was almost finished. It's huge... almost 40" tall.
View attachment 8035039
This one I did for my garage... copied it from an original I saw on Rt. 66.
View attachment 8035038
Jesus, she would have a sunflower factory if she could figure out how!Very nice! I like the Frank Lloyd-Wright sunflowers!
Cheers,
Sirhr
Thanks for the compliment. I'm not sure I follow what you said about the relief under the trigger guard, I cut it as far up as I dared. Measuring the thickness of the steel to the bottom of the trigger track, I've only got about .025 - .030" left to go, and wouldn't want to cut it any closer than that. Maybe the angle of the photo didn't show the relief very well, but it's definitely there. I kept the radius of the relief cut about the same as the original cut was though, so it looks a bit different than what you see on most guns. Feels good to my hand at least, and every time I pick up a 1911 that doesn't have that relief, if feels odd. I have a 6" one that I still need to do this with, as well as make a magwell for it.@turbo_bird
Good looking work. Checkering a front strap on a 1911 is not easy. Main spring housing is a lot easier.
Curious why you didn't do a relief under the trigger guard where it blends into the front strap? Would allow for a slightly higher grip on the gun. I did this work on mine about 30 years ago. Looks like I need to sharpen up the checkering again.
View attachment 8037356
Very nice!!!Relaxing after a hellacious day with a bit of checkering therapy. Turning skip line (which I hate) into straight line.
The only hard part of this is not fucking up.
View attachment 8069480
It is sort of like covering up an unwanted tattoo.
Sirhr
